By Becky Dimock / Edited by Samantha Bellerose, B.Ed, Dip.Dance (Performing Arts)
When my mom taught me how to sew, I was terrified of cutting the pattern out wrong and wasting a bunch of fabric, but I soon learned that laying out and cutting out a pattern is really not that hard, and it’s a great way to help out at your child’s dance studio, even if you don’t sew. So grab your fabric and scissors and you’ll be an expert in no time!

- YOU WILL NEED:
- Step 1. Choose the pattern and measure your dancer
- Step 2. Determine how much fabric you need
- Step 3. Choose the fabric
- Step 4. Prewash the fabric
- Step 5. Iron the fabric
- Step 6. Ensure that the pattern you’re using includes seam allowances
- Step 7. Optionally trace the pattern
- Step 8. Lay out the fabric
- Step 9. Lay out the pattern pieces
- Step 10. Pin down the pieces
- Step 11. Cut out the pieces
- Step 12. Transfer markings
- You are Done!!!
- Other articles you might enjoy!
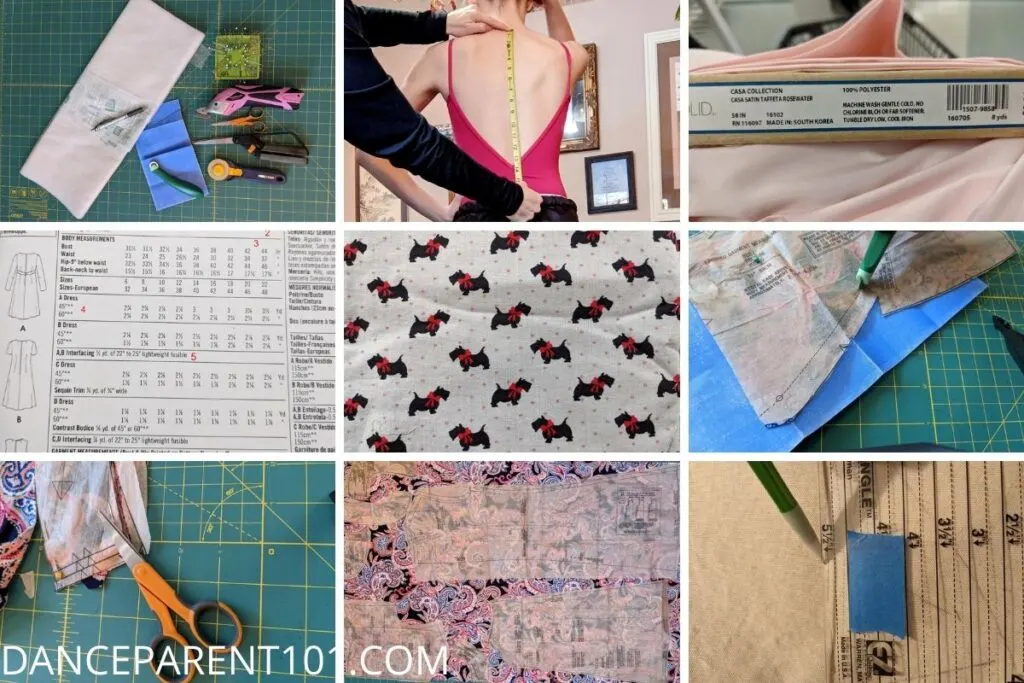
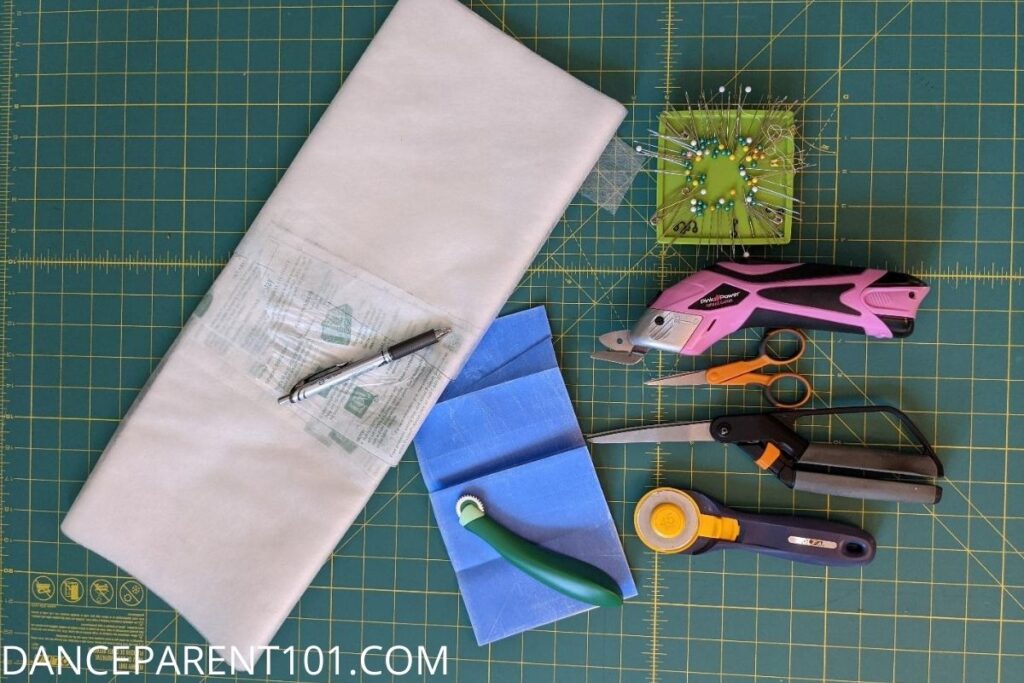
YOU WILL NEED:
- Pattern
- Measuring tape
- Fabric
- Iron and ironing board
- Pins
- Scissors or rotary cutter with mat
- Marking pencil or similar

Step 1. Choose the pattern and measure your dancer
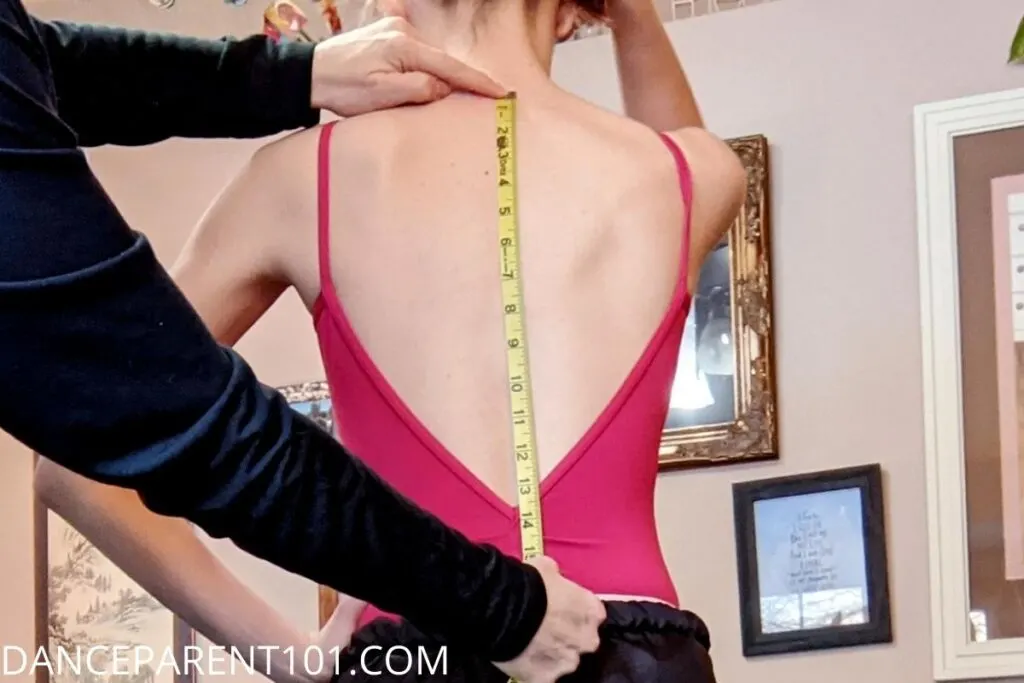
The pattern will list the measurements you need, but you’ll probably need to have the dancer’s chest and waist measurements, as well as the length of her or his back; from the base of the back of the neck to the waist.
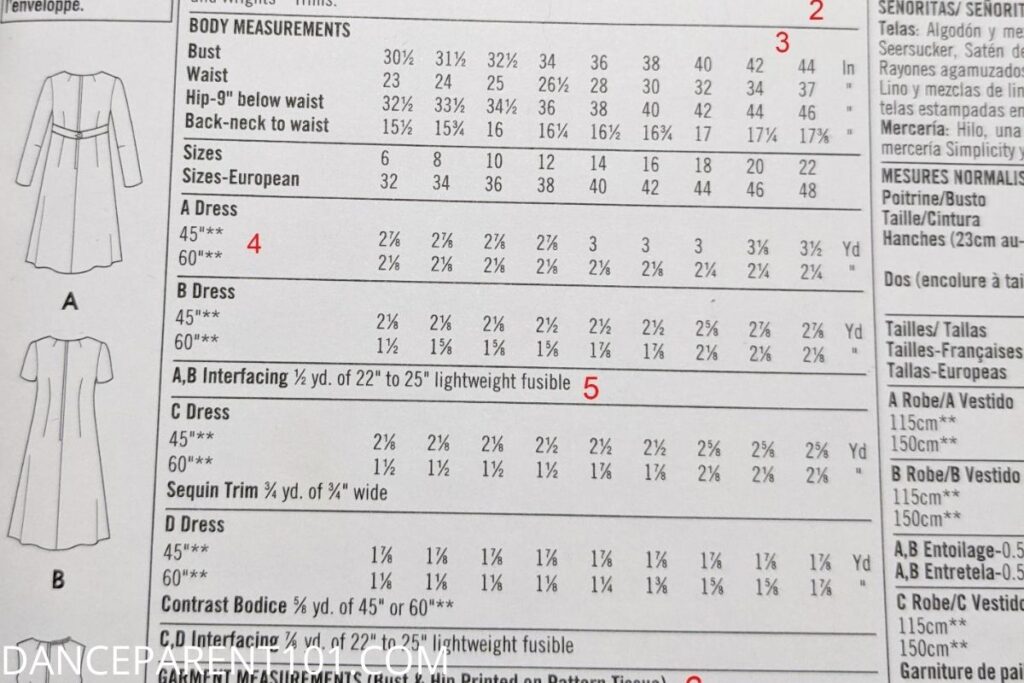
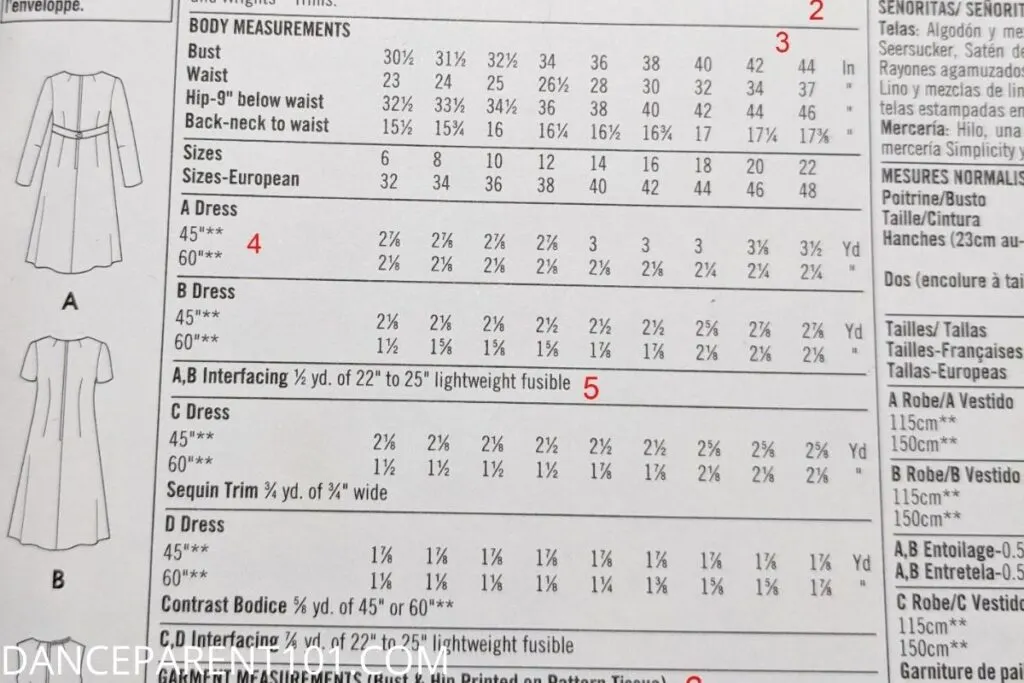
The back of the pattern has a lot of information:
- Appropriate fabrics to use
- Notions (extra things like zippers)
- Body measurements and what size they’re associated with
- Yardage, for 45” or 60” fabric
- Yardage for interfacing (if needed)
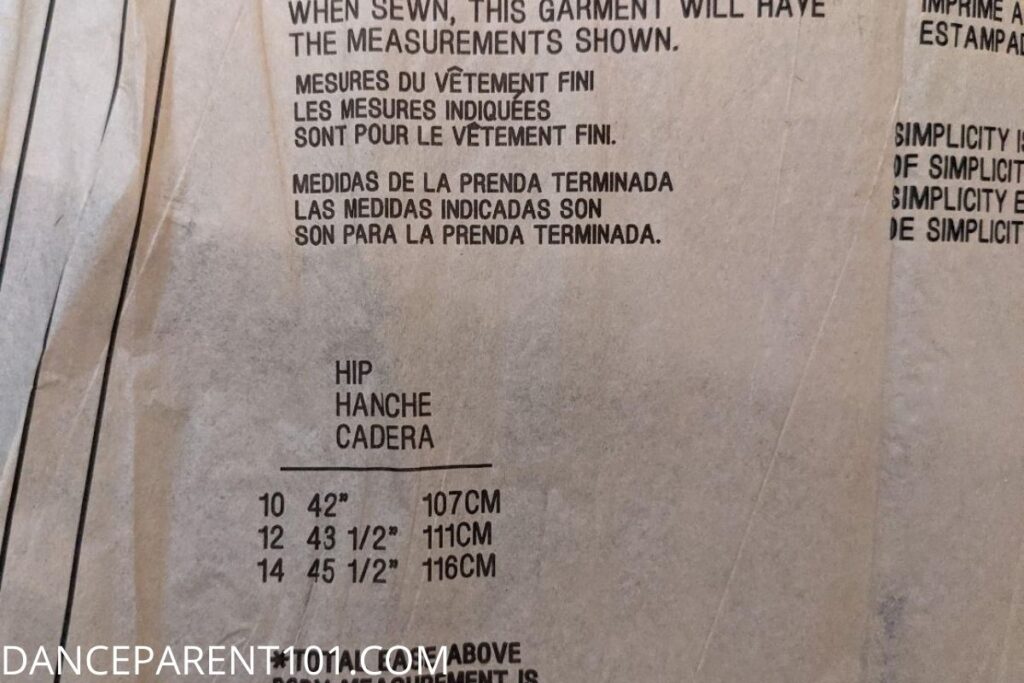
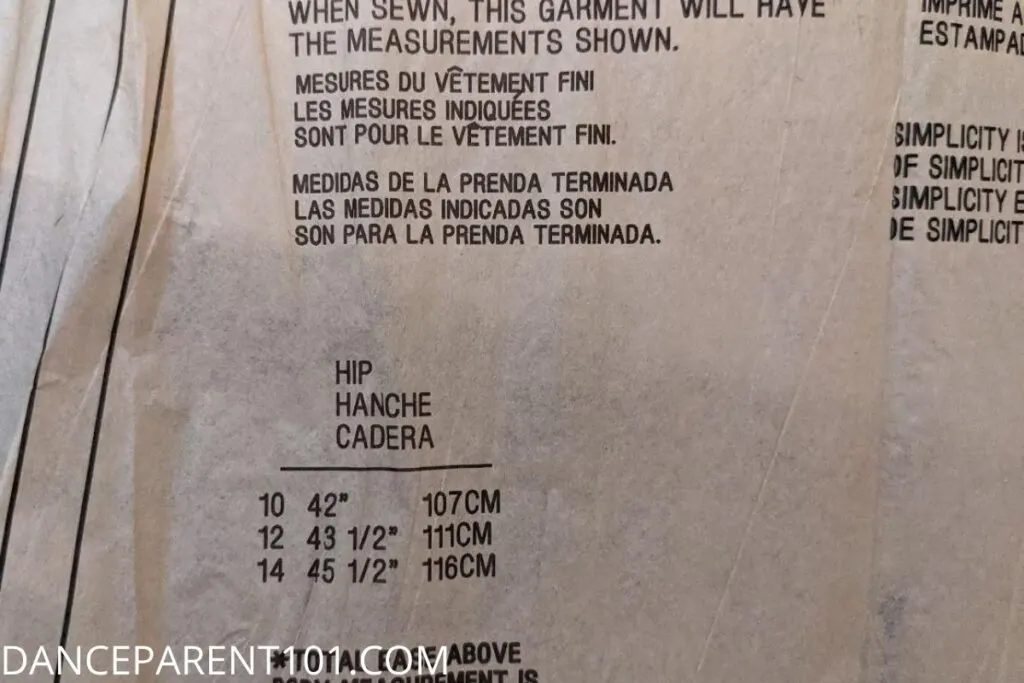
- Finished measurements of garment

Look at the measurements that come with the pattern and choose the right size. A couple of notes:
- Your dancer’s pattern size is usually bigger than the size they’d buy in the store.
- If you’re buying a commercial pattern, look at the finished measurements to determine how tight it will be. You can get patterns from mainstream companies for things like corsets and bodices, but those costume patterns are often not as tight as dancers want. In that case, just make a smaller size.
- If your dancer is between sizes, or is multiple sizes depending on the measurement you’re looking at (for example, her waist is size 8 but chest is size 10), you can adjust the pattern or just use the bigger size and adjust the costume after it’s done.
Adjusting the pattern is a more advanced skill, and it’s usually simple to take in the waist a little after the costume is sewn, so I usually just cut out the bigger size.
Step 2. Determine how much fabric you need
Look at the pattern to determine how much fabric you need for the pattern size and get at least that much. There are two common widths of fabric: (about) 42” and (about) 60”. Your pattern will have different yardage requirements for the two widths. Check your fabric width before getting it cut!

If you’re making multiple costumes from the same fabric, you can usually squeeze pieces together so you don’t need to get as much as you would calculate by adding all the fabric needs together. For example, if you’re making three leotards that call for 5/8 yd, you would calculate 5/8 x 3 = 15/8 or just under 2 yd. You could get 2 yd to be safe, or you could probably get away with 1 5/8 yd.
Step 3. Choose the fabric
Be sure to get the type of fabric recommended by the pattern manufacturer (See Figure 2). It will say if the pattern is appropriate for wovens (fabric that doesn’t stretch), two-way stretch (fabric that stretches in only one direction), or four-way stretch (fabric that stretches in both directions).
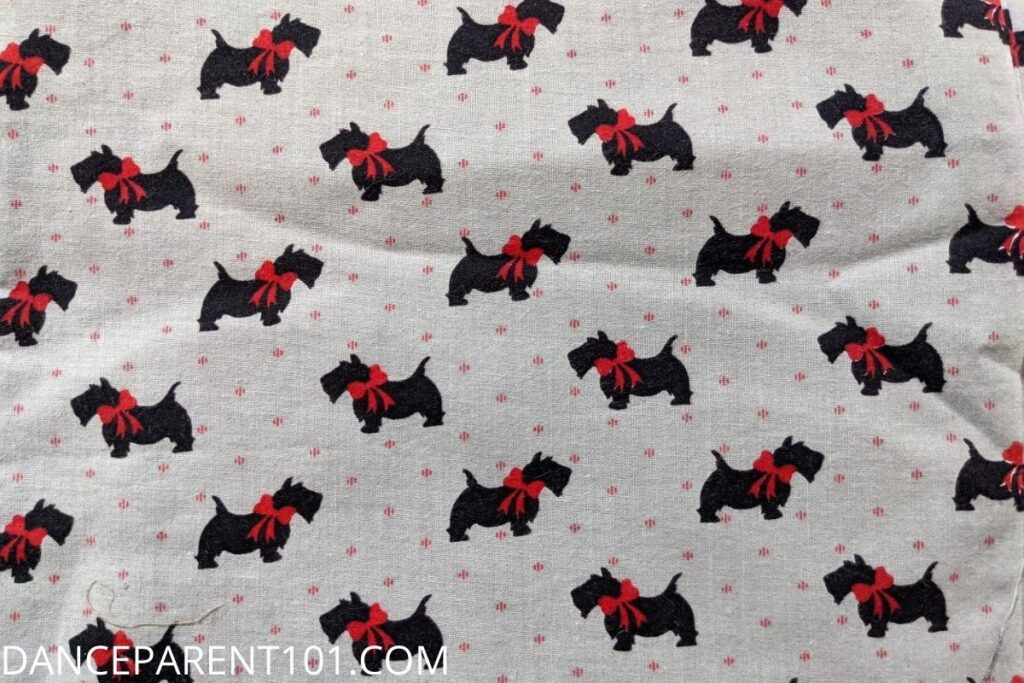
If your fabric has a pattern, be sure to determine if it’s directional or not. Directional fabric has a “right side up” and “upside down”. For example, if there are smiley faces all in the same direction, it’s directional fabric. If the fabric has smiley faces facing both up and down, it’s non-directional. You have to be careful when laying out directional fabric so you don’t get one piece facing the wrong way!

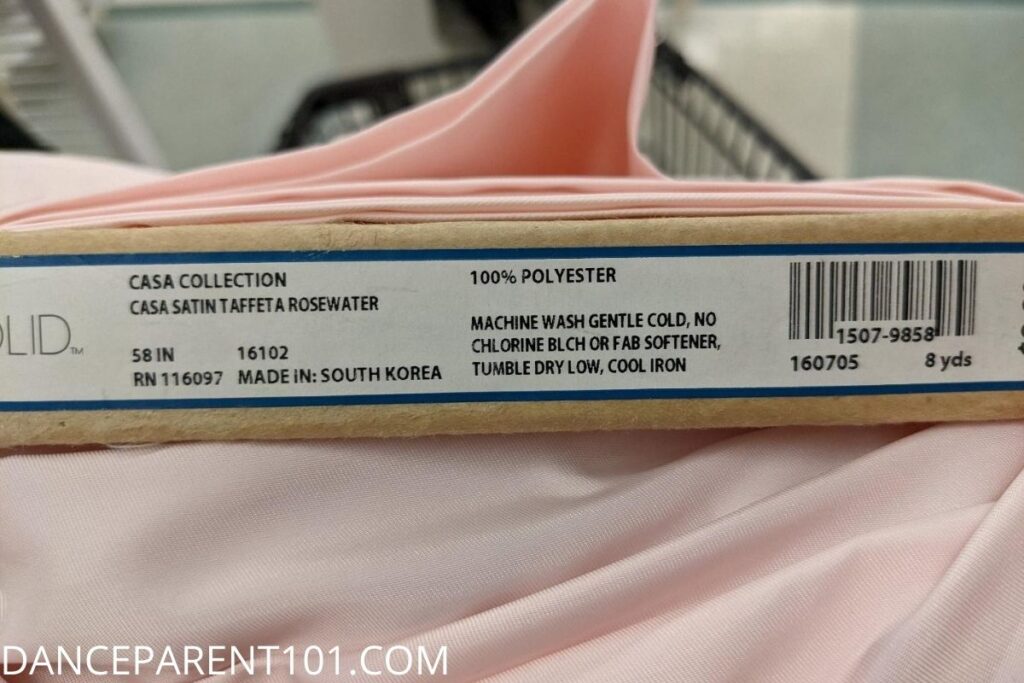
Finally, be sure to note the washing instructions (see figure 5).
Step 4. Prewash the fabric

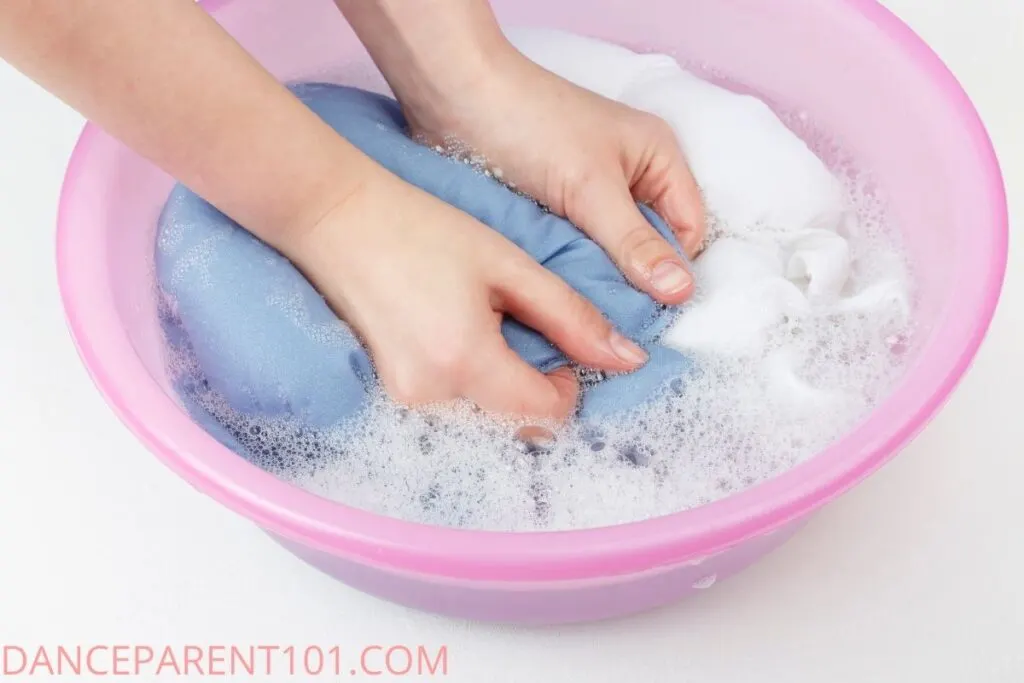
Wash the fabric in the hottest temperature safe for the fabric and dry it on the hottest temperature it can handle. Washing it removes the sizing (used by manufacturers to stiffen fabric) and removes excess dye so it (hopefully) won’t run later. Washing and drying shrinks it if it’s going to shrink. If you don’t prewash your fabric and then wash the costume later, it could shrink, and it would likely shrink more in one direction than another; making the whole costume skewed.
Tips:
- You might want to zigzag the cut edges or cut them with pinking shears so they don’t ravel a bunch.
- If the fabric is delicate, wash and dry in a large laundry bag.
- Some fabrics, such as coutil, are notorious for shrinking a lot. Wash them twice to keep them from shrinking later.
- Some fabrics are fine in the washing machine and others you will want to handwash – check the manufacturers directions on the reem of material. Take a photo of this with your phone at the store before they cut the material off for you for reference.
Step 5. Iron the fabric
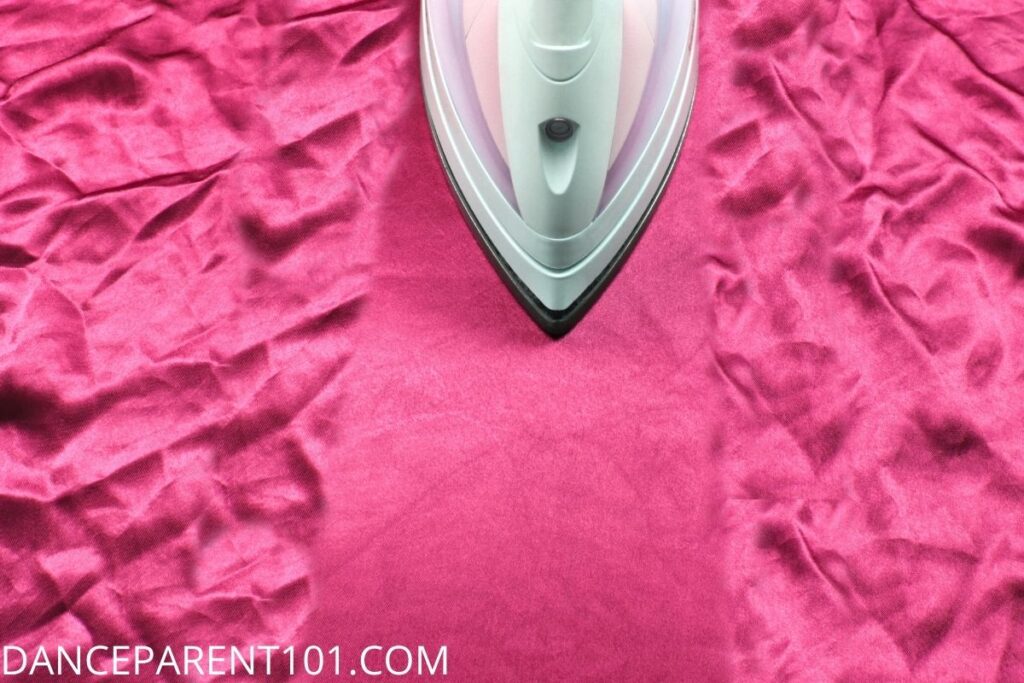

I have tried to skip this step and it’s always been more of a hassle to try to push out any wrinkles, make sure they’re not caught under the pattern etc. And you’ll have to press any wrinkly piece before sewing anyway, so you might as well do it now.
Tips:
- Be sure to use the heat setting recommended for the type of fabric. If you’re not sure, test a small area first. You don’t want to accidentally melt or burn your fabric!
- Use a pressing cloth (like a tea towel) for delicate fabric, such as lycra, organza, stretch mesh, or lame (that thin, shiny stuff that doesn’t stretch). To use a pressing cloth, simply place the cloth on top of the fabric so the iron touches the cloth instead of the fabric.
Step 6. Ensure that the pattern you’re using includes seam allowances

The seam allowance is the distance from the edge of the pattern piece and the stitching line. If you’re using a pattern from a major manufacturer, they are included. If you downloaded a pattern that someone designed, it might not include seam allowances. If the pattern does not have seam allowances, you will need to add them in. Typically, the pattern designer will recommend seam allowances. If there isn’t a recommended seam allowance, I would recommend ½” or 5/8”.
There are a few ways you can add the seam allowances to your pattern pieces.
Use the method that you feel most comfortable with:
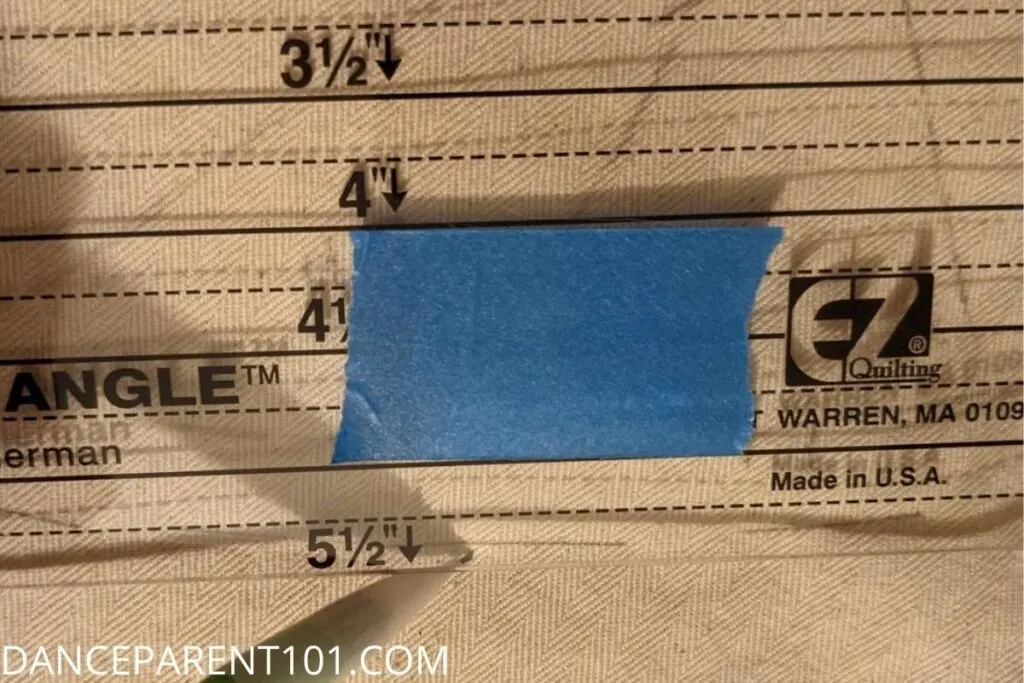
- If there’s room around the pattern pieces, use a small ruler to mark the seam allowances, and use the markings to create new, larger pattern pieces.
- If there’s not room around the pattern pieces (which is likely), cut out each pattern piece and trace it onto another piece of paper (I use cut up paper shopping bags), then mark the seam allowances and use them to create the new pattern pieces.
- Cut around the pattern pieces and lay them on the fabric as described below; leaving plenty of space between. Trace around each piece, then mark the seam allowances and draw the larger pieces before cutting them out.
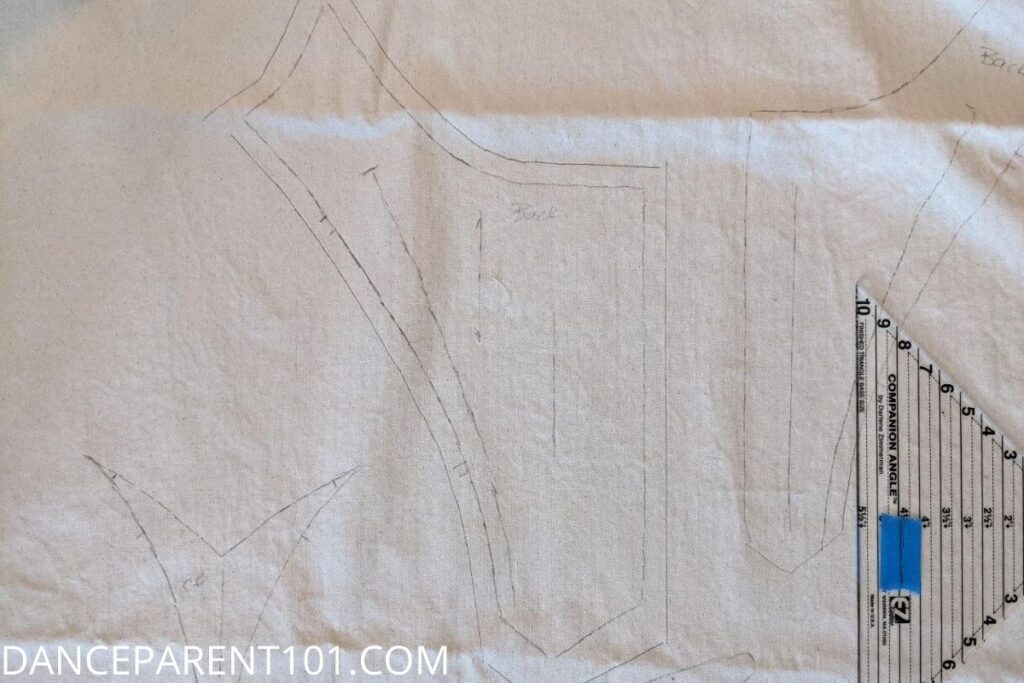
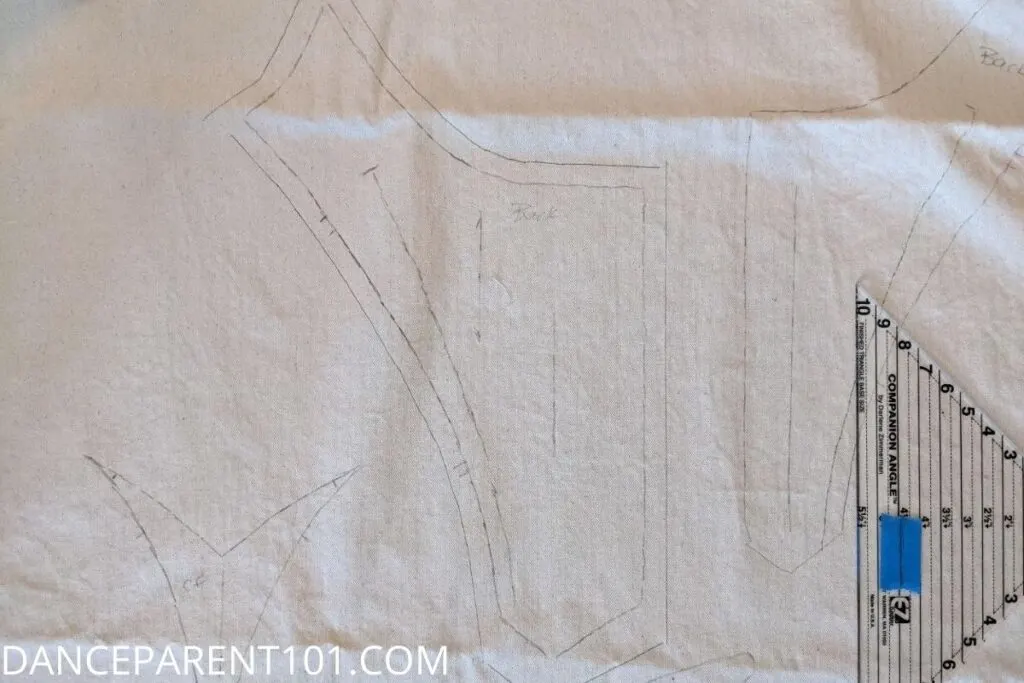
Step 7. Optionally trace the pattern

If you’re working from a multi-size pattern, you might want to trace the pattern size that you are using so you can use other sizes later. You can use tissue paper (cheap, but tears easily), unwaxed baking paper or parchment paper (harder to tape together to make large pieces, but doesn’t tear as easily as tissue paper), or tracing material, which you can buy anywhere that you purchase fabric. Tracing material has the benefit that it won’t tear or crease, but it’s more expensive and you have to remember to buy it in advance.
Be sure to trace all of the markings, and write the size, name of the pattern piece, and pattern number on each piece. At this point, you can adjust the pattern pieces if necessary, but it might be easier to do minor adjustments after sewing. Tip: I use a different color marker to trace each size so the sizes don’t get mixed up.
Step 8. Lay out the fabric
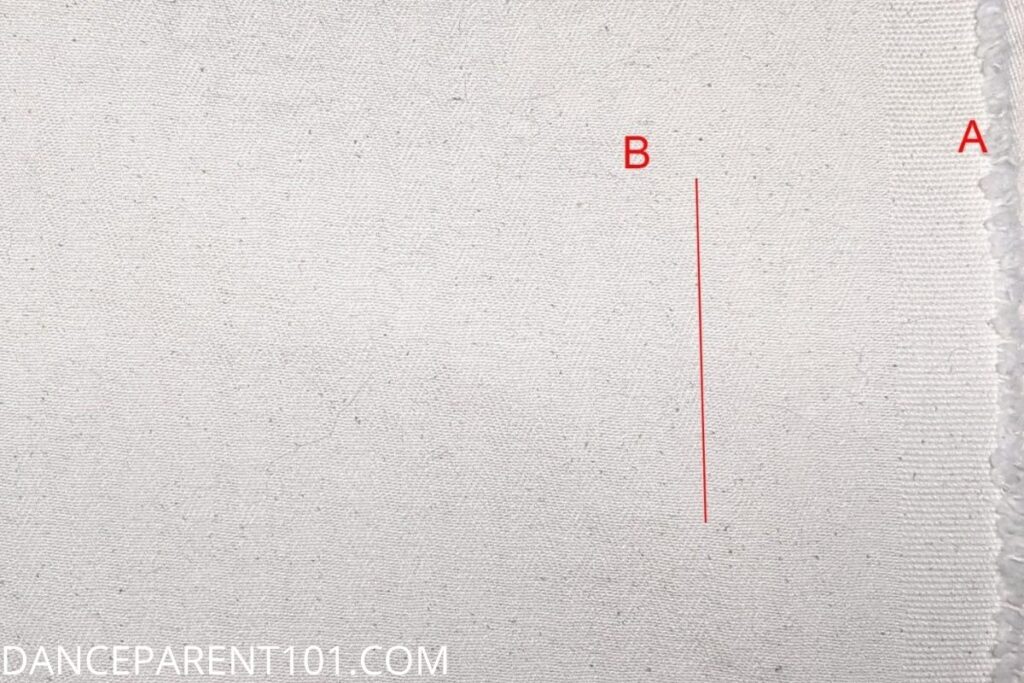
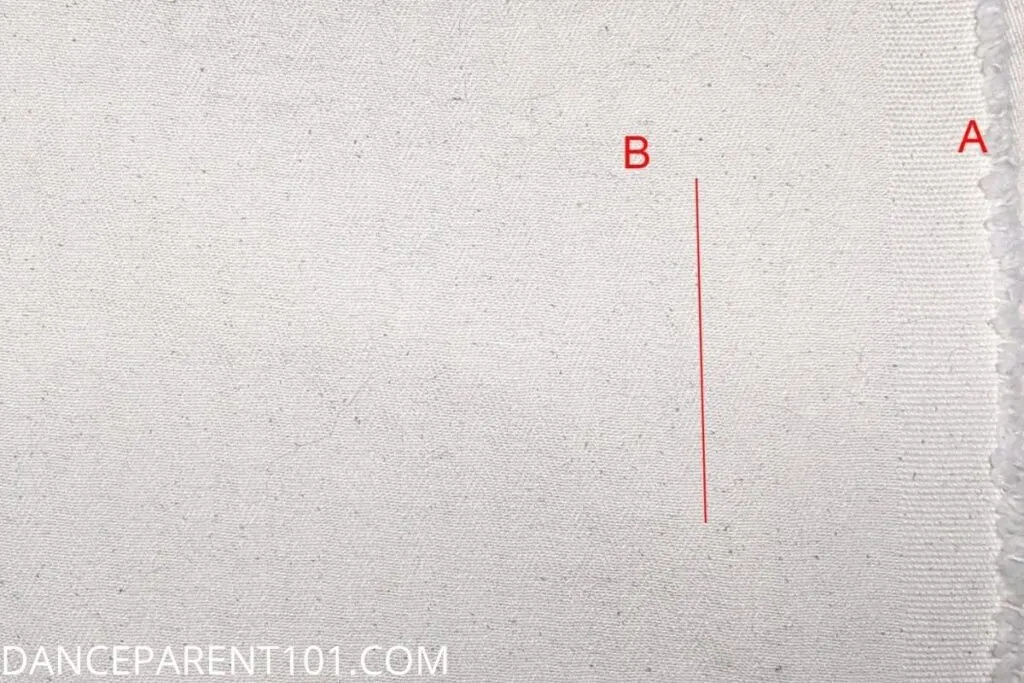
Layout the fabric, folded in half the long way with right sides (the side of the fabric that will be on the outside of the garment) together. One selvedge (the finished edge) should be on top of the other selvedge. It’s important for the grain (the weave) of the fabric to be straight, even if the cut edges don’t line up.
You don’t have to lay out the fabric with right sides together, but I feel like it’s a little easier to transfer markings if the wrong sides are already on the outside.
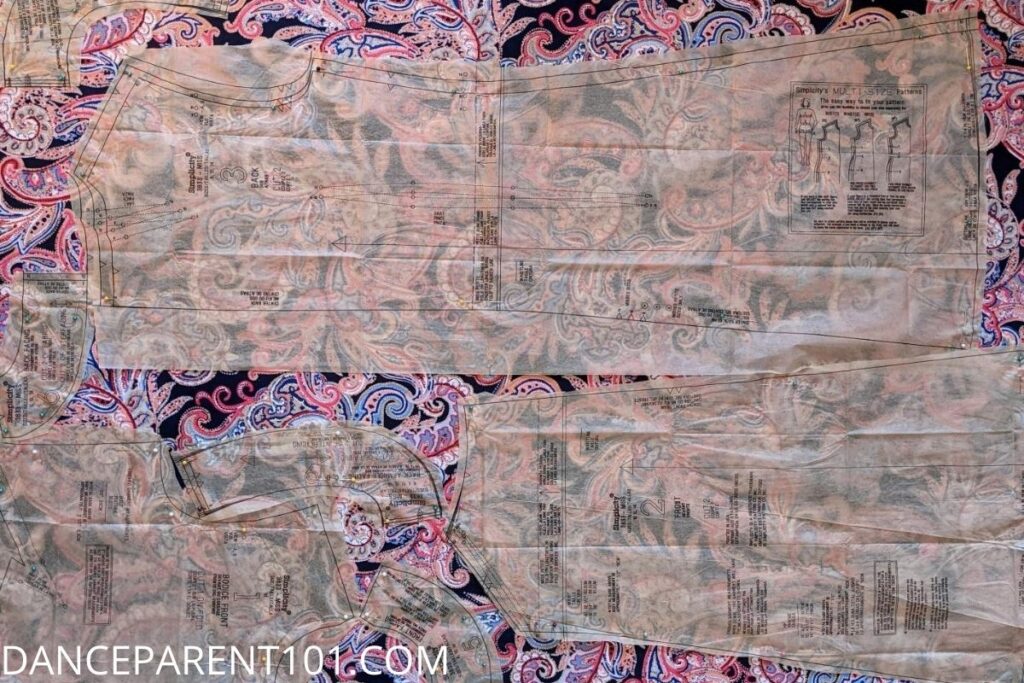
Step 9. Lay out the pattern pieces

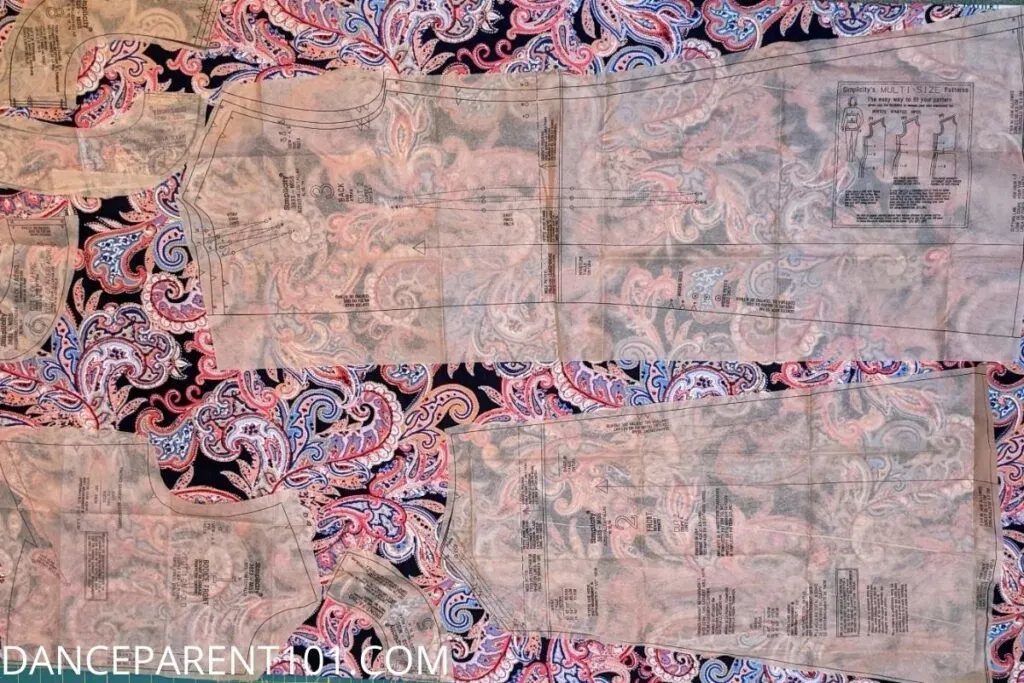
Place the pattern pieces on the fabric, following these rules:
- Some pieces might need to go on the fold. Put those pieces down (you won’t cut the fold) along the folded edge.
- All pieces will have an arrow marking the grain. Make sure the grain line lies along one thread in the fabric. Sometimes the arrow goes at an angle so the pattern piece is laid at an angle. Those pieces are cut along the bias to give them a little stretch. Just make sure to lay the grain line along the fabric’s grain.
- Many patterns will have an illustration in the instructions to help you lay out the pieces. You can use this as a helpful guide, but it’s fine to lay out the pieces any way that fits.
- If you don’t have enough fabric left to fold it in half and fit on a pattern piece, open out the fabric and see if you can fit the piece on the open fabric in two different places. Just remember to flip over the pattern piece so you have a right side and a left side.
- Make sure that none of the pieces overlap.
- Lay down all the pieces in the approximately correct locations before pinning.
- Do not cut anything until everything is pinned down!
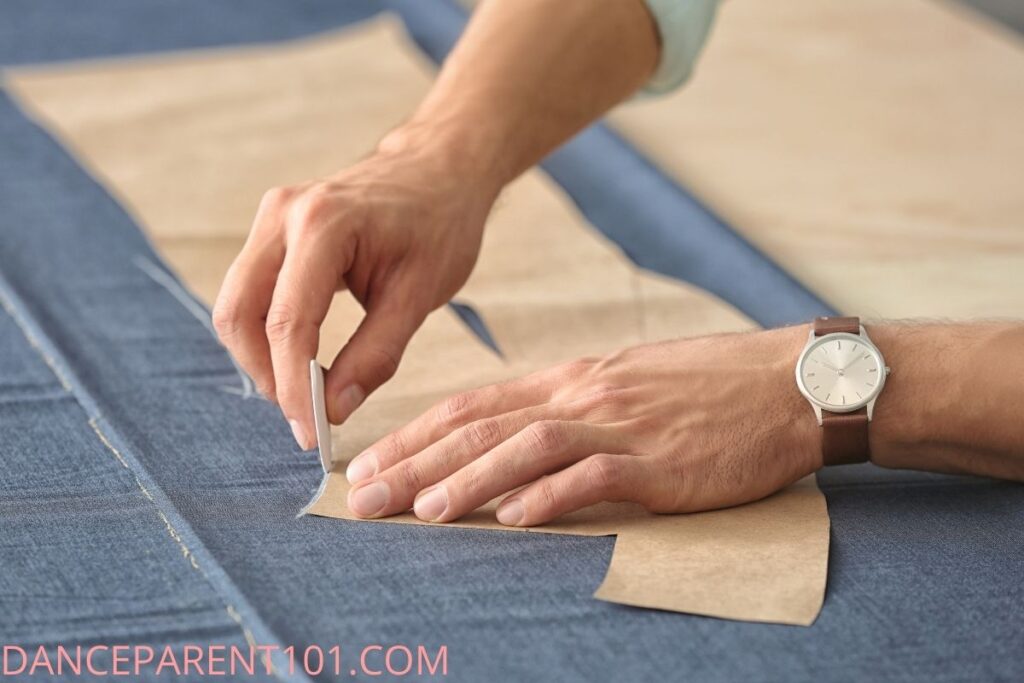
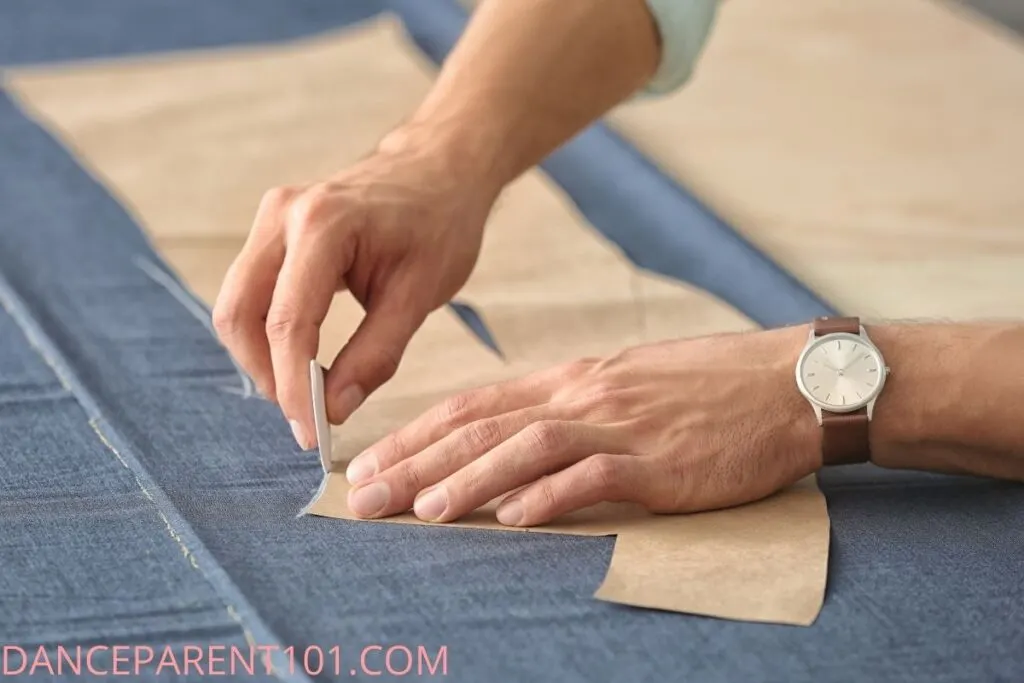
Step 10. Pin down the pieces
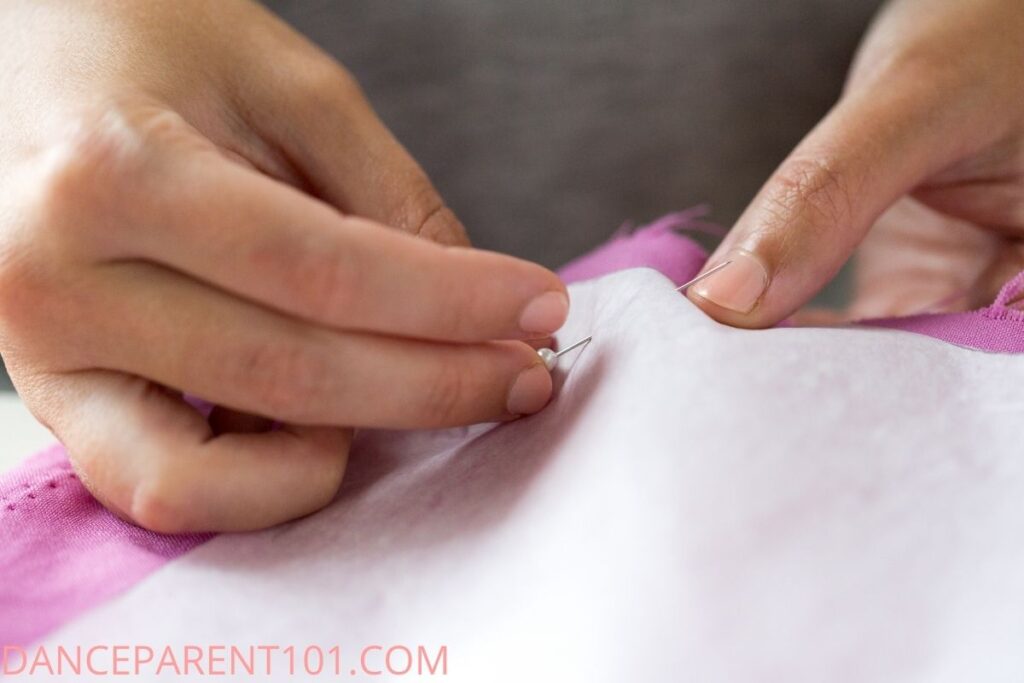
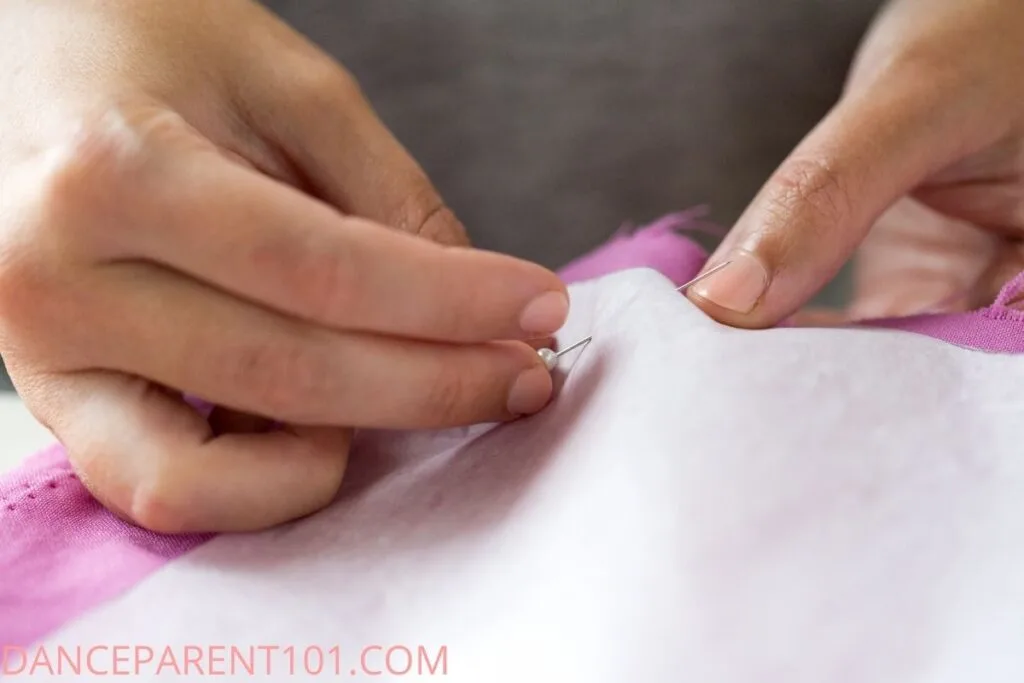
The pins should be placed parallel to the cutting lines (never across them), on the inside of the cutting line. You’ll need more pins on curved lines than straight lines. If you’re laying out your pattern on something soft, like carpet, try not to catch the carpet in the pins, or you’ll end up cutting it!
If you look closely at the image below you can see where I have pinned the pattern down on this material.

Step 11. Cut out the pieces
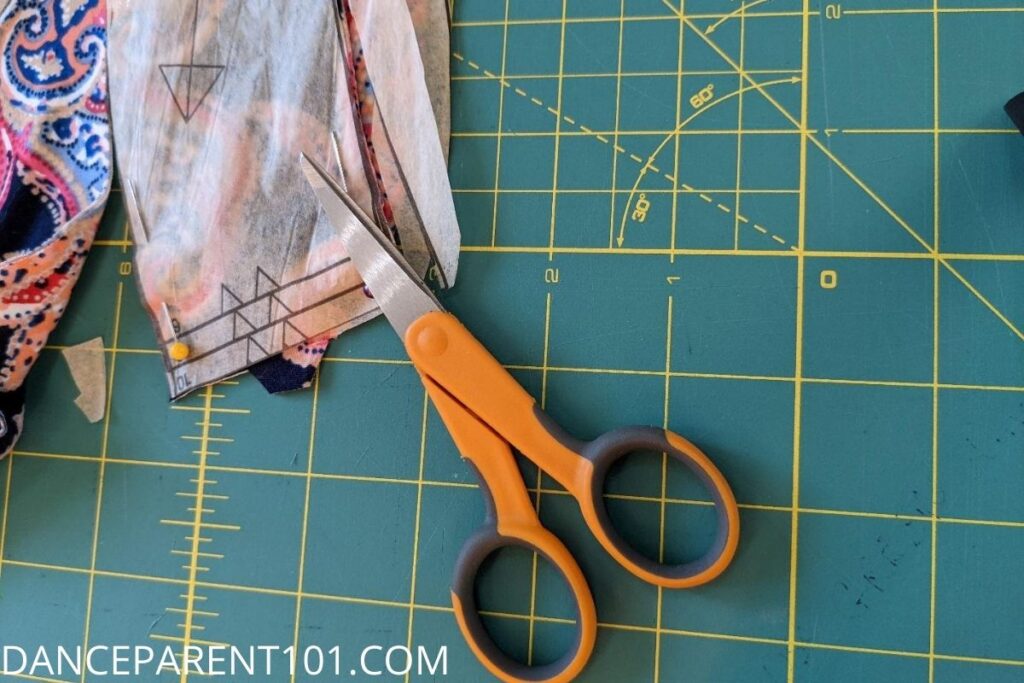
Cut along the pattern pieces following these rules:
- Never cut the folded edge of a piece placed on the fold.
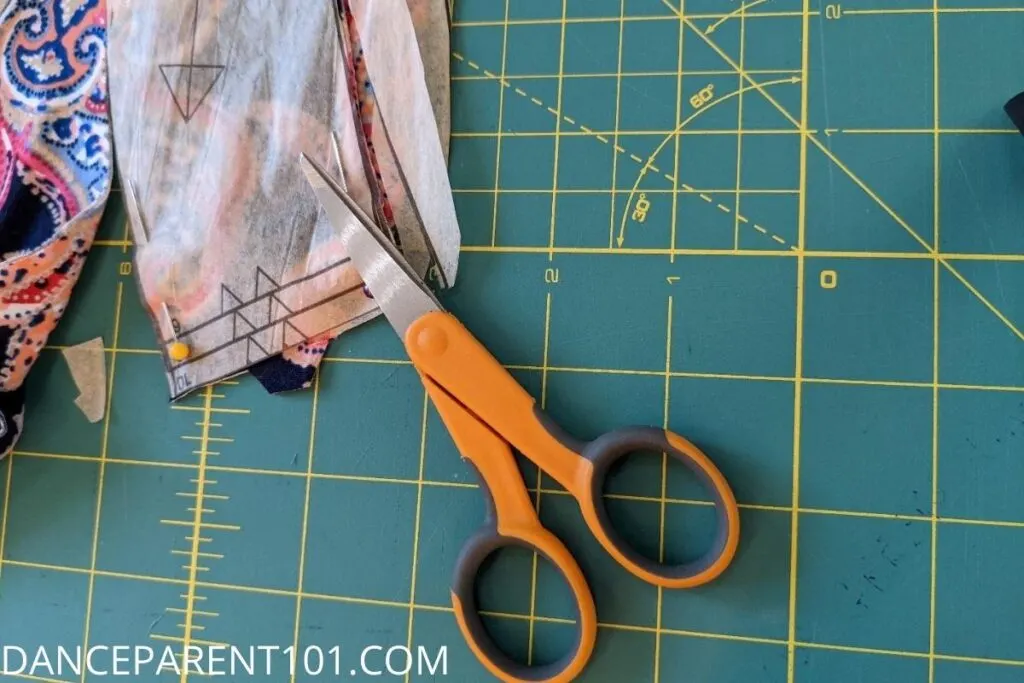
- Use small scissors to mark the notches. These are the single or double triangles found on the cutting lines. They are used when sewing to line up pieces.
- Use good sharp scissors that are only used for fabric. Cutting paper with your fabric scissors will make them dull.
- If you have access to a rotary cutter and cutting mat, this can be a fast way to cut out patterns, but it can also be tricky to maneuver the cutter around curves, and you will likely have to keep shifting the cutting mat. The rotary cutter also tends to push the pattern piece as you cut, so it works best for pattern pieces that are already cut along the cutting lines. I would not recommend this method for beginners.
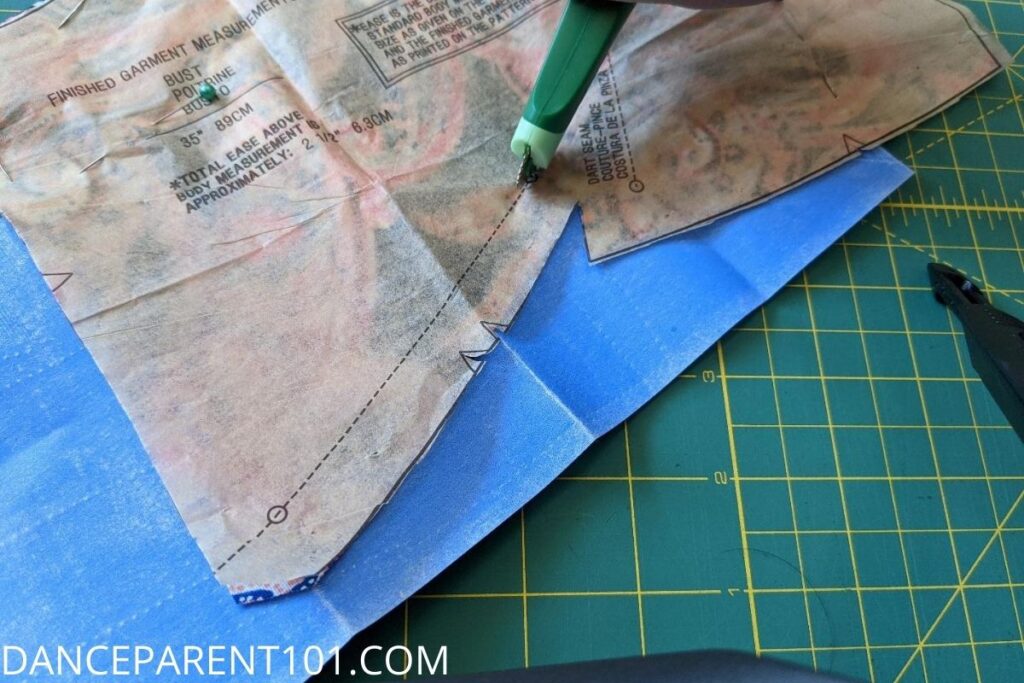
Step 12. Transfer markings
Transfer the markings, such as darts, fold lines, marks for buttons or trim, etc. onto the wrong side of each piece, using a tailor’s pencil, tailor’s chalk, chalk wheel, disappearing ink (if the pieces aren’t going to sit around too long), or a tracing wheel and tracing paper. You can even use a regular pencil in a pinch! Do not transfer the grainline arrows or markings for the waistline, center back, hem, etc.
A note about notions and other stuff you might need:
- Notions: When you look at the back of a pattern, it will have a list of notions, such as zippers and elastic, that you will need (See figure 2). It’s best to get that stuff while you’re there getting the fabric.
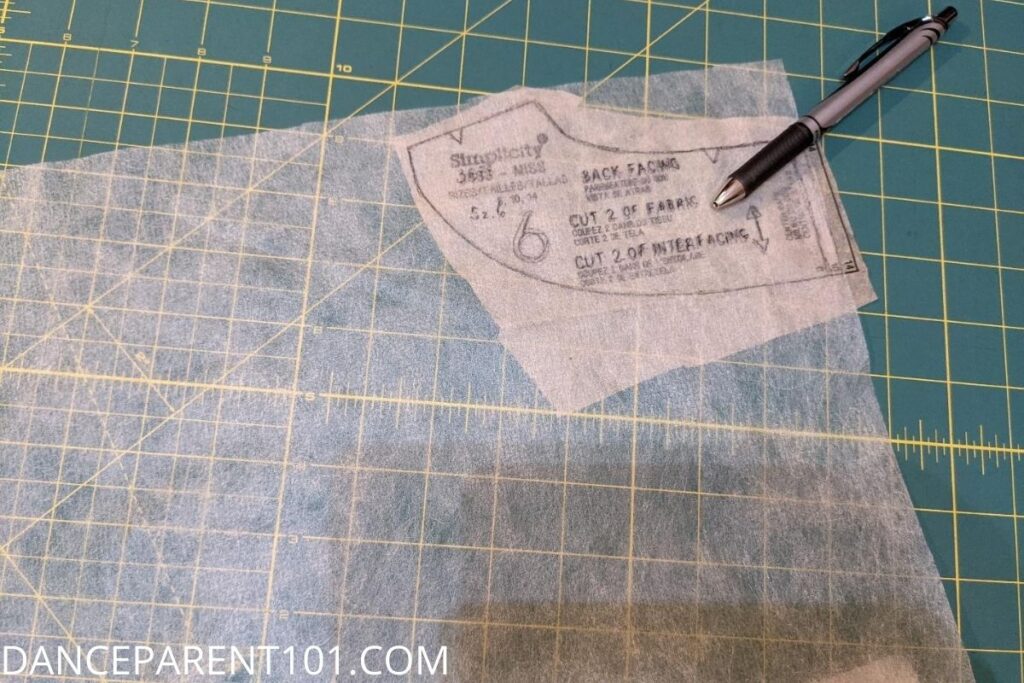
- Interfacing: Many patterns for dance costumes will use interfacing to make pieces stiffer. For example, you’ll need interfacing for hats and vests. This is easier to lay out, since it doesn’t have a grainline. Just squish on the pieces however they fit. They can even hang off the interfacing edge, since you’ll trim them down before attaching them (do keep the fold line on a fold). But again, if you are cutting some pieces individually, be sure to flip over the pattern piece for one copy.
- Lining: Lining fabric is typically something soft and silky. As long as you’re careful, it won’t show at all, so you don’t have to worry about it matching the outside fabric. Just make sure it won’t show through. I’ve been using satiny sheets from the thrift store as lining fabric for years.
Some patterns require a stiffer lining fabric, such as coutil or twill. Those patterns will mention the type of lining to use; and they’re typically for stiffer costume pieces, such as bodices and corsets.

You are Done!!!
That’s it! Sit back and bask in the glory of a job well done! Now you don’t have any more excuses not to help cut out those 15 peasant dresses you need for your next dance show or ballet recital.