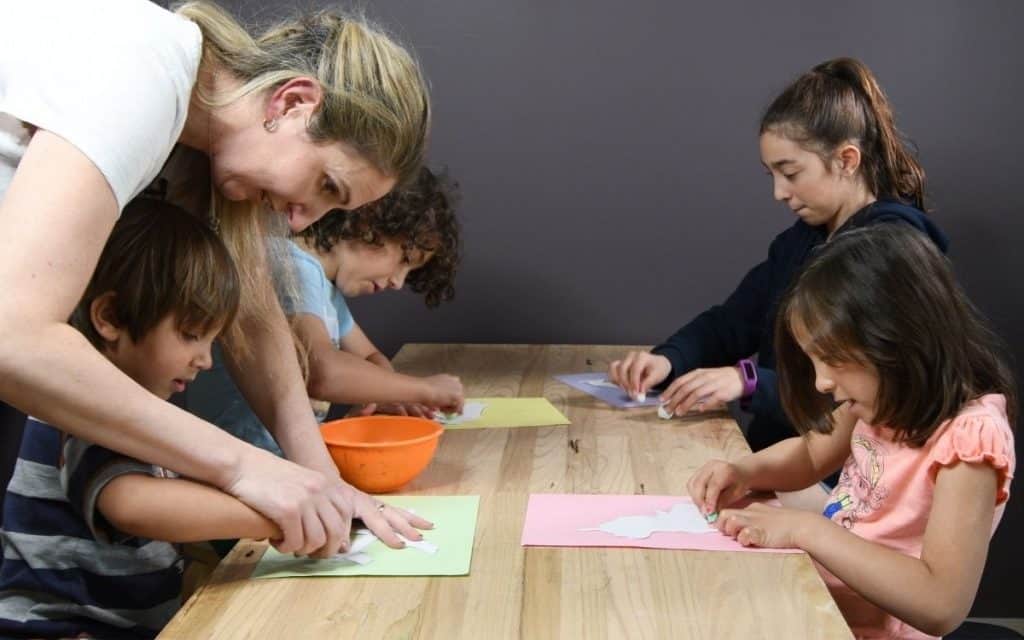

My kids absolutely love doing craft projects of any kind, and this inverted chalk art activity is no exception! With a little setup, it is a rewarding activity as the result whether produced by a younger child learning to develop their pencil grip or by an older child experimenting with color combinations or even ombre techniques will look like a piece of art worth framing!
For this activity I have created 30+ printable templates for you to choose from and to work with!!! Three of them are dance themed and the others have all been inspired by the creative dance lessons I produce and post on Youtube for kids.
To download the printables become part of the Dance Parent 101 community by joining the weekly newsletter here and get access to my whole vault of freebies which I regularly add to!
This awesome chalk or pastel art activity can be done as a supplement and add on to those dance lessons using the printable cutouts I have created that relate to each lesson. It could also be completed to accompany a curriculum area of learning, as an avenue for exploring textures and art techniques or simply just as a fun art or craft activity where you have kids of differing ages like I do!
MATERIALS YOU WILL NEED:
- Printouts of the designs you want to create into art. (Get them here)
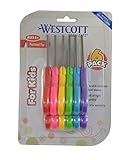
- scissors
- black card or paper
- masking or painters tape (Drafters tape is best although more expensive!)
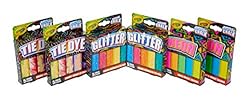
- different colored chalk (bright colors and neons are best!)
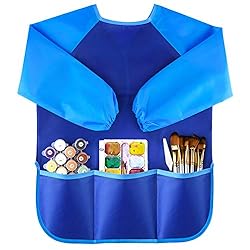
Optional - art smock
- Chalk & Pastel art Fixative Spray
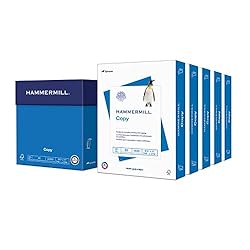
The following is all available on Amazon.com if you love the convenience of online shopping and delivery! I have also added in printer paper, and you may also need to look into making sure you have enough ink in your printer as well!


STEP BY STEP INSTRUCTIONS
This craft needs a little set up for younger kids, but older children with good cutting skills should be able to do this whole activity by themselves or may just need a little help. I have tried to make each design as simple as possible with the least amount of intricate cutting involved. I especially like the folded ballerina as it is super simple to cut out! Help will also be needed in sticking down the stencil once it is cut out and removing it.
Step One: Grab your materials and then Join the Newsletter to Download the Free Stencil Printables
The 30+ pages of figures to choose from and cut out for this project as I have mentioned are available in the Dance Parent 101 Newsletter Member Vault which is full of free printables and resources. You can join our community here and if you don’t enjoy the weekly newsletter simply unsubscribe at any time!
Step Two: Choose which designs you wish to create and print them out.
As I said the document has over 30 designs, and I will be updating and adding more to the document as I create more dance tutorials (I let the Dance Parent 101 Community know when I have added more to any freebies in my weekly emails) so you can either choose to print off the whole thing or just print off the pages you wish to use for this activity!
Step Three: Carefully cut out your designs.
Now you have chosen your designs, it is time to cut them out to create our stencil.
If you or your child want a perfect or fairly good stencil and the final picture to resemble the figure it is supposed to, you as the adult will most definitely need to do the cutting or at least help with some of the more difficult elements. I know my five year old gets upset when she doesn’t cut exactly on the lines as she isn’t happy with her finished product, especially because it often does not end up looking anything like her older siblings creations, or what we saw it should end up looking like on pinterest or a website.
On the other hand, my 10-year-old can cut out her own designs fine and needed little if no help from me!
Step Four: Use Masking or Painters tape to tack the design to the black paper.
It is really important that the stencil cutout is firmly attached to your black card or paper, but it is equally important that you are able to gently peel it off once your child has finished coloring the space around the design with chalk or pastels.
To do this I create many small loops of masking or painters tape, and place these around the edges of the wrong side of your design. There is no need to place them in the middle, you really need them to be placed around the edges so they stencil does not curl up and you do not get chalk in the black space underneath the stencil.
Once you feel as though you have placed enough looped masking tape around the edges of your design, flip it over and press it down into the centre of the black paper or card.
Press down on the stencil to firmly attach it to the paper and smooth out any curled edges or bubbles.
Step Five: Use Chalk to color around the stencil.
Start on top of your stencil, near an edge and use an outward stroke to move from the stencil onto the black card. Continue to use this movement and stroke always starting ontop of your stencil to completely color the black space around the outside of your stencil.
It is important to make this stroking movement in one direction as when you start moving the chalk in various directions you will inevitably lift the stencil and you won’t get a lovely crisp line that gives you the shape of your design. Refer to the photos and videos which help explain this step in further detail!
Step Six: Smudge the chalk or pastel together.
Use your fingers to smudge and blur together the powder from the chalk strokes you have created around your stencil, being careful not to lift the stencil while doing so. Always try to work in a motion that is outwards from the stencil so you don’t accidently pick up one of the edges and get chalk under the stencil.
Step Seven: Clean your hands!
It is really important that you have no chalk residue on your hands for the next step as to get a nice clean image we need to make sure that no chalk get into the black space under the stencil, and as we will be using out fingers to peel of the stencil in the next step, you could easily transfer chalk from your fingers onto this space if it is still all over your fingers from the previous step.
Step Eight: Carefully peel the stencil off.
Lifting the edges of the stencil, carefully and slow peel it back an off. Start at one corner or side and work your way backwards. If you do this too quickly, like ripping off a bandaid, you will probably rip some of the card or paper with the masking tape. Take your time with this step – it will be worth it in the end!

Step Nine: Enjoy your artwork.
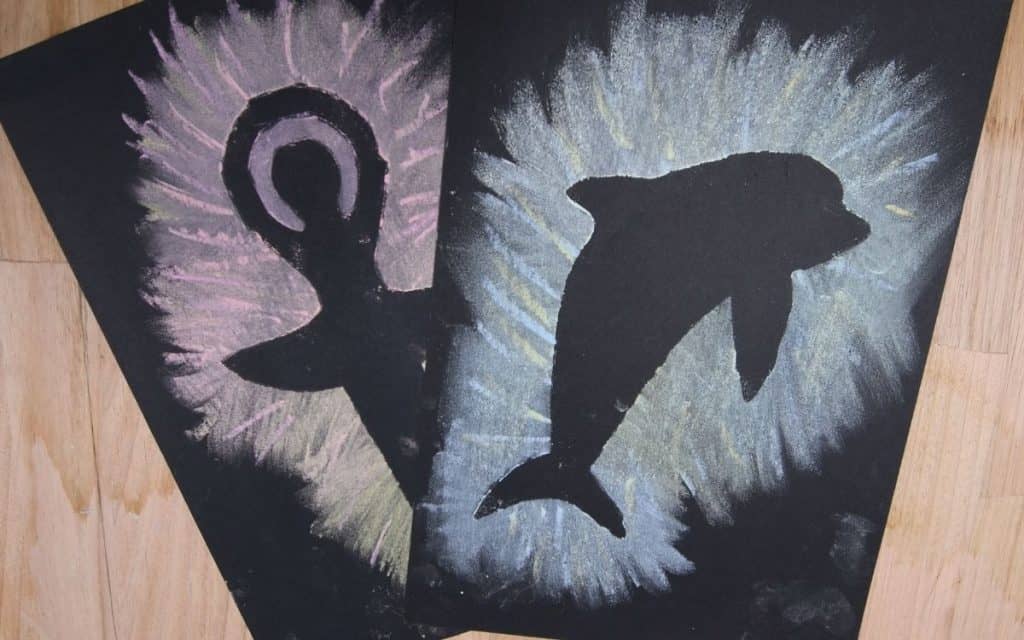
And Ta Da – your inverted image is now revealed and you have a wall worthy piece of artwork to hang!
Be careful not to touch the chalk on the artwork at this stage either as there will always be a residue that can transfer from your fingers not only onto the artwork but onto your clothes. One way to help this is to purchase a fixative that when sprayed over the art sets the dusty medium or materials in place. Fixatives are not too expensive but need to be used in a well-ventilated area as they are strong-smelling, need time to dry, sometimes need several coats, and can cause changes in color to the chalks and pastels you have used.