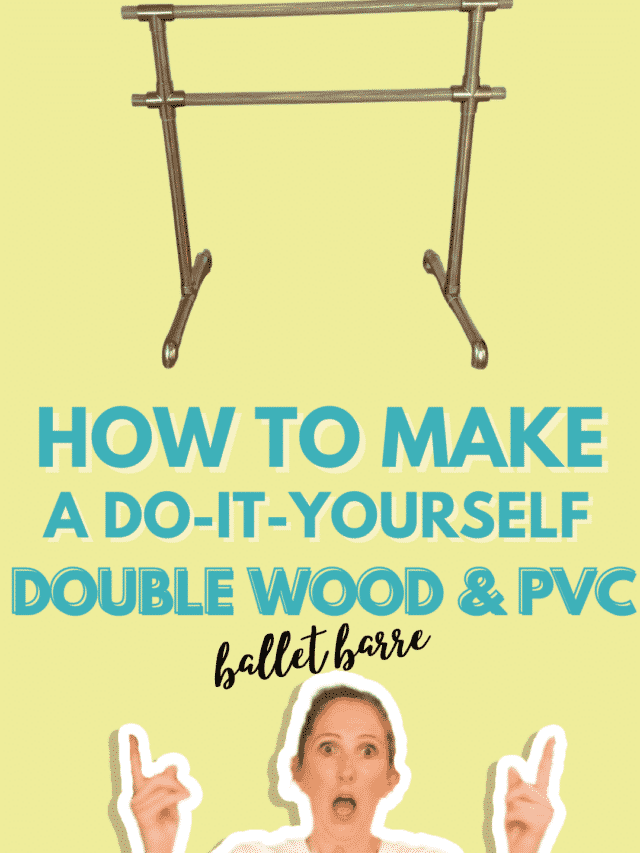

A PVC or plumbers pipe DIY home ballet barre is a cheap alternative to buying one. Adding in some wooden dowel or barres in replace of PVC for the handrail can add that extra touch to your barre to not only help weigh the lightweight PVC down making it sturdier but also adding that studio feel to your ballet barre.


There are some different ways you can approach making a PVC and Wood barre. The first option is to decide whether you want to make a double or single barre. Then the next option is deciding on whether you wish to make it from U-PVC drainage pipe which has 88-degree fittings or from C-PVC Pressure Pipe which has 90-degree fittings. Both have their advantages and disadvantages and also create different looking barres. For this project, the advantage of using C-PVC pipe also known as pressure pipe was that the final barre is not only functional but also looks really good! But if you are after a tutorial on how to make a wood and PVC barre using U-PVC also known as drainage pipe then please check out this tutorial here instead!
STEP BY STEP INSTRUCTIONS – HOW TO MAKE A DIY DOUBLE BALLET BARRE


For a pdf printout with a list of the tools, materials and cuts you need to make as well as a small diagram and simple instructions click here to join our newsletter. This way you have access to the member vault with all my free printables and more!
- Step 1: Gather your tools and materials.
- Step 2: Cut your PVC pipe
- Step 3: Assemble the fittings, Wood and PVC pipe
- Step 4: Screw and Drill the wooden barres in place
- Step 5: Secure the rest of the fittings together with a rubber mallet, glue or screws
- Step 6: Clean and Paint your PVC and wood barre.
- Step 7: Your DIY Ballet Barre is ready to use!
- DIY Ballet Barre E-Book
- ALTERNATIVE DESIGNS
Step 1: Gather your tools and materials.
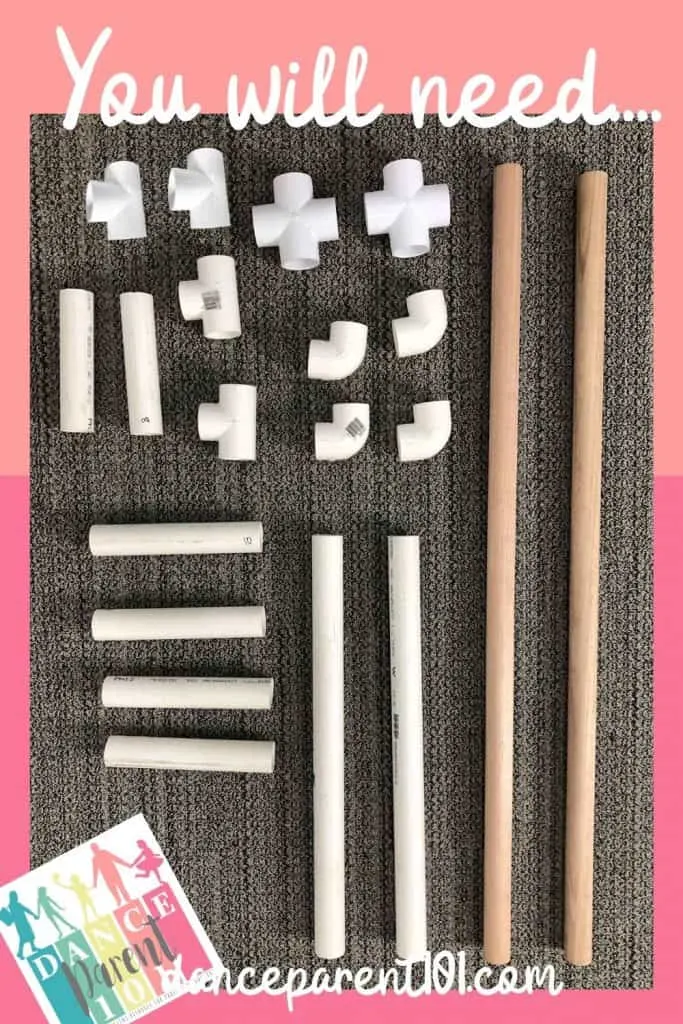
WHAT YOU WILL NEED
TOOLS or EQUIPMENT:
- Hack Saw
- Rubber Mallet
- Measuring Tape
- Steel Wool
- Permanent Marker
- 2 Chairs or 2 Work Horse or even bricks to lie pipe across to cut
- Electric Hand Drill with drill piece for making holes.
- Screwdriver
- 4 x button head size #8 – 3/4″ length screws
OPTIONAL EQUIPMENT - Acetone for cleaning marks and printed barcodes off pvc
- Glue for PVC pipes or Screws if using to secure your barre
- Paint for plastic surfaces
- Sanding paper for your wood
- Wood Varnish
MATERIALS
- C-PVC Pressure Pipe 1.5″ diameter (40mm)
1 x 10 foot long (3m)
You need a total of 108″ which is basically exactly 9 feet, but I like to have a little extra to allow for off measurements and cuts. - 4 x elbows for pressure pipe 1.5″
- 4 x tees for pressure pipe 1.5″
- 2 x crosses for pressure pipe
- 2 x Wooden Dowel 1.5″ Diameter 40″-60″ long each (please read the notes below to get the best fit and size!)
I bought my wooden beams as one long 8-foot piece which was cut in half into two 48″ or 120cm long pieces. Whatever you are able to source, I would not recommend going shorter than 1m or 40″ for each length. I would actually recommend trying to source wood beams longer than this, up to at least 60″ or 1.5m long as I felt my final barre was a little short.
Another IMPORTANT note on buying your timber dowel. PVC fittings and timber dowel are not made to fit perfectly into each other. You may find that you can’t find exactly 1.5″ for the width of your wooden barre – but slightly larger or smaller because that is how they manufacture it. Also 1.5″ is usually the measurement of the inner hole of the pipe and not the entire diametre and so the hole in the fitting will be bigger than 1.5″ to accommodate the PVC casing. I have stated in the materials list to buy 1.5″ timber just to give you a measurement to begin with and look for because it will be smaller than your fittings and will fit, but you might find something that fits more snuggly in store!
In any case, make sure you carry your fittings with you to the timber section of your hardware store and slide them onto the different sizes of timber to get your perfect fit. My timber was 42mm in diameter which when you transfer to inches is actually 1.65 inches and it slid in perfectly into the drainage pipe fittings but was a bit smaller for this project using cPVC or pressure pipe! But you want to ensure your wooden dowel is smaller and not bigger than your fitting as you will be screwing the wood in and so if it is smaller you will just end up with some space in the fitting which is fine after you have secured it with a screw from underneath as I do in this tutorial!

Step 2: Cut your PVC pipe
For this DIY ballet barre you will need to cut your PVC pipe into the following lengths:
- 4 x 10″
- 2 x 26″
- 2 x 8″
HOW TO CUT PVC?
If your hardware or plumbing supply store can’t make the cuts for you and you have access to a miter saw and know how to use one – then go ahead and use that. If you have no idea what a miter saw is or how to use one, don’t worry, I didn’t use one.
I used a simple hacksaw and the video above shows you exactly how I did it. I simply measured a length I needed, marked this with a permanent marker and laid the pipe onto a couple of chairs for support, and then used the hacksaw to cut the pipe where I had marked. Use steel wool or a scourer pad to quickly clean the cut edge of debris.
You can also use this same technique to cut your wood if needed – My hardware store cut mine – although as the wood is substantially heavier and harder to cut through I would advise having the wood held more securely in clamps or a vice to a sturdy work desk or something similar before attempting to saw it.
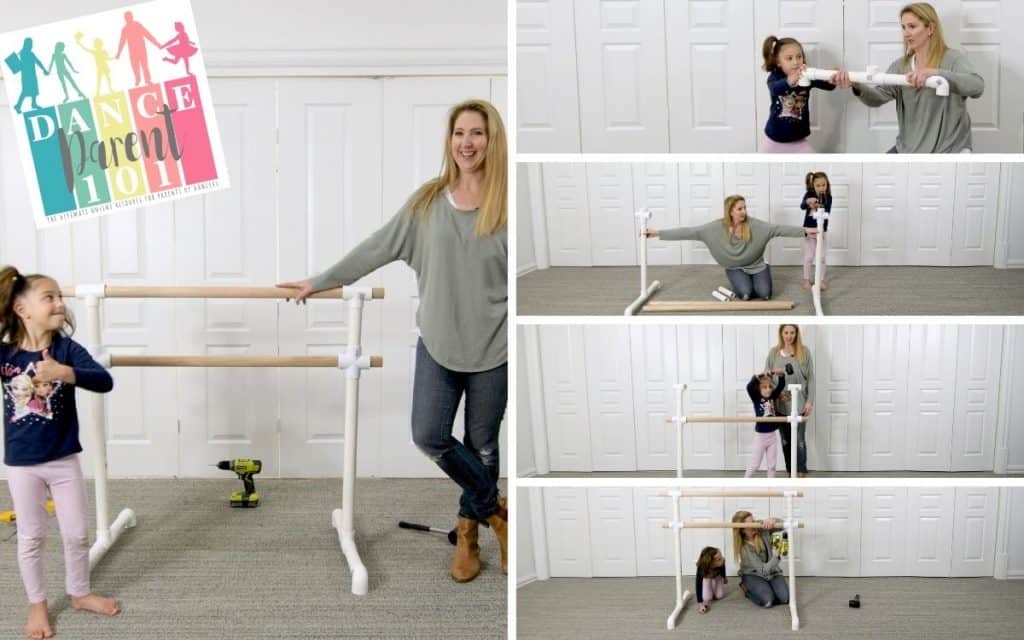
Step 3: Assemble the fittings, Wood and PVC pipe
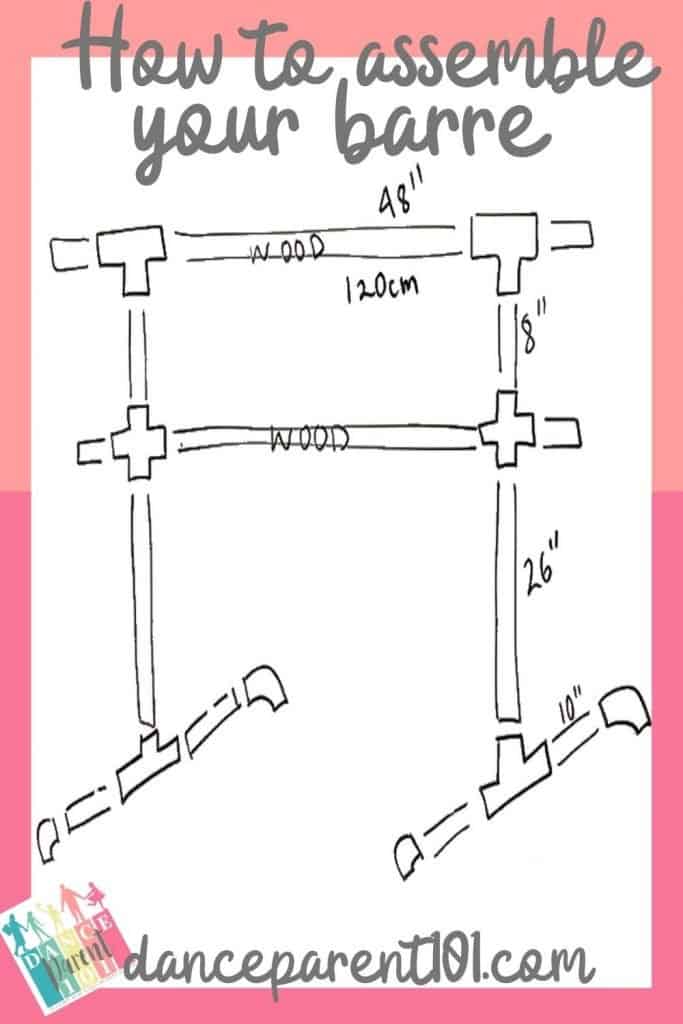

The image above should hopefully give you a good visual on how to put all the pieces together and the video gives you a step by step walk through of how to do it as well…..but if you would like to read the instructions, on how to build this approximately 41″ tall ballet barre that I think is great for both kids and adults to use keep on reading here.
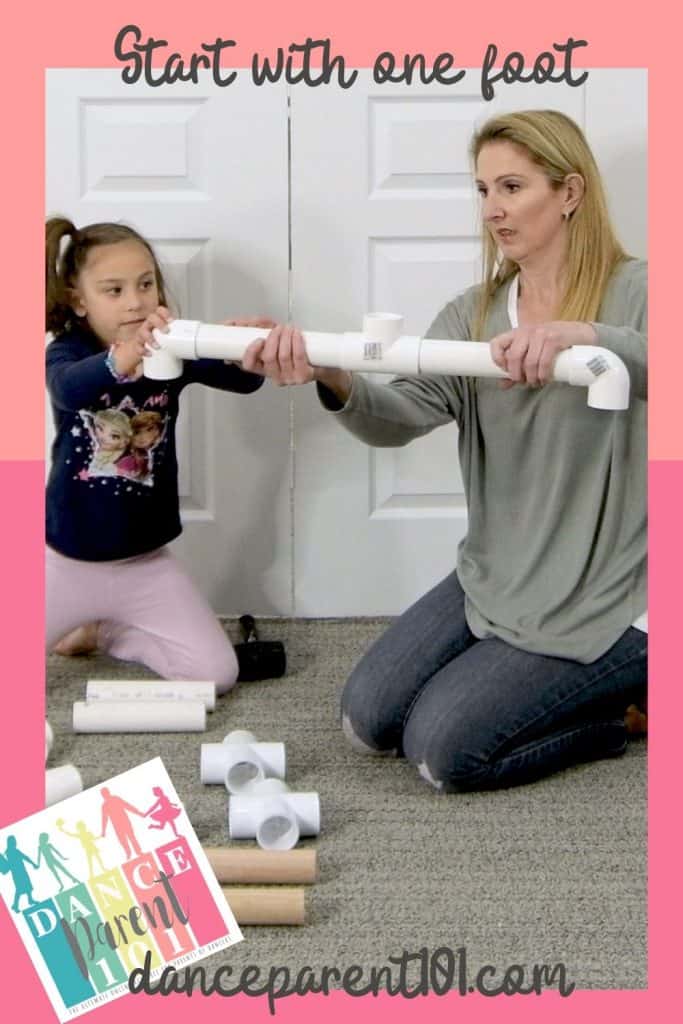
Start with the feet.
Grab one elbow fitting and attach a 10 inch piece of pipe to each horizontal opening. Put a tee fitting on the other opposite end of each pipe. The single opening of the tee should face upwards and the two elbows downwards. You should be able to stand this structure now on the floor. Follow these instructions to create another foot exactly the same and place it about 3 feet away from the first barre foot you made.

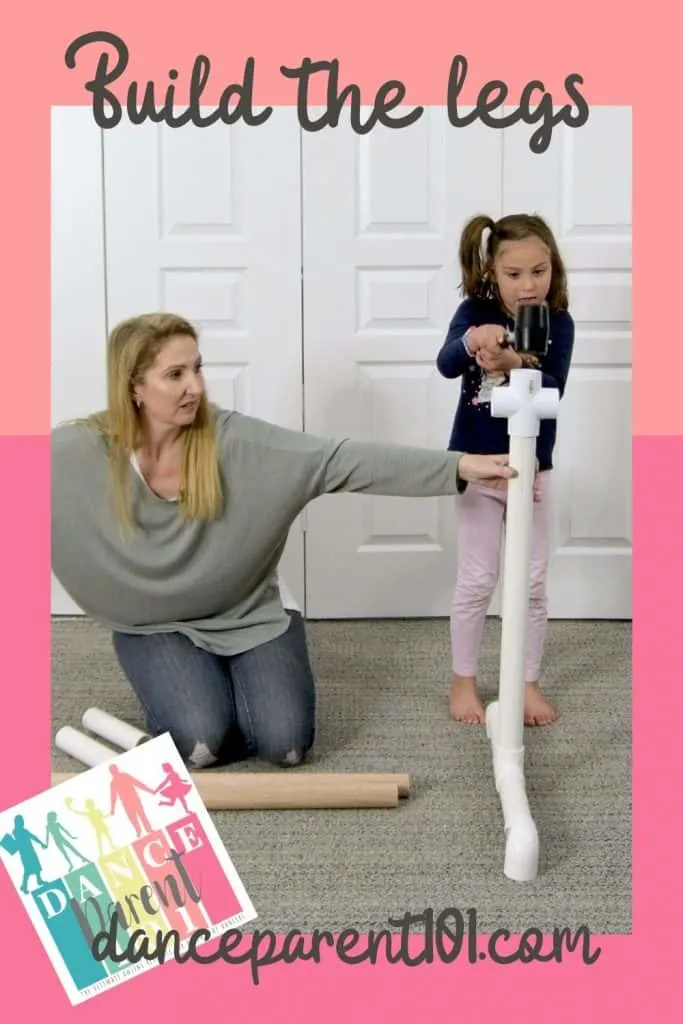
Insert the legs
Insert one of the 26″ pieces into the tee fitting that is facing upwards on one of the feet. At the other end of the 26″ fitting push on a cross. The cross should not be in line with the foot rather it should make the shape of a cross with the foot. Start building the other leg up to this point as well.

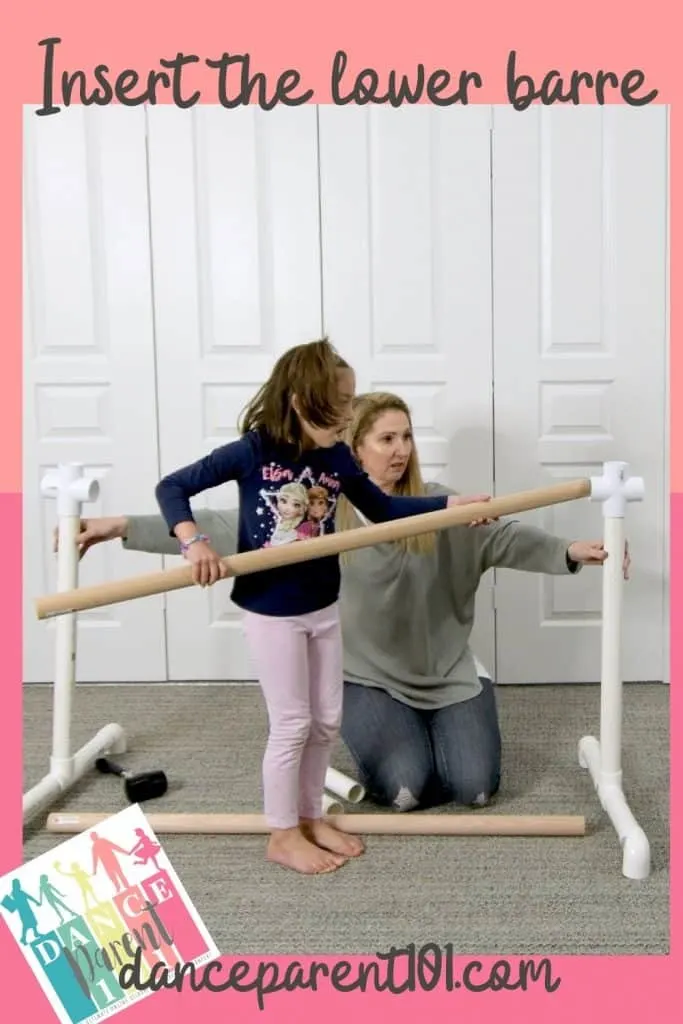
Insert the lower barres
Insert the lower barre into the opening of the crosses. Make sure you push the barre through so there is about 2 inches of barre on the outside or otherside of the cross fitting

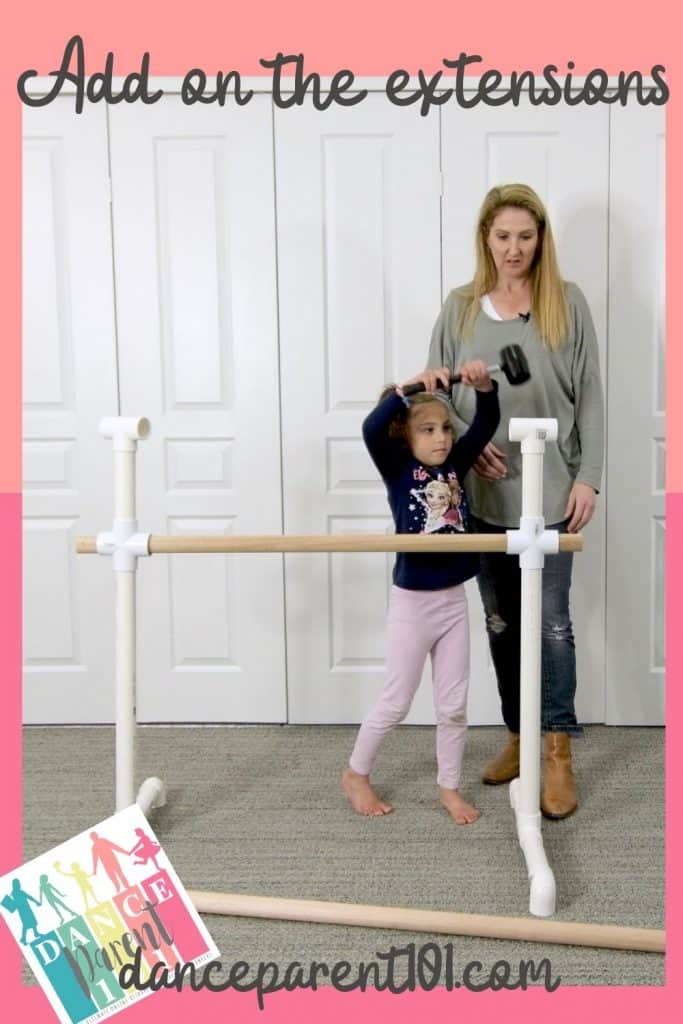
Add on the extensions to make it a double barre
Place the 8-inch pieces of pipe into the top openings of the crosses. Then add the tee fittings so that they actually look like a capital letter T. The tee should face the same direction as the cross, not as the feet.

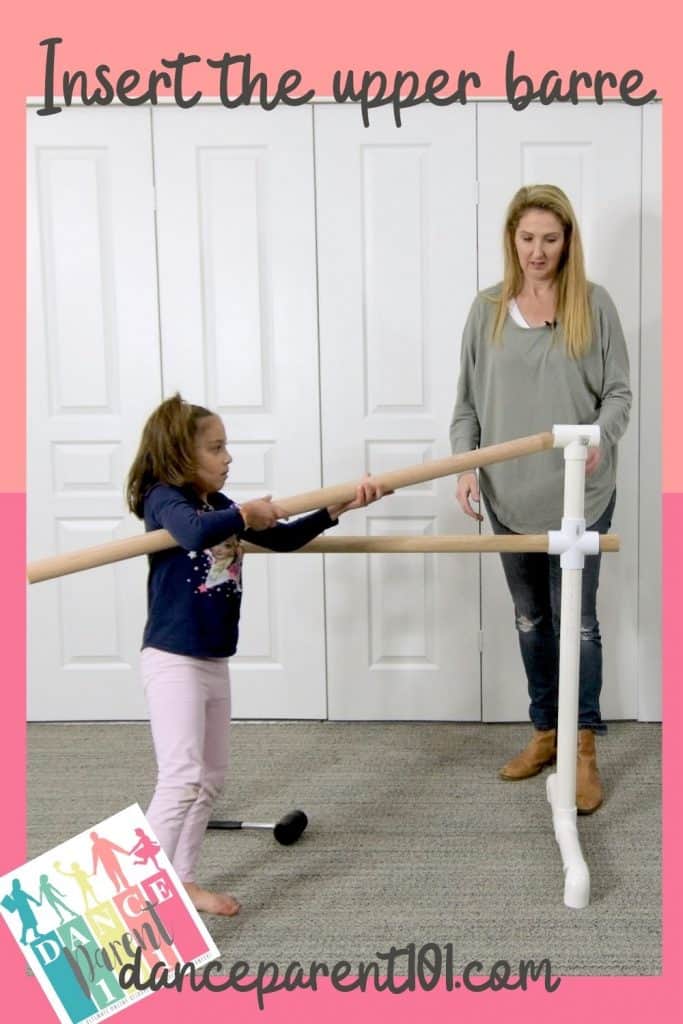
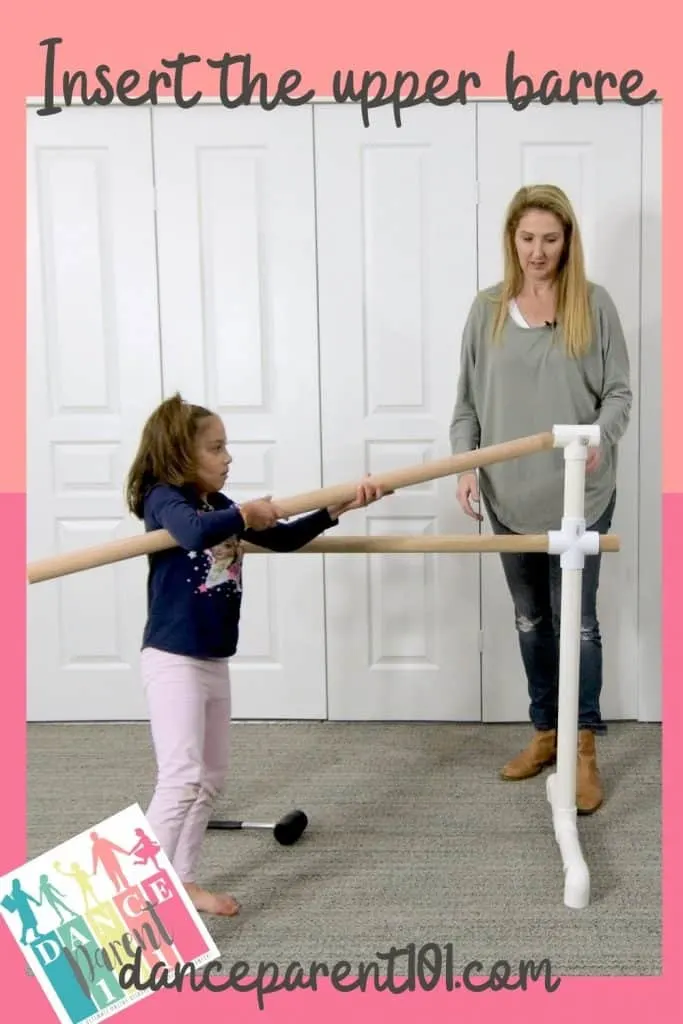
Insert the Upper Barre
Insert the upper barre into the opening of the tee fittings. Make sure you push the barre through so there is about 2 inches of barre on the outside or other side of the cross fitting


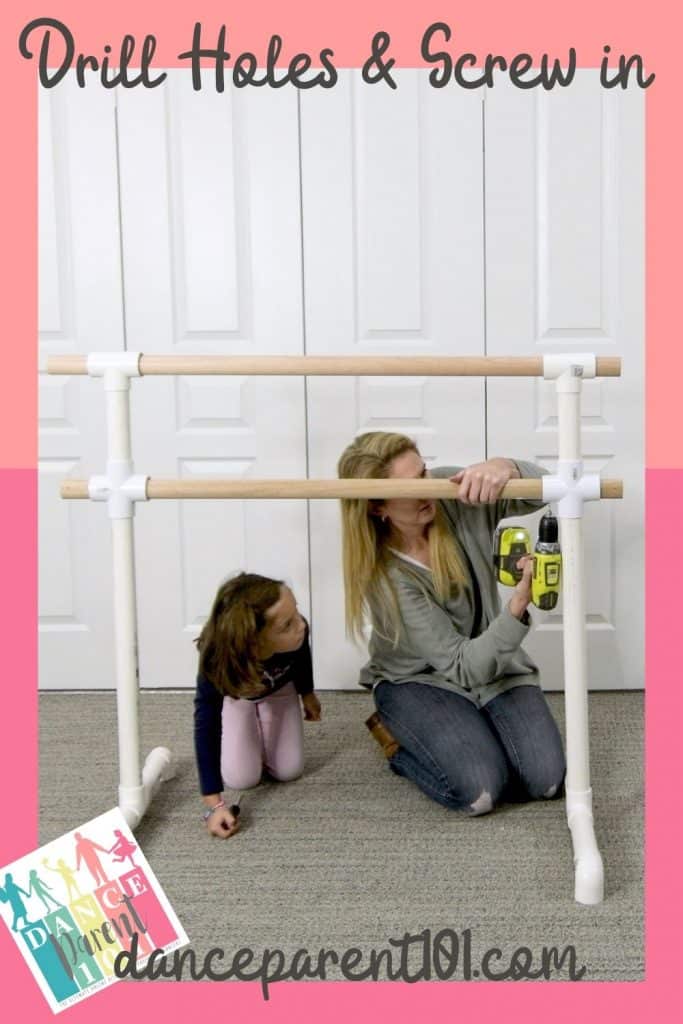
Step 4: Screw and Drill the wooden barres in place
Measure and leave around 2″ of barre overhanging on the outside of your fittings. Then drill one hole underneath each of the fittings where the barre passes through. Drill the hole through both the fitting and into the wooden barre – Making sure the barre hasn’t moved and there are still 2 inches of overhang on the outside of the fitting. Then using your screwdriver, screw in your button screw to secure the wooden barre to the fitting.
Drilling a hole and then screwing a screw in by hand are just some measures I take to ensure I do not split the wood, as although this has not happened yet when making ballet barres it has occurred on some other projects when I did not take the same precautions.

Step 5: Secure the rest of the fittings together with a rubber mallet, glue or screws
I have to be honest, after ensuring the wood would not fall out by screwing them in, my five year old daughter used this barre for several months as it was for her online tap lessons. I simple hammered or pushed the leg and foot pieces back together each time they fell out. I recently used plumbers glue to join the feet together because it was annoying how often it was coming apart and spray painted the barre and the tutorials on how to do that will be up soon!
You also have the option of making holes in all the fittings and screwing them together, although I have found that using plumbers glue develops extremely strong adhesion and adds sturdiness to your barre!
When gluing I would advise you to not glue the legs into the feet so that you can either swivel them to the side or take them off for storage as I explain in the video tutorial. But note that this does tend to make your barre a little less sturdy so if you have the space to leave your barre out, glue them in as well!
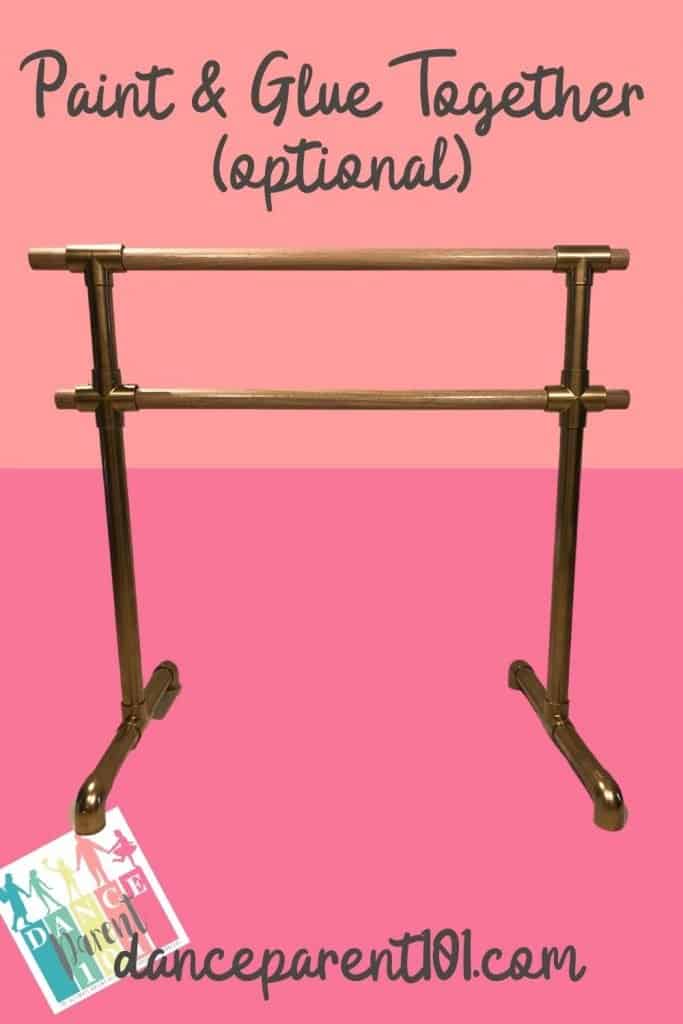
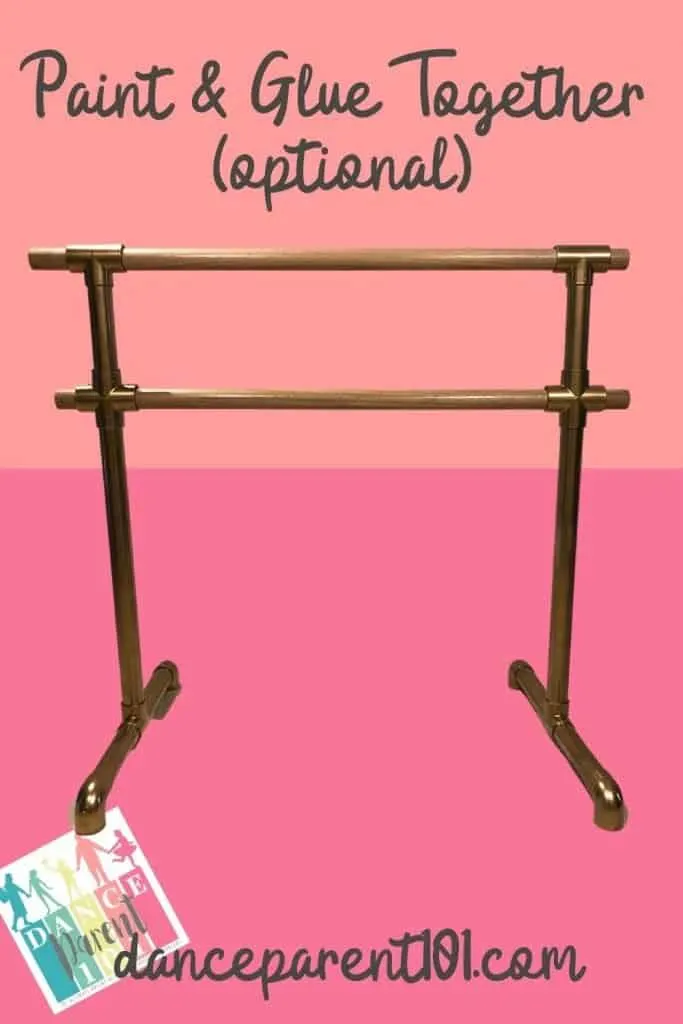
Step 6: Clean and Paint your PVC and wood barre.
Most PVC glues will leave colored marks around the fittings – my glue was green and so there were green marks in all the joints. I did try other glues which are clear but found the PVC plumbers glue created a really strong bond that made the barre sturdier overall, so you might want to paint your barre to hide these marks as I did.
Use a paint made for plastics and follow the directions on the paint. I used spray paint to do mine. Also, make sure you have removed the wood to ensure that you don’t get paint all over your barre.
For your wood, you should sand it down with fine grade sanding paper and then either use wood oil or varnish to finish off your barre. I used a clear varnish and coated my wood three times and I am really happy with the results! This will help to ensure it stays smooth and does not splinter. It also makes it easier to clean and allows the hand to move smoothly along it.
TOP TIP:
Mark each drill hole on your ballet barre with a number. Write the number right next to the hole – it really doesn’t matter if you can see this through your paint as the PVC fittings will cover it. Also mark the corresponding holes on the inside of your PVC with the numbers. This way when you go to put your wooden barres back in it will be much easier to put the screws back in. I did not do this and it took me ages to work out which barres and holes matched!
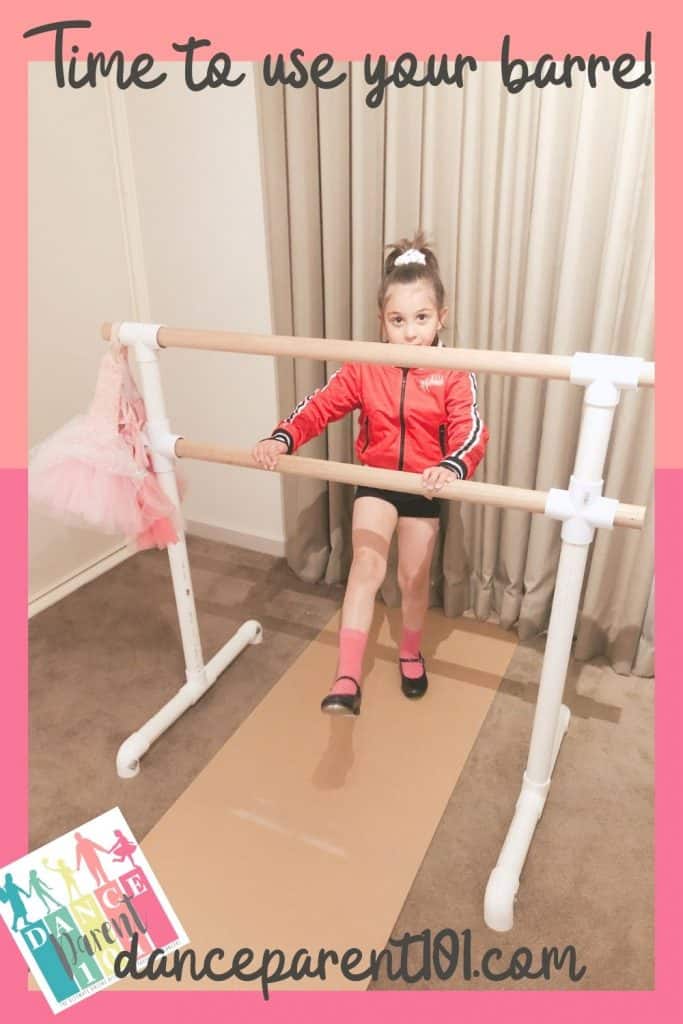
Step 7: Your DIY Ballet Barre is ready to use!
If you have glued your PVC together and taken the wood off to paint it, reassemble your barre and then it is ready to use. Just remember Ballet Barres are used for balance and for stretching not for hanging off or for gripping as you just might find

DIY Ballet Barre E-Book
Why try and work it all out on your own, when I have gone and compiled everything you need to know about making a DIY Ballet Barre into a book! Check it out the e-book where we have newly designed instructional manuals, tips and advice as well as links to the video tutorials, all in one location.


ALTERNATIVE DESIGNS
If this particular ballet barre isn’t what you were after check here for the DIY Ballet Barre home page where I have instructions on how to make single ballet barres, barres from galvanized steel, and others using wood. I also have a few suggestions on different styles of feet as well as on how to weigh down your barre so it doesn’t move or what to put under the feet so they don’t scratch wooden floors.
Check Out Our Google Web Story!