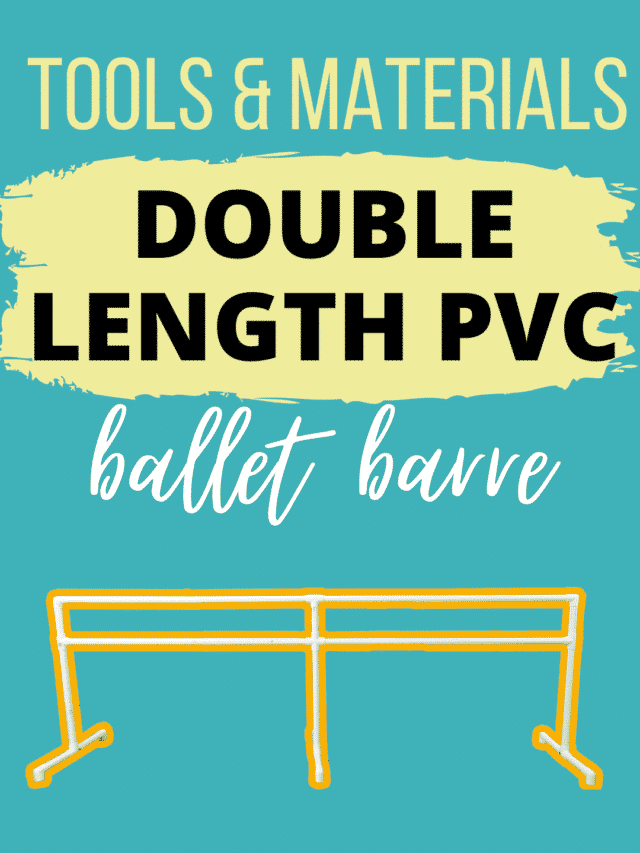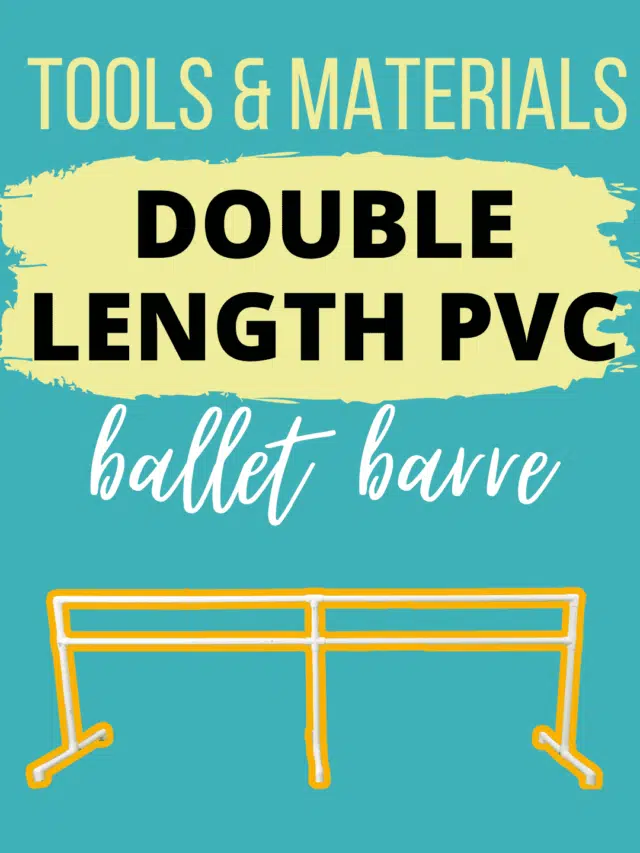

This Do It Yourself Ballet Barre made from PVC pipe is double the length, double the barres, and double the fun to make and use! It is extra-long just about 10.5 feet long (3.2m) meaning that you can have up to four dancers use this barre at the same time, which is great for families with a few children doing dance and ballet!

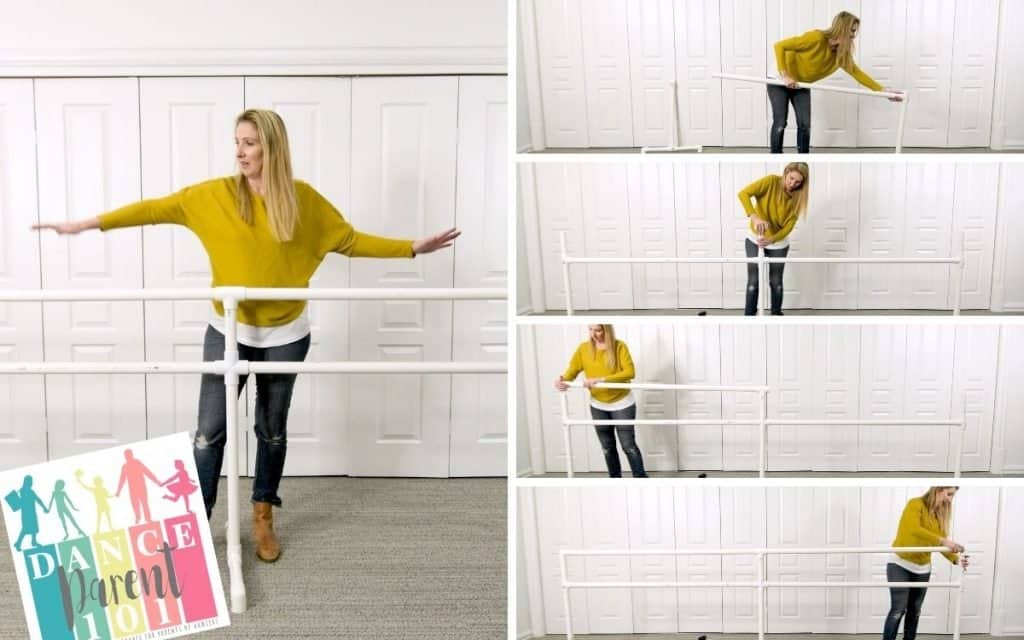
This barre is simple to build and make, even if it does have a lot more pieces to cut and put together compared to the single length version which you can view here. In the video you will see that I put it together all by myself
STEP BY STEP INSTRUCTIONS – HOW TO MAKE A DIY DOUBLE BALLET BARRE
For a pdf printout with a list of the tools, materials and cuts you need to make as well as a small diagram and simple instructions click here to join our newsletter so you can access the newsletter member area with free printables and more!
- Step 1: Gather your tools and materials.
- Step 2: Cut your PVC pipe
- Step 3: Assemble the fittings and PVC pipe
- Step 4: Secure the fittings together with a rubber mallet, glue or screws
- Step 5: Paint your PVC Ballet Barre
- Step 6: Your DIY Ballet Barre is ready to use!
- DIY Ballet Barre E-Book
- ALTERNATIVE DESIGNS
Step 1: Gather your tools and materials.
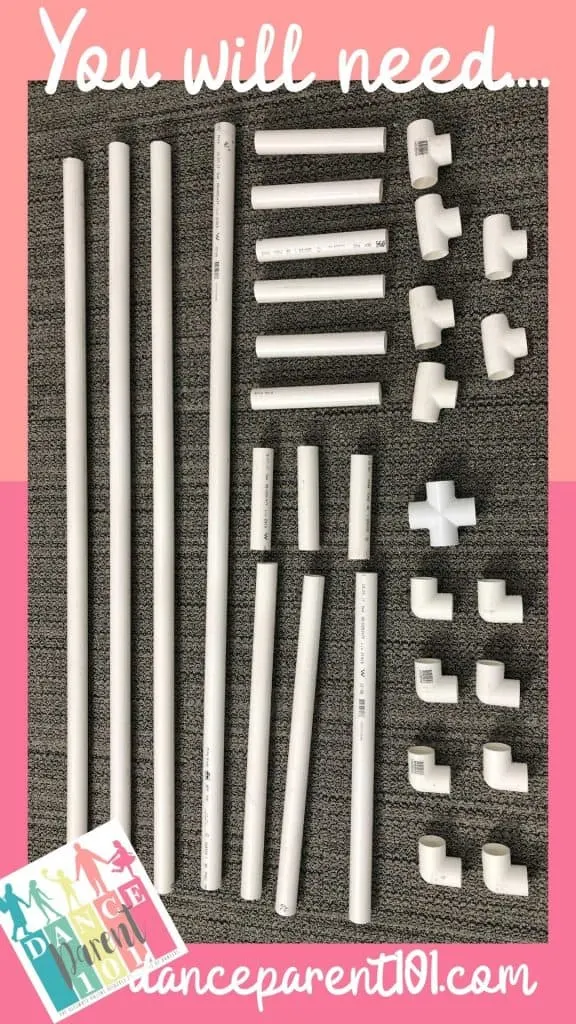
WHAT YOU WILL NEED
TOOLS or EQUIPMENT:
- Hack Saw or pipe cutter
- Rubber Mallet
- Measuring Tape
- Steel Wool or a kitchen scourer
- Permanent Marker
- 2 Chairs or 2 Work Horse or even bricks to lie pipe across to cut
OPTIONAL EQUIPMENT - Acetone and cloth for cleaning marks and printed barcodes off pipes
- Glue for PVC pipes or Screws if using
- Paint for plastic surfaces
MATERIALS
- C-PVC Pressure Pipe 1.25″ diameter (32mm) total of 34 feet
2 x 20 foot long (6 meters)
OR
4 x 10 foot long (3 meter) PVC Pressure Pipe - 8 x elbows for C-PVC pipe 1.25″
- 6 x tees for C-PVC pipe 1.25″
- 1 Cross for C-PVC pipe 1.25″
When buying your pipe, it will generally come in set lengths of either 20 or 10 feet (6 or 3 meters). Some stores may sell their pipe in shorter lengths such as 5 feet or 1.5 meters. As the longest piece you need is this measurement (60″) it would be fine to buy 7 of these. I would not buy pieces shorter than this though and I would cut my longest pieces first – exact measurements below.

What type of PVC pipe should I use?
When you go to your plumbing supply or hardware store you will find that there will be two different types of pipes available to you. For this barre, I have used C-PVC pipe commonly also called pressure pipe which has fittings that have 90-degree angles. This type of pipe is more commonly used in irrigation, for hot tubs, spas, and pool systems.
The other type of PVC pipe you might come across is U-PVC or drainage pipe and the fittings for that pipe have 88 degree angles to enable water to easily drain through them. For more information about these different types of pipe and why 1.25″ pressure pipe is virtually the same width as 1.5″ drainage pipe and for a tutorial where I make a barre with drainage pipe click here.
What diameter pipe is best?
For this particular ballet barre I have used 1.25″ or 32mm diameter pipe as I found this width felt best under my hand and wasn’t too wide for my kids either. If you are unable to get 1.25″ I have seen other tutorials where 1.5″ or 40mm PVC pipe was used so it will be ok just a little chunkier. If you are using drainage pipe (refer to the previous point about which type of pipe you should use) 1.5″ has the around the same size outer diameter as 1.25″ pressure pipe anyway.
Step 2: Cut your PVC pipe
For this DIY ballet barre you will need to cut your PVC pipe into the following lengths:
- 4 x 60″
- 6 x 10″
- 3 x 26″
- 3 x 8″
When cutting start with your longest measurements as you will be able to get your 10″ and 8″ pieces from any left overs.
I ended up buying my PVC pipe in 20-foot lengths and had it delivered as I experimented and made a whole heap of barres so I could create tutorials on how to make them. But when I began this journey of barre making I went to a big hardware warehouse where they sold the pipes in 10 foot or 3-meter lengths only. When I went to enquire in the lumbar yard area where they custom cut wood if they could do the same for my pipes, they told me they don’t cut PVC pipe into lots of different lengths because it messes up their blade (I really think it is because cutting pipe for DIY projects can be a big hassle especially if the buyer is not prepared with the right measurements) and so they would only cut the pipe in half for me so I could get it into my car. For this barre that is absolutely fine, because half of 10 feet is 60 inches and you need four of those anyway! And the total length of the rest of the cuts is less than 60 inches so it works out fine!
HOW TO CUT PVC?
If your hardware or plumbing supply store can’t make the cuts for you and you have access to a miter saw and know how to use one – then go ahead and use that. If you have no idea what a miter saw is or how to use one, don’t worry, I didn’t use one.
I used a simple hacksaw and I made a youtube video all about how I did it which you can watch here. I also give you some other suggestions on what you can use.
I simply used a measuring tape to measure the length I needed, marked this with the permanent marker and laid the pipe onto a couple of chairs for support, and then pushed the hacksaw back and forth where I had marked the pipe. I found that the saw would get stuck if I tried to hold the pipe together, but if I let the piece I was cutting off hang loosely, gravity created enough gap where I was cutting for the saw to slide back and forth. I would sometimes also rotate the pipe around to get to the last few centimeters that needed to be cut.


Once cut, I would use steel wool or a kitchen scourer to clean off all the shredded pieces of PVC that clung to the edges of the pipe. At first I used sand paper, but found steel wool to work much more efficiently and quickly.
Once you have all your materials and your PVC is cut into the right lengths you can follow the assembly instructions:
Step 3: Assemble the fittings and PVC pipe

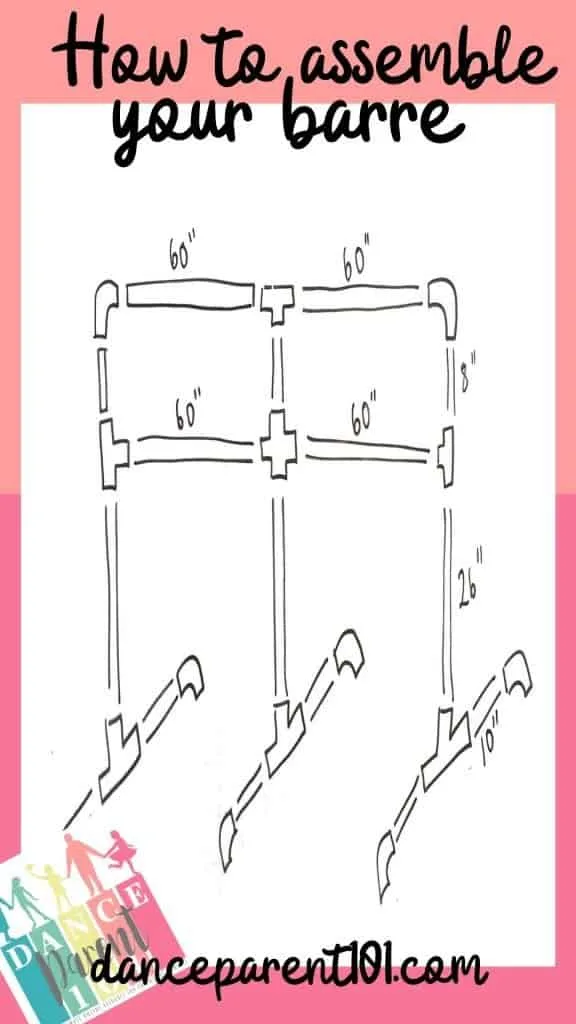
The image above should hopefully give you a good visual on how to put all the pieces together and the video gives you a step by step walk through of how to do it as well…..but if you would like to read the instructions, on how to build this 41″ tall ballet barre that I think is great for both kids and adults to use keep on reading here.
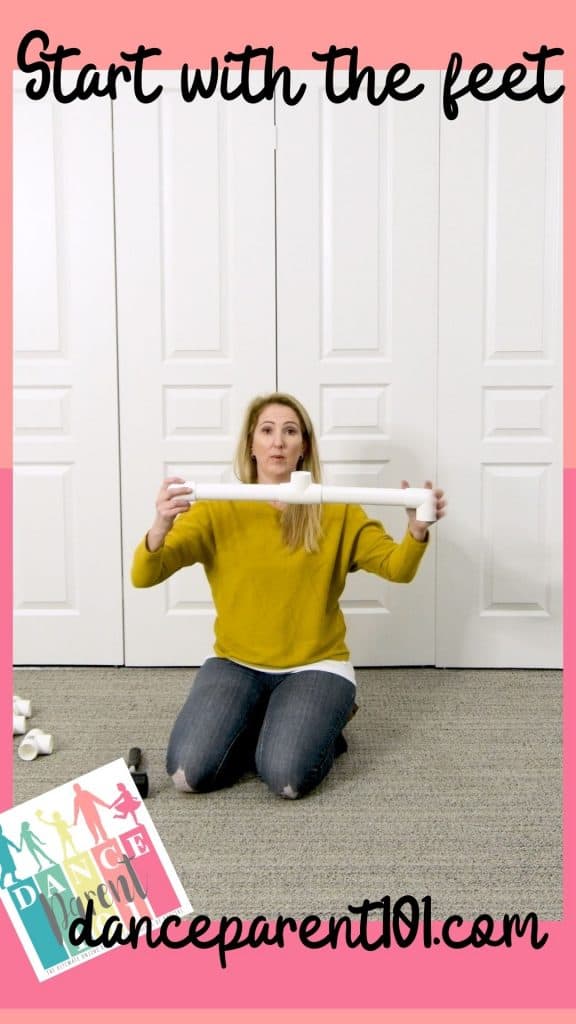
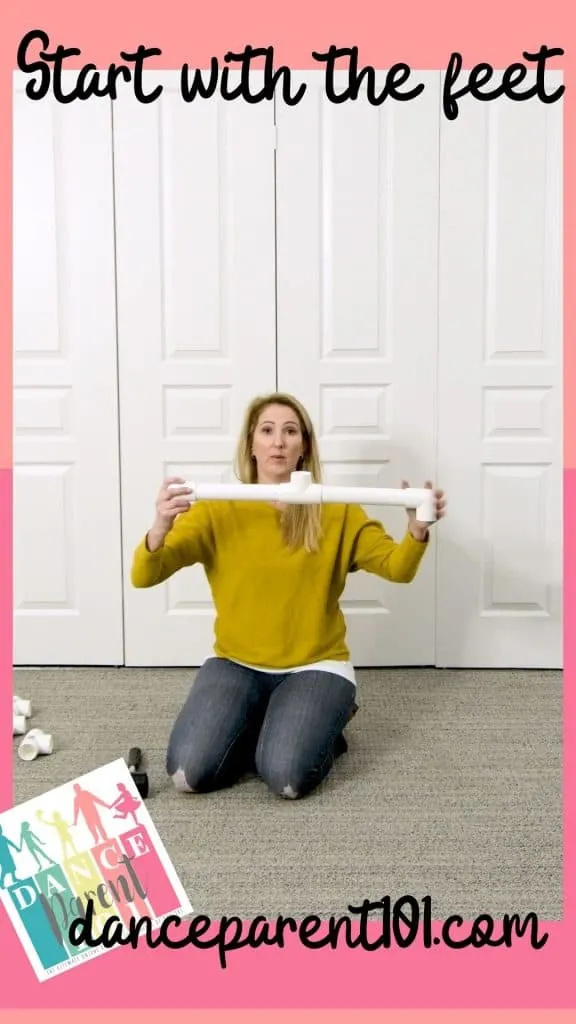
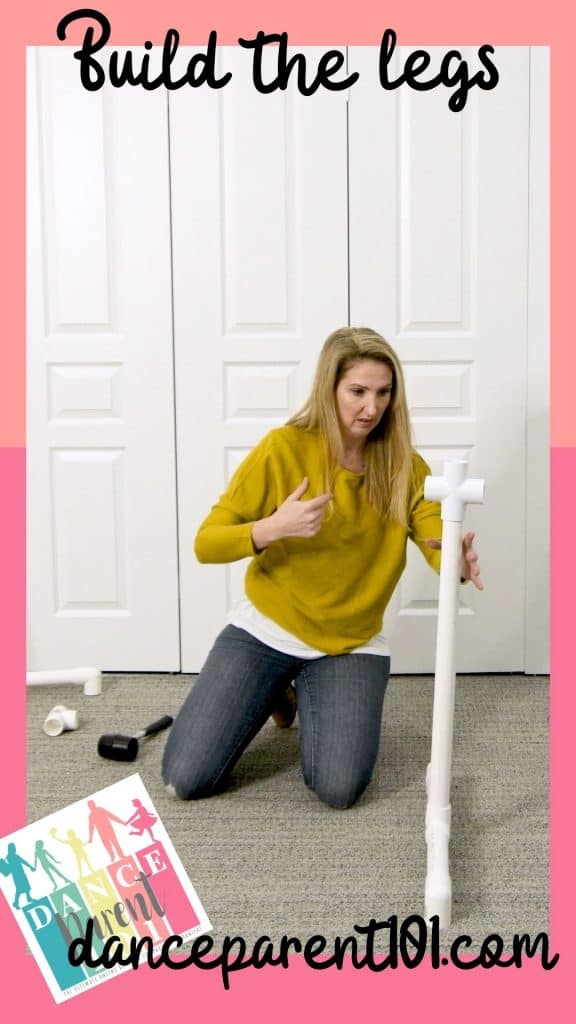
Start with the feet.
Grab one elbow fitting and attach a 10-inch piece of pipe to each horizontal opening. Put a tee fitting on the other opposite end of each pipe. The single opening of the tee should face upwards and the two elbows downwards. You should be able to stand this structure now on the floor. Follow these instructions to create another two barre feet exactly the same and place them a few feet away from each other on the floor.
Insert the legs
Insert one of the 26″ pieces into each of the tee fittings that is facing upwards on all of the feet.
On two legs that are on each end of the barre push a tee on the end of the 26″ pipe. Each tee should have one opening facing upwards and the other opening facing the other legs. On the middle leg, place your cross so that the openings face towards the other legs.

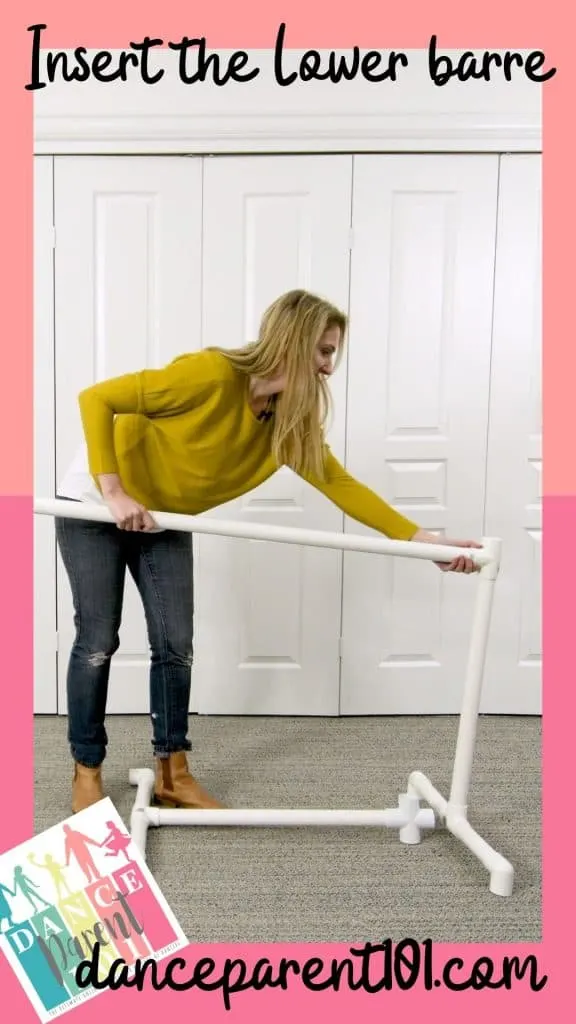
Insert the lower barre.
Pick up one of the 60″ lengths of PVC pipe and insert it into the horizontal tee hole of one leg and into the cross in the middle. Do the same on the other side to make the first lower barre. Once inserted the barre should be able to stand on its own.

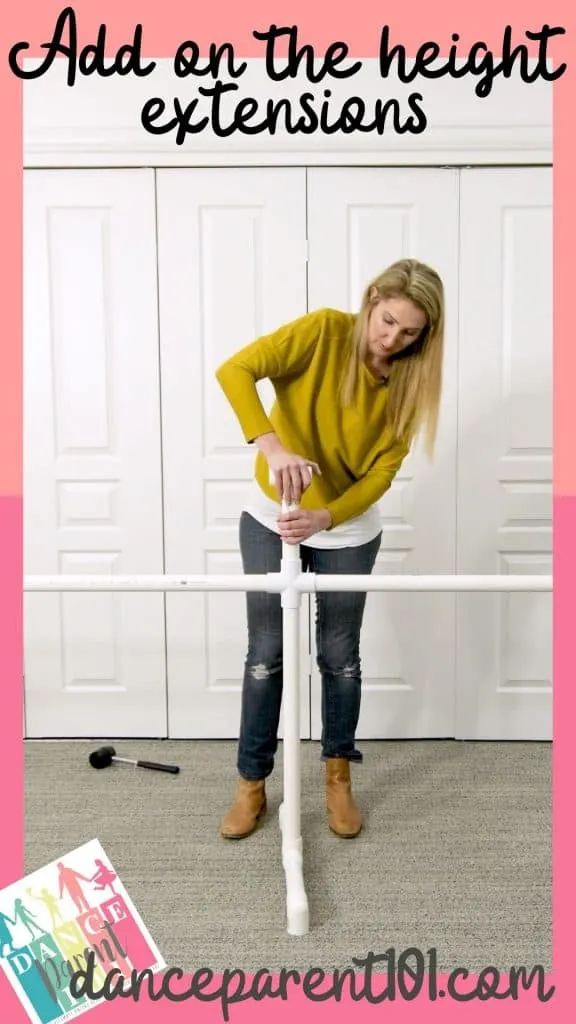
Add on the Height Extensions
Insert the 8″ pieces into each open tee or cross. On the two end legs, place elbow ontop of each 8″ length of pipe and have the openings face each other. on the middle 8″ pipe push on a cross face down with the openings facing each outer leg.

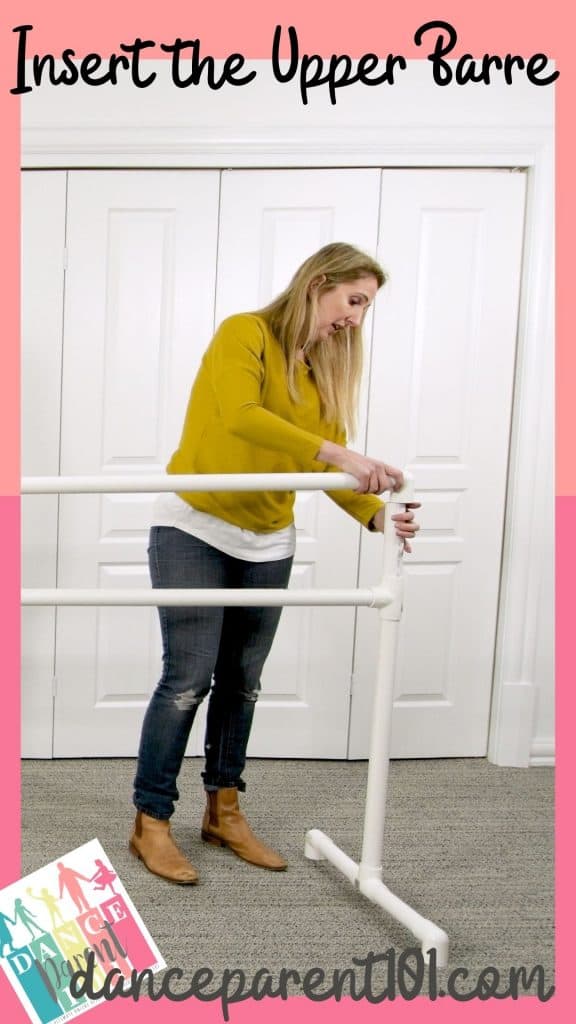
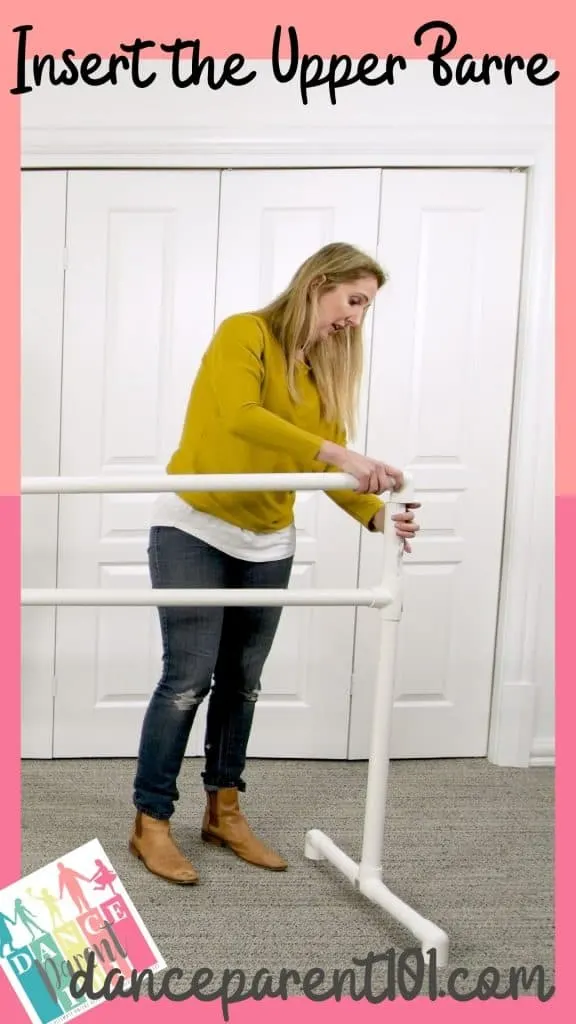
Insert the upper barre.
Insert the final 60″ lengths into each of these openings to finish off the top barre.
Step 4: Secure the fittings together with a rubber mallet, glue or screws
This is a really long barre, so you don’t want to glue everything together because then you are stuck with having to store it somewhere – mine is currently along the back wall of our garage. To make it both portable and easy to dissasemble an store I decided to use both plumbers cement/glue and screws.
I drilled a hole into each fitting where the 60″ barres fitted in and screwed in a screw to secure the barres so they would not come out when being used, but so I could remove the screws and barres for easy storage.
I left the fitting between the leg and feet that we made as it was so that I could swivel the feet to the side for storage, when I didn’t want to unscrew the barre so that it could lean flatly against a wall which is what my barre is doing now.
I glued every other joint together using plumbers cement or glue as I have found that this adds strength and sturdiness to the barre because the cement with a primer creates a really strong bond.
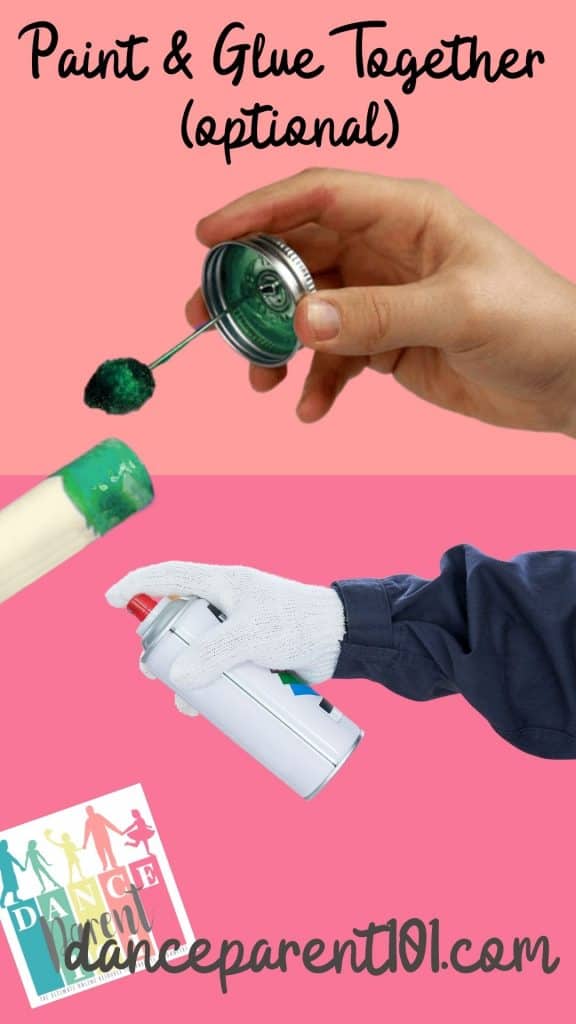
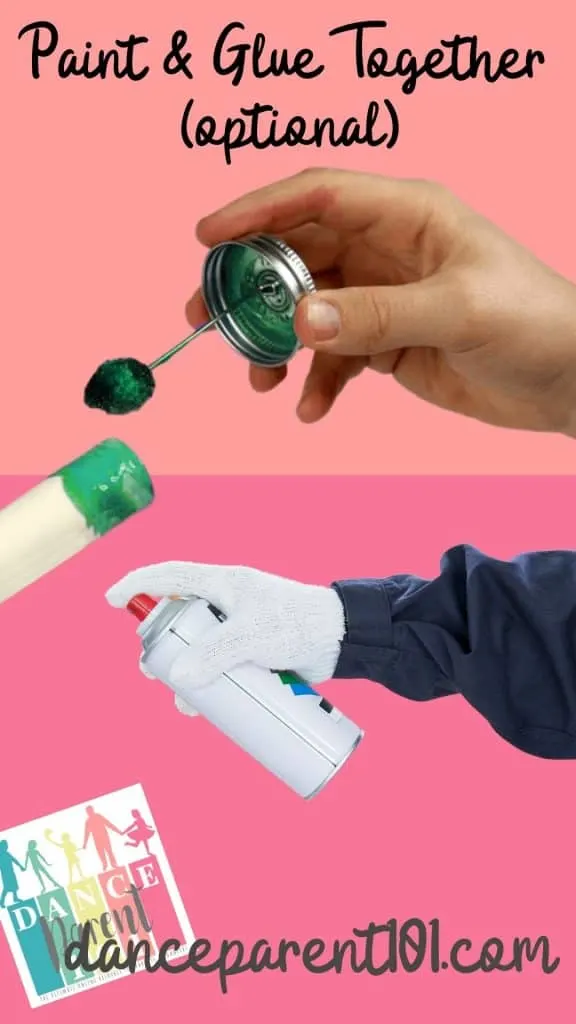
Step 5: Paint your PVC Ballet Barre
As the glue I used was bright green and left marks around each joint (this is good for plumbers so they can see that their fittings are secure and they don’t miss any!) I decided to paint my barre using rustoleum spray paint for plastic and metal surfaces. I ended up running out of paint as I did two coats as suggested on the can, so you might want to buy two cans for your project. I have a video coming out soon with all the details on how I cleaned and prepared my pipe for painting.
If you used only screws or a clear adhesive for plastics you might decide to keep your ballet barre white like the pipes you used – I used a clear adhesive for plastics and did this with a different barre I also made. You still may want to clean all the printed barcodes and identifiers off the pipes and you can easily do this with a cloth and some acetone. Some of my fittings also came with barcodes stuck on them and I had to use a special spray to get the gooey stickiness off them. You can check this all out in the video and article I wrote here about how to clean your barre in preparation for painting as it is the same technique for leaving your barre as it is.
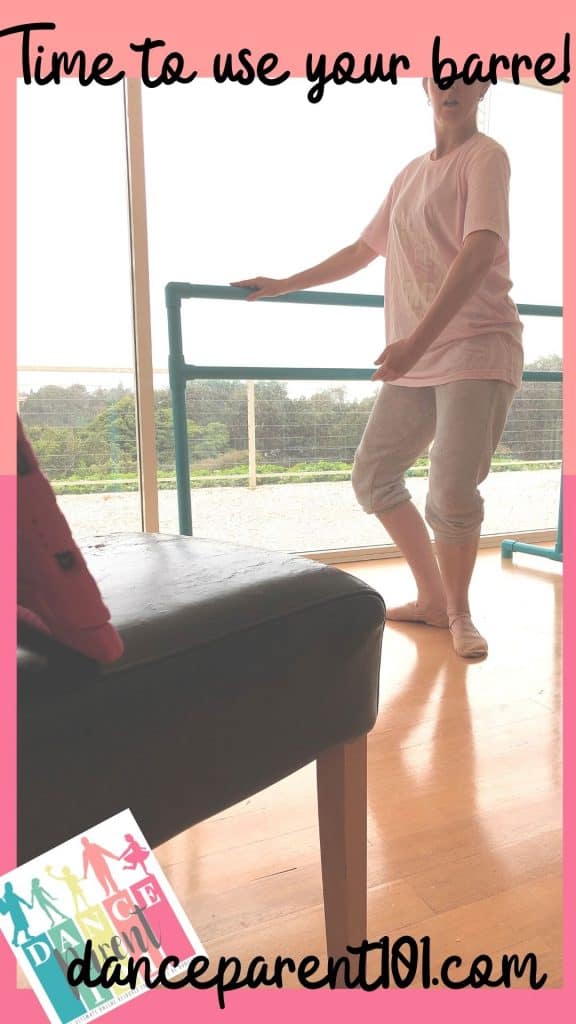
Step 6: Your DIY Ballet Barre is ready to use!
Once hammered together, or glued and painted your ballet barre is ready to use. Just remember Ballet Barres are used for balance and for stretching not for hanging off or for gripping as you just might find
DIY Ballet Barre E-Book
Why try and work it all out on your own, when I have gone and compiled everything you need to know about making a DIY Ballet Barre into a book! Check it out the e-book where we have newly designed instructional manuals, tips and advice as well as links to the video tutorials, all in one location.


ALTERNATIVE DESIGNS
If this particular ballet barre isn’t what you were after check here for the DIY Ballet Barre home page where I have instructions on how to make single ballet barres, barres from galvanized steel, and using wood. I also have a few suggestions on different styles of feet as well as on how to weigh down your barre so it doesn’t move.
Check Out Our Google Web Story!