
When I went to the hardware store to buy the galvanized metal pipes I would need to build this double barre for home ballet practice I explained my project to the guy who looked after the materials in that aisle. His verdict was that it wouldn’t work because I would probably get into trouble with the direction of the threads or which way each pipe needed to be twisted to be secured.
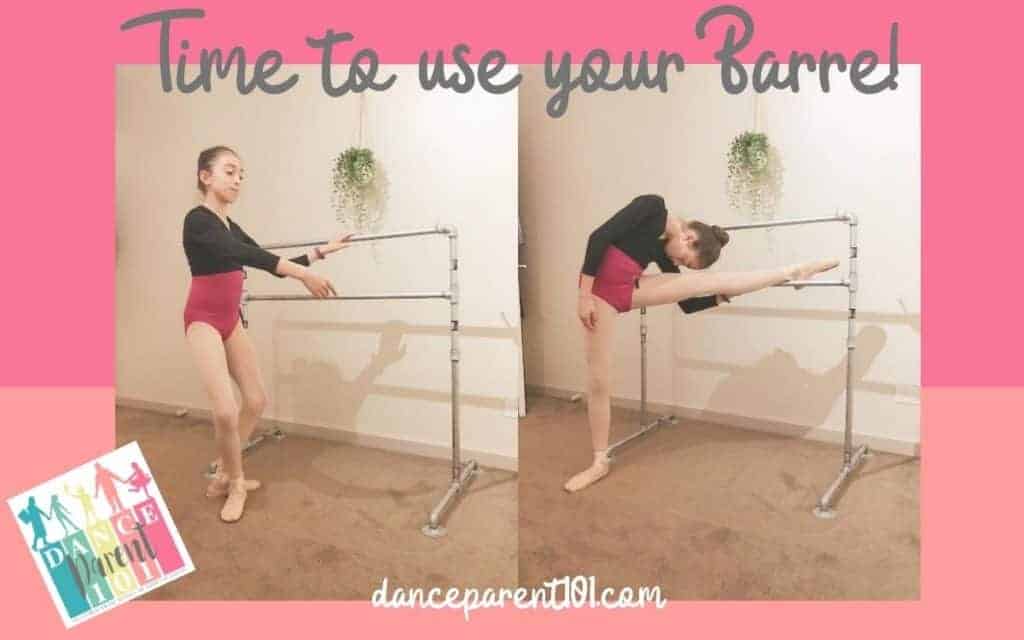
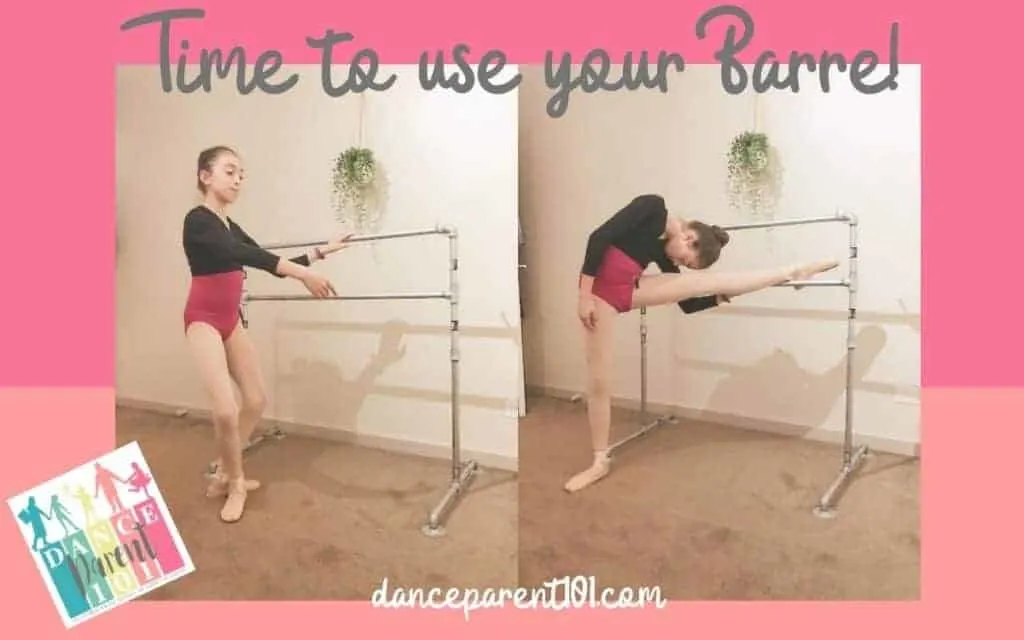
But guess what – I worked out a way to do it! And my method and step by step instructions in this article have built a barre that has been great for my eldest daughter to use in her bedroom to practice her ballet as well as for using during her online or virtual zoom ballet lessons since we haven’t been able to get to the studio.
I was able to source my galvanized pipes from two locations. My local hardware store as well as online. I liked going into the store, because I was able to feel the width of the pipe and how heavy it was, but if you can’t don’t worry because I kind of have already done that for you, so if want to buy your pipes online go ahead and use the measurements I give you below because you might find that your hardware store doesn’t have every single piece you need, as happened to me.


The great thing about using galvanized pipes that have been pre-threaded is that you don’t need any other tools to create this barre! And although I say in the video I was going to paint it, whilst writing this post today, I am going to let you in on a little secret….. I haven’t had the time to do it yet! So my daughter has been using the barre as is and it has been fine – barcode stickers and all! In the video I do say that my hands got a little dirty, but since it is all together and after a quick wipe over, it hasn’t left marks on my daughters hands at all!
If you are not wanting to make a double ballet barre because you don’t need the different heights, I also have a tutorial for a single barre which you can check out here
STEP BY STEP INSTRUCTIONS – HOW TO MAKE A DOUBLE BALLET BARRE FROM GALVANISED STEEL PIPE
For the pdf printout with a list of the materials and their measurements that I used to make this barre, as well as for a small diagram and simple instructions, click here to join our newsletter so you can access the newsletter member area with all my free printables and more!
- Step 1: Buy your Galvanized Pipe and Fittings.
- Step 2: Take off any barcodes and stickers.
- Step 3: Build your barre as per the Dance Parent 101 video tutorial instructions!
- Step 4: Tighten the fittings
- Step 5: Paint your Galvanized Steel Ballet Barre
- Step 6: Your Galvanised Double Ballet Barre is ready to use!
- DIY Ballet Barre E-Book
- ALTERNATIVE DESIGNS
Step 1: Buy your Galvanized Pipe and Fittings.
WHAT YOU WILL NEED
MATERIALS
All the following is 3/4″ Diameter
- 2 x 40″ Galvanised Steel Pipe (1m)
- 2 x 20″ Galvanised Steep Pipes (50cm)
- 4 x 8″ Galvanised Steel Pipes (20cm)
- 4 x 10″ Galvanised Steel Pipes (25cm)
- 2 x Pipe connectors (Female Threading)
- 4 x Tee fittings
- 2 x Elbow Fittings (Female to Female)
- 4 x Elbow Fittings (Female to Male)
- 4 x Flanges

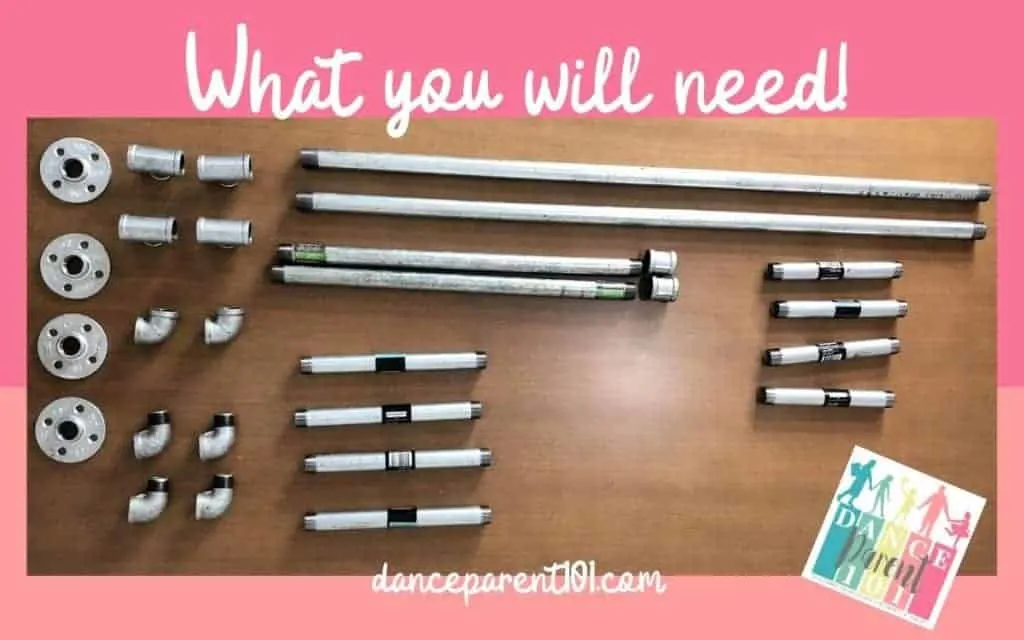
NOTE: I couldn’t find the exact length for the legs that I wanted. The pipe lengths that I was able to source jumped from 20″ to 40″ and I could not find any lengths sold that were in between these two lengths. My solution was to use a connector to make a length of approximately 30″ from a 20″ and 8″ piece of pipe.
If you can find a 30″ length of galvanized pipe (with threading on both ends) then you could replace those parts with that instead.
What diameter pipe is best?
I made my barres using 3/4″ or 20mm pipe. You could also use 1″ or 25mm pipe. I had two reasons for using the 3/4″ galvanized pipe. The first reason was that it was lighter then the 1″ pipe.
When I picked up what I thought I might use for one of the legs in store the 1″ was heavy and although the barre needs to be sturdy, I felt that if my girls tried to pick it up to move it and it fell on them they could be seriously injured, where as the 3/4″ still had some weight to it, but just felt more managable over all.
I did also like the thickness of the 1″ as it more closely resembled the width and feeling of a dance studio barre, but it came with a hefty price tag and I was intending on making two barres – a single which I explain how to make in this tutorial, but also a double which I will have a tutorial up for soon. The difference in price just didn’t seem to be justified for my purposes and also for the fact that I had my reservations about using it already.
I am really happy with the 3/4″ diameter pipe, my daughter currently uses the double galvanized steel barre we made in her bedroom so we have had plenty of experience with it, and am glad I went with it!
What is Galvanized Steel Pipe?
Galvanized Steel Pipe is generally used for supplying water to homes and buildings. It is called Galvanised because it is covered in a zinc material which makes it less likely to corrode from constant contact with water and other materials. Many people use galvanized pipes to create industrial-looking shelves, bookcases or other furniture for their homes.
SAFETY NOTE: Galvanised pipes when coated in zinc last from 80-100 years. Do not use old galvanized pipes, or pipes with signs of any corrosion as these may contain a build up of lead. Although this is mainly a problem when water flows through them and you consume the lead through the water, constant contact with corroded pipes and your skin does not sound like a good idea!
What is threading on Galvanized Steel Pipes?
The name given to the ridges on the outside rim where you fit a top onto of, for example, a bottle of soda pop or soft drink is called threading. And in this case because the threading was on the outside it would be called the Male thread. Where as the cap that you screw onto the top of the bottle, which also has threading or circular ridges but on the inside of the cap would be called the Female thread.
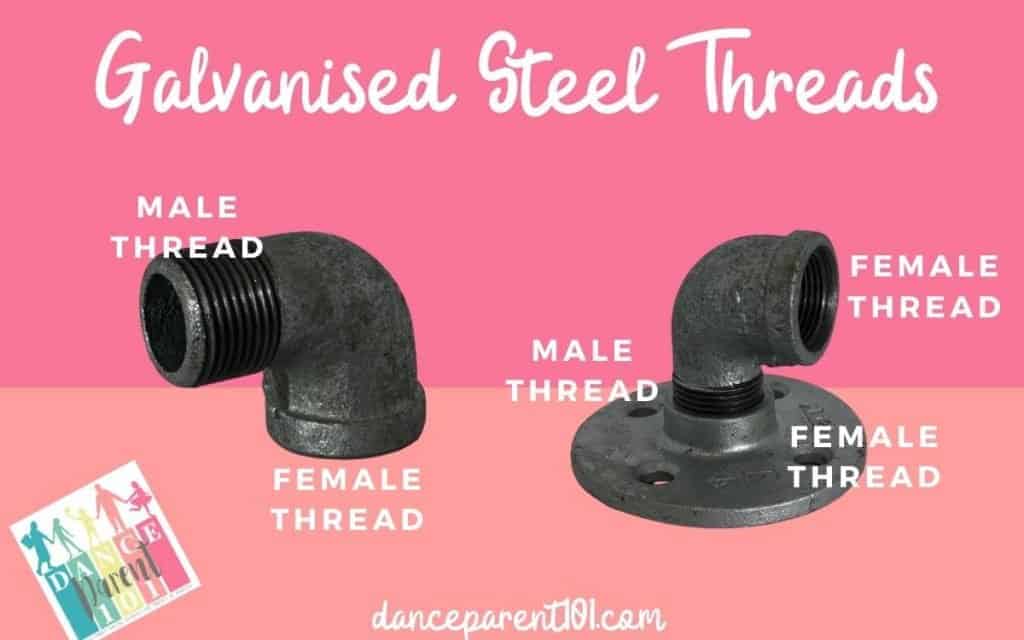
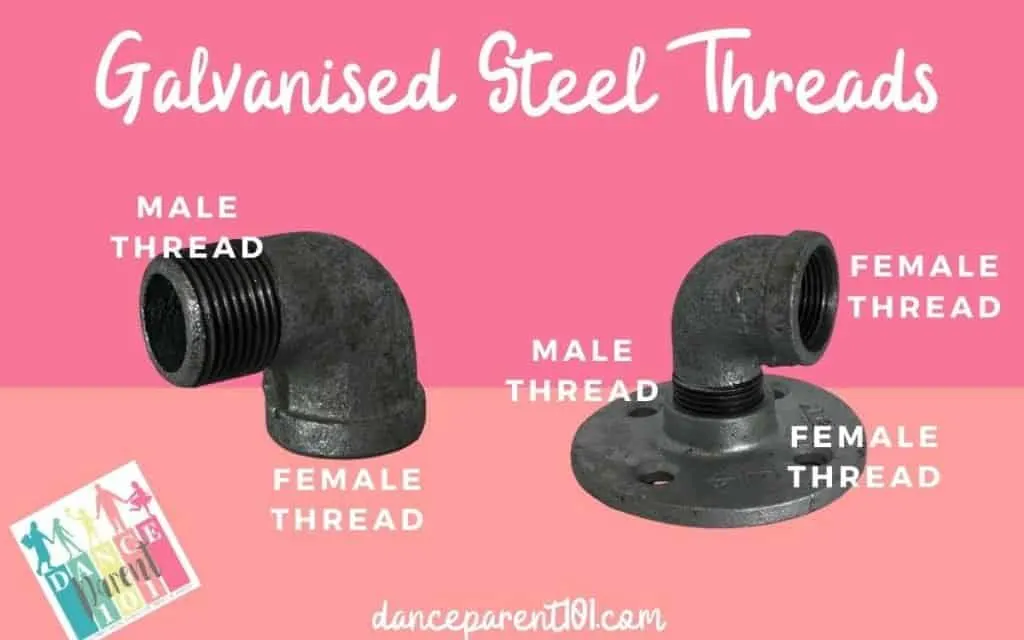
When buying all your galvanized steel pipes it is important to make sure you are buying them with a male thread on each end. Some galvanized pipe is actually sold threadless as some plumbers or fitters who use the pipe to connect water to buildings have their own machines to specially cut and thread the pipe allowing them to customize the length of the pipe dependent on the jobs needs.
It is also important to know when you need your fittings to have male and female threads. I did not realize at first that to install flanges to make sturdy feet, the elbows needed to have one female and one male thread so they could screw into the flange and over the pipe. This set me back more than a week as I had to then order them in as my local hardware store had sold out in 3/4″ sizes.
Step 2: Take off any barcodes and stickers.
This is a step I failed to follow and to this day, my galvanized barres are being used with the barcode stickers still on them. Not everything I purchased has them, but a lot do and yours might too, so don’t skip this step because the reason mine are still on is because now the barre is made and being used it has been harder to maneuver the barre as a whole to scrape them off. The barres are in my girl’s rooms being used and honestly, it also just hasn’t been a priority since putting them together to take them off yet, as I intend to paint them and will do it then.

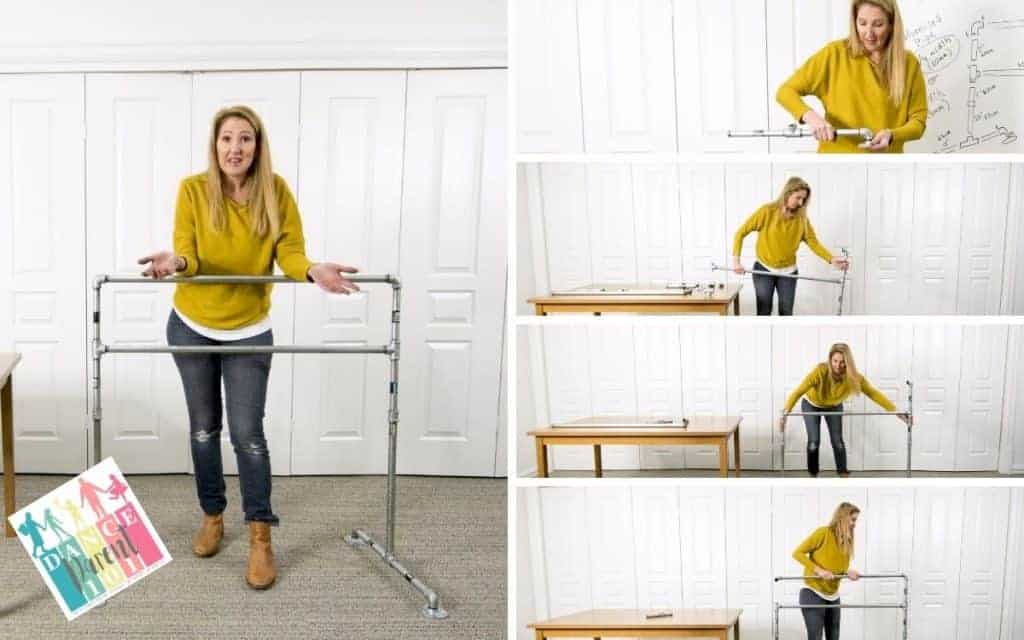
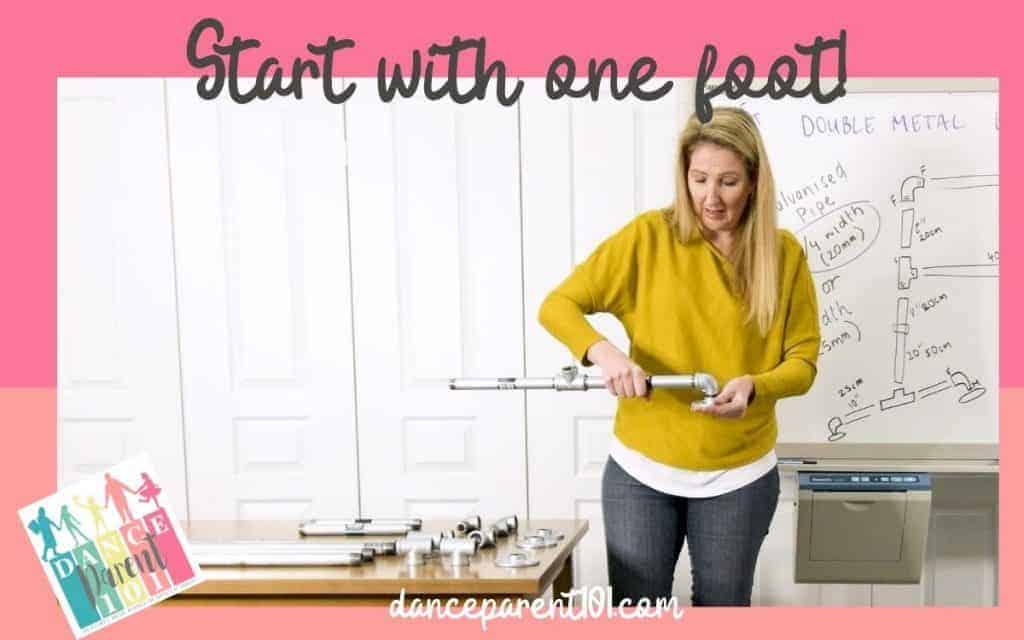
Step 3: Build your barre as per the Dance Parent 101 video tutorial instructions!

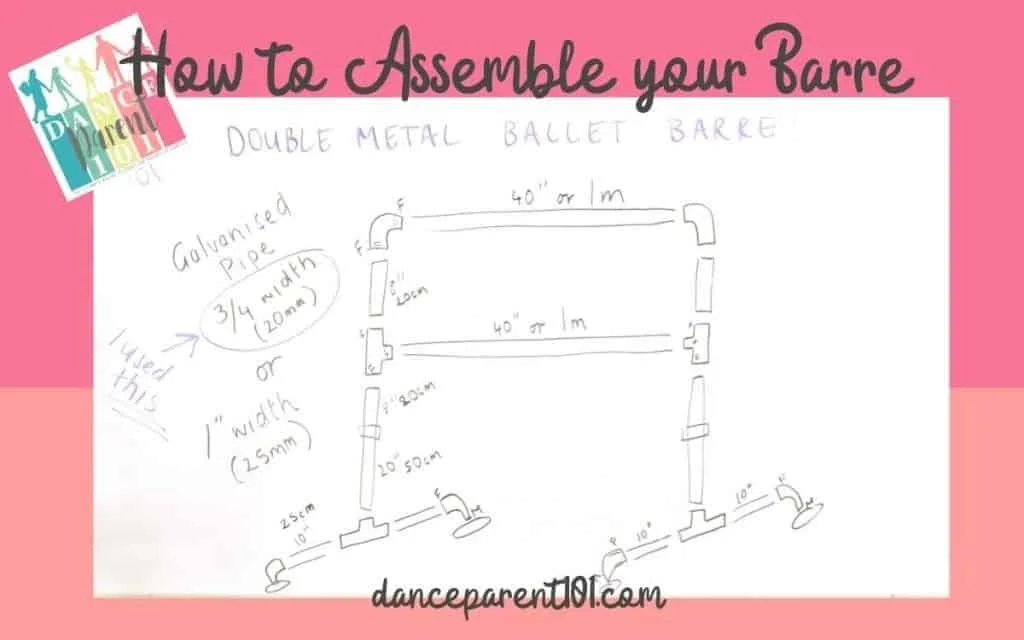
This is a copy of what I actually drew on the whiteboard during the video tutorial. Hopefully it gives you a good visual on how to put all the pieces together, but what the diagram does not show you is the method in putting it together so that all the threading that I mentioned earlier screws the right way which is a difficult task when we have some connections that have three different pipes being screwed into them!
The easiest way to do this is to start on one side and then work your way up and over to the other side.

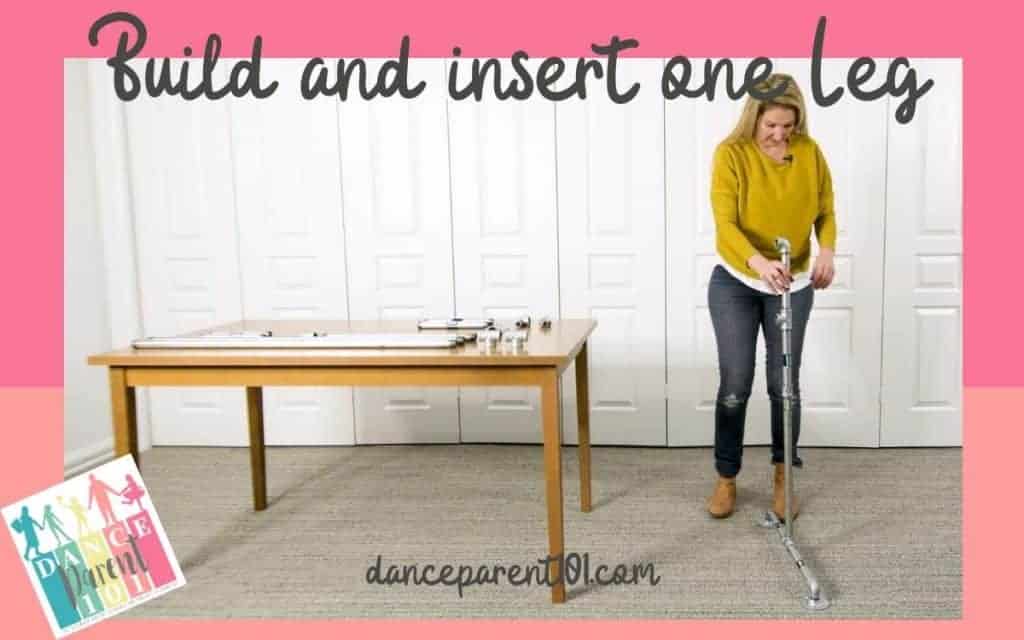

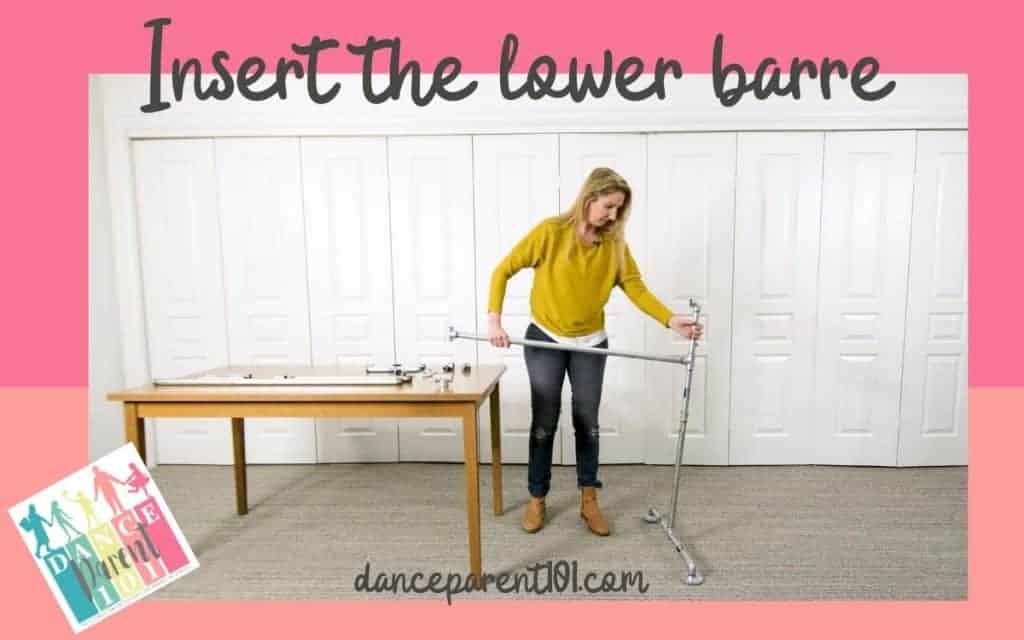


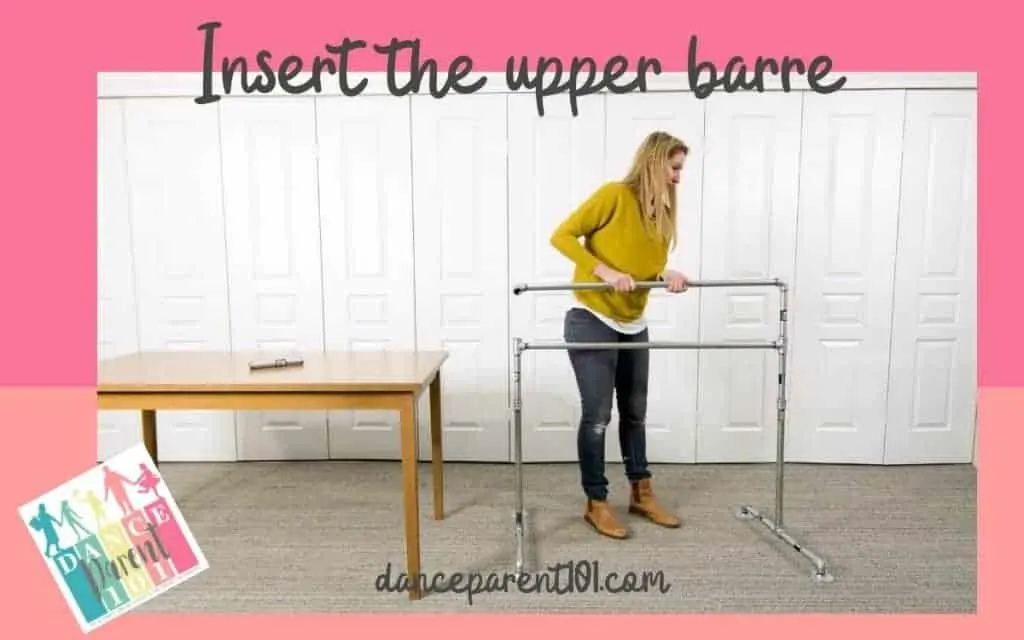
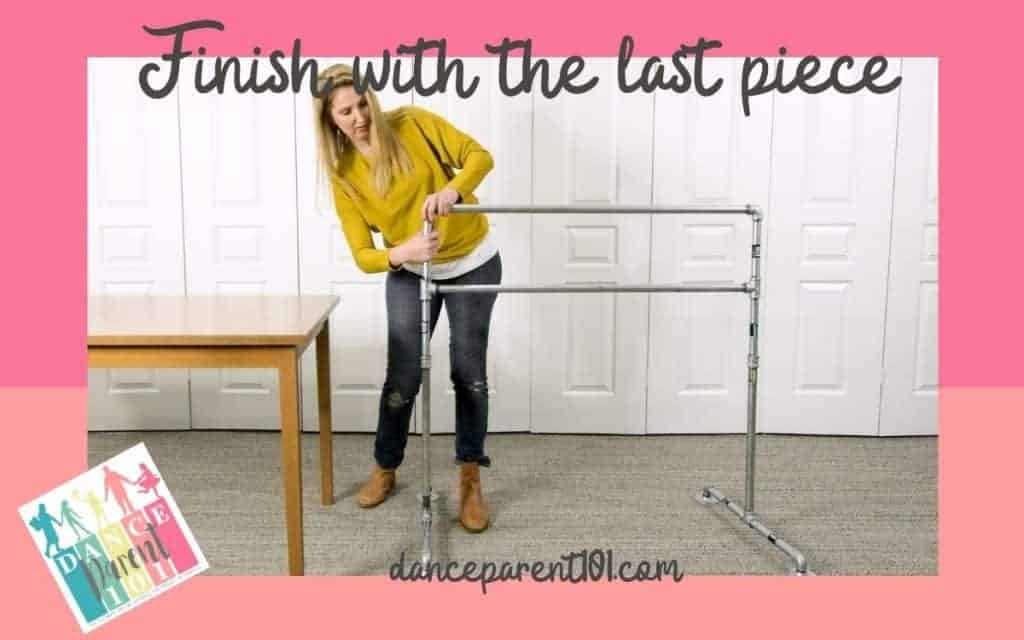
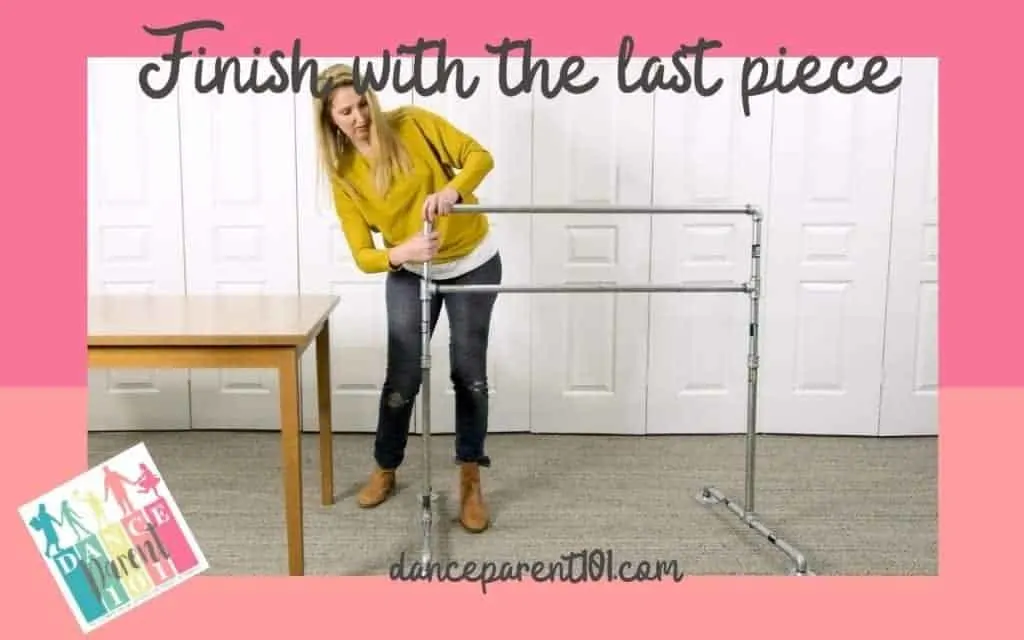
This is because the pipes and fittings screw in a fixed way and if you try for example to do the legs first and then attach the barre in the middle last you might end up scratching your head as to how you can easily swing that leg over and over as well as catch the threading right to attach it AHEM if you saw the video you will realize that this describes me!
Step 4: Tighten the fittings
Check all the fittings and pipe where they screw in and make sure they are as tight as you can make them. Some pieces will be loose, because if you were to twist them all the way they would not face the right way to be able to create a barre – remember these fittings are for pumping water into houses not made to make ballet barres.
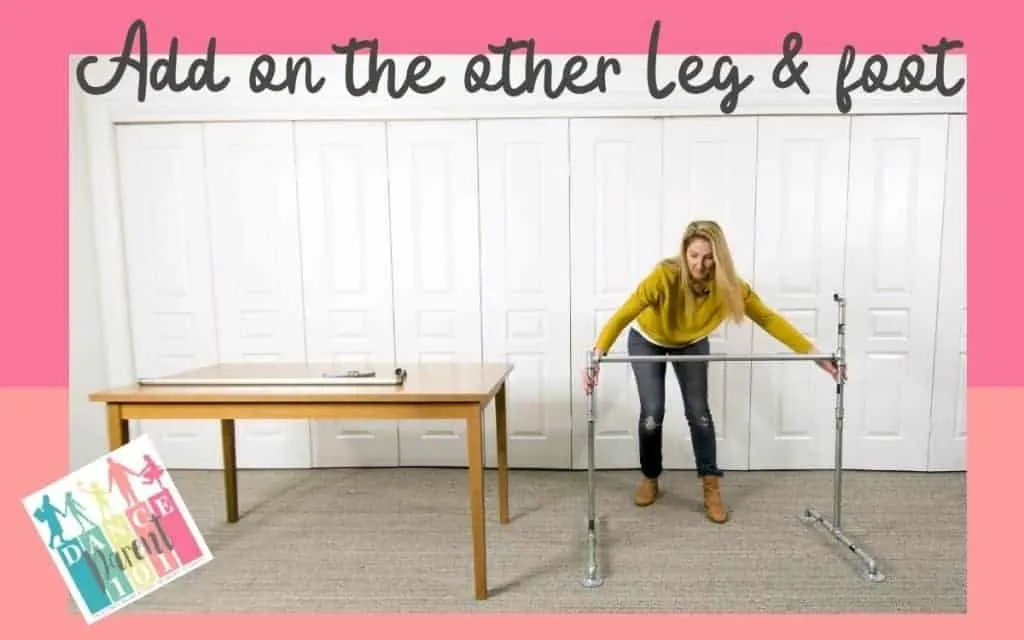
Once you have done this you will find that the barre is very sturdy. The only connections I would not screw in super tight are the feet to the legs. If you ease off the tension, then you can swing the legs to the side and store the whole barre flat against a wall and out of the way. Just be careful when you you go to pick it up and the feet for start swinging towards your shin!
On another note, when I go to paint the barre, I am also going to be investigating ways to make each connection tighter such as using tape or glue so make sure you subscribe to the Youtube Channel or the Newsletter to find out what I am up to and when that information will be coming out!
Step 5: Paint your Galvanized Steel Ballet Barre
I have currently skipped this step, but I have the paint sitting there in the garage, as well as some eucalptus oil and gunk be gone spray to get the stickers off the barres. So once I get a child free day (which looks like it might not be that close in the future as my state just closed our schools for distance learning only until the end of September!) I will paint the barre and create a video tutorial with all my tips and tricks so it is a nice and easy task for you to do!
And if you want to you can skip this step – go ahead we are using our barre perfectly fine. But for some their steel might be quite dirty or leave marks on your hands and so a good clean and or a couple of sprays of paint made for steel will complete your barres look.
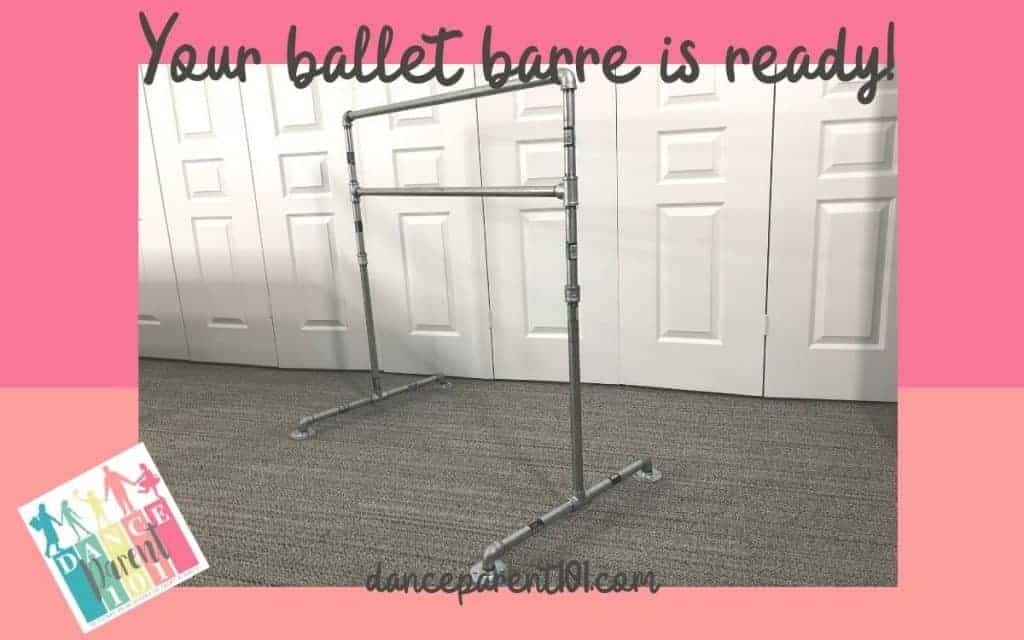
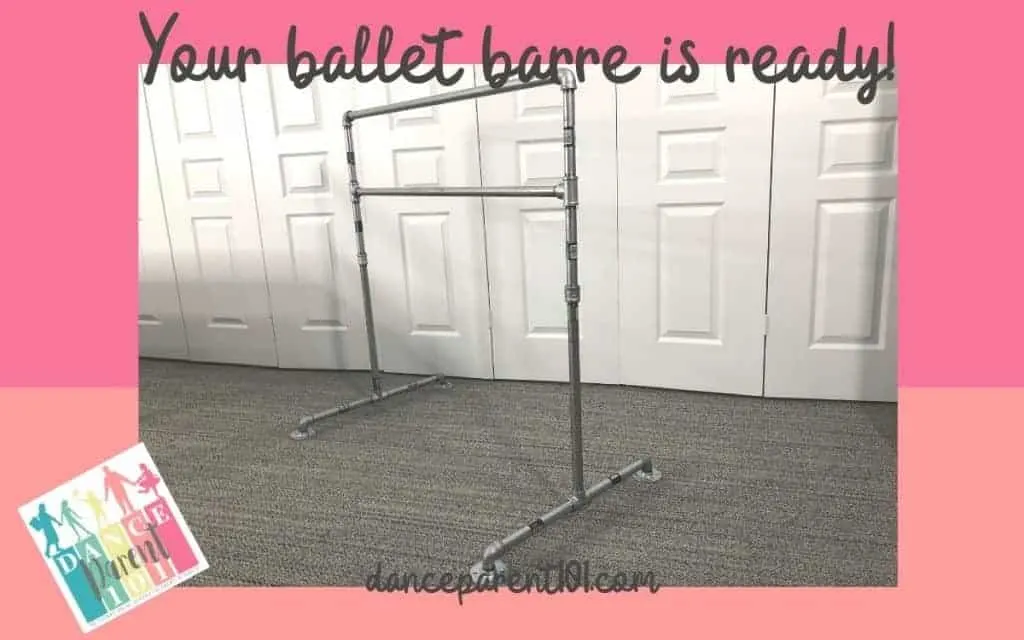
Step 6: Your Galvanised Double Ballet Barre is ready to use!
We really love this barre I think for two reasons. It looks really good – very industrial and like it belongs in a well-used dance studio somewhere in downtown New York. Secondly, as it is heavy and because of it’s weight it is sturdy and strong.
DIY Ballet Barre E-Book
Why try and work it all out on your own, when I have gone and compiled everything you need to know about making a DIY Ballet Barre into a book! Check it out the e-book where we have newly designed instructional manuals, tips and advice as well as links to the video tutorials, all in one location.
ALTERNATIVE DESIGNS
If this particular ballet barre isn’t what you were after check the DIY Ballet Barre home page where I have instructions on how to make ballet barres from PVC, a single barre from galvanized steel, as well as a combination of PVC and wood. I also will have videos and articles comparing all the barres and information on the best way to paint and look after them.
Check Out Our Google Web Story!