By Samantha Bellerose, B.Ed, Dip.Dance (Performing Arts)
Looking for a super simple, child-centered craft that actually allows your child to be creative and make something they are proud of! This easy Paper Plate Dancer Puppet craft activity involves painting, coloring in, gluing, and cutting all of which you can get your preschooler participating in!

Have an older child! They will love the fact that they can put a photo of themselves into the craft or can instead draw a face onto the free printable that we make into our dancer puppet!
Homeschooling or teaching dance??? – Get your child or students to research a theatre or ballet and get them to recreate the likeness of a famous set or ballet backdrop! The possibilities are endless!
Watch the video tutorial here!
You Will Need:

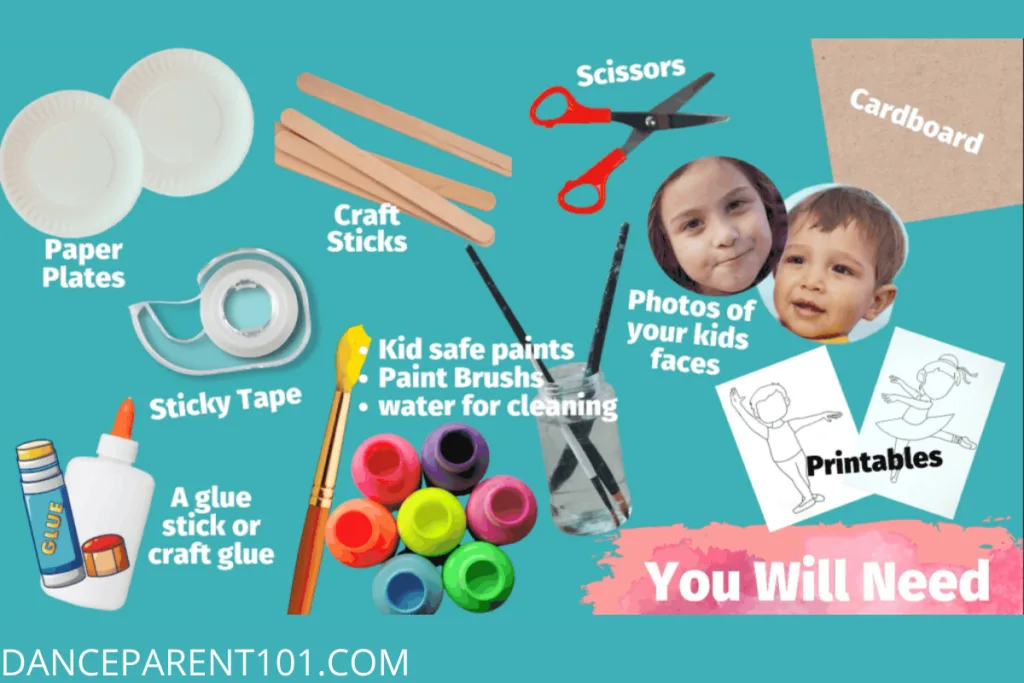
- Paper plates
- Sticky tape
- A glue stick or craft glue
- Craft sticks
- Kids safe paints
- Paint brush
- Water for cleaning
- Scissors
- Photos of your kids faces
- Card board
- Printable
Step by Step Instructions with Photos!
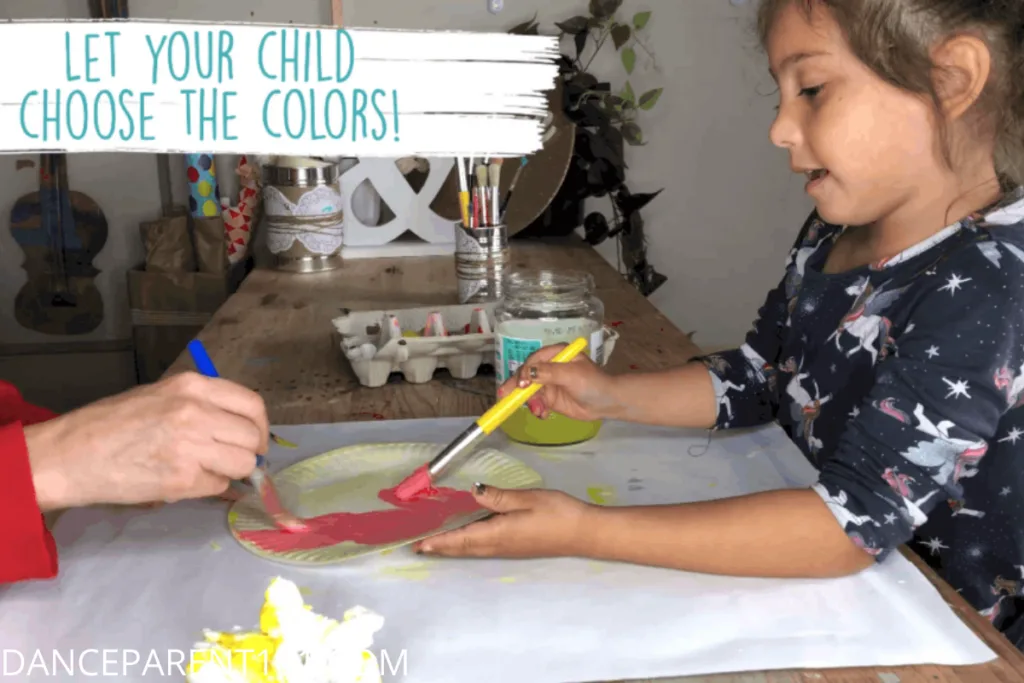
Step 1: Paint your Paper Plate
Use child-friendly paint to cover your paper plate in color. If your child is younger let them choose whatever colors they wish. If you have an older child, you may wish to discuss which colors would make the plate look like a stage and if you could paint on curtains and lights for example.

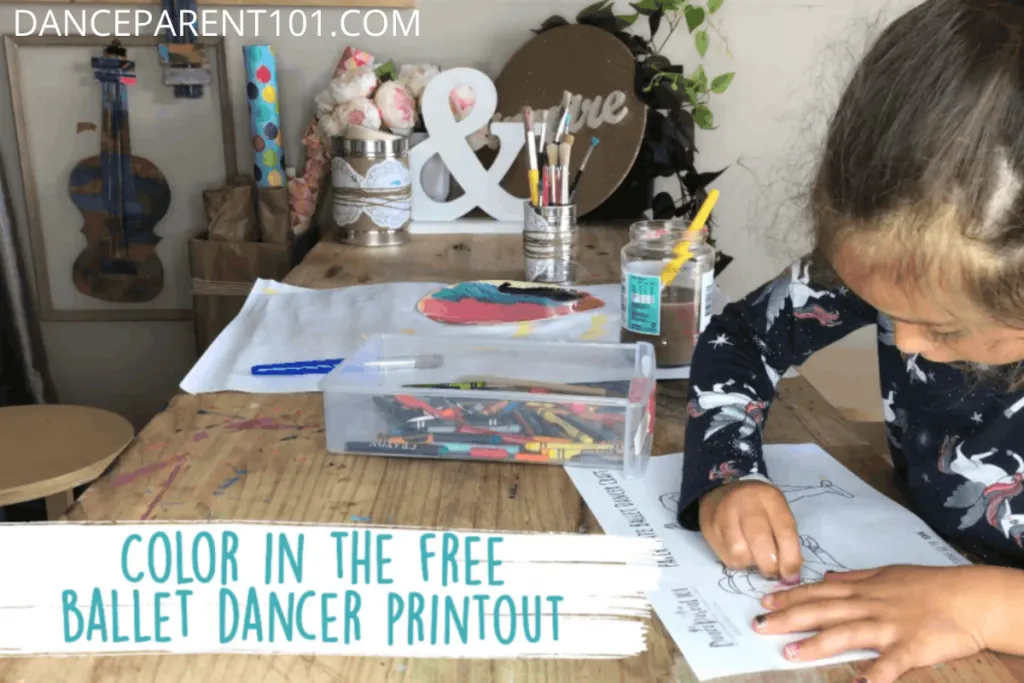
Step 2: Color in the free ballet dancer print out
While you are waiting for your paint to dry on the plate, start to color in the free ballet dancer printable. There is either a boy or girl dancer to choose from.
The free printable is available for download from the newsletter member vault.

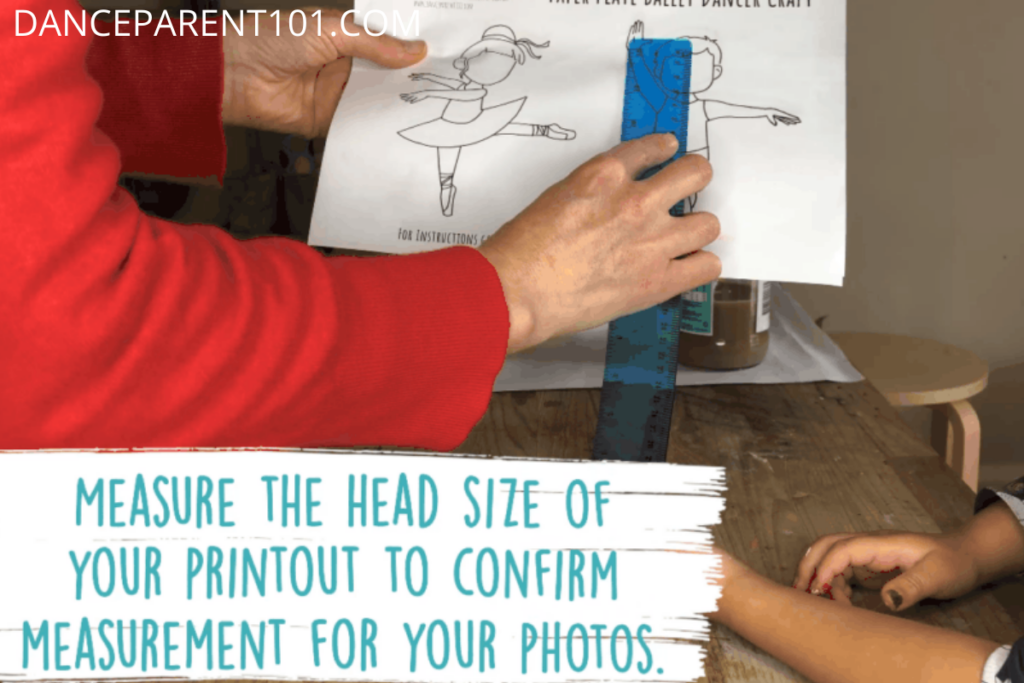
Step 3: Measure the face size of your printout
Not all printers and paper around the world are the same so get a ruler or measuring tape out and measure the size of the face space in your printout.
You will need to know the width and length of the face.
If you will not be using a printout of your child’s face skip to step 6

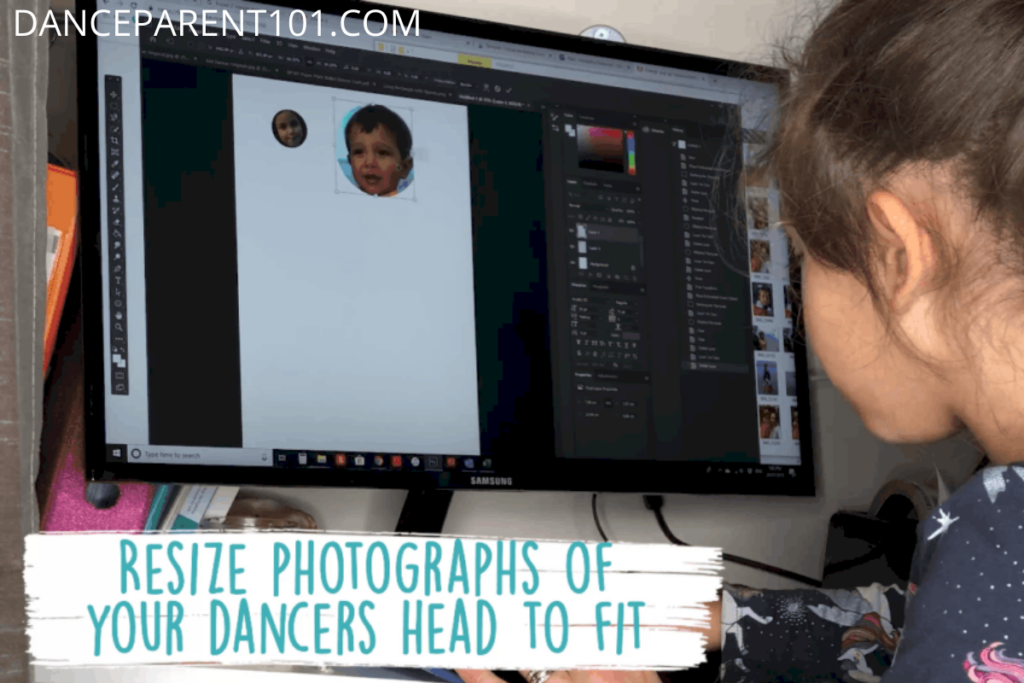
Step 4: Resize photographs of your dancer’s head to fit
Use a computer software program to crop a photo of your child’s head and face to fit into the space on the printout.
Here I am using Adobe Photoshop, but you can easily use a word processing program such as microsoft word to do this too!
Crop the image first so you only see the face and then resize the photo to the width and length measurements your recorded in the previous step

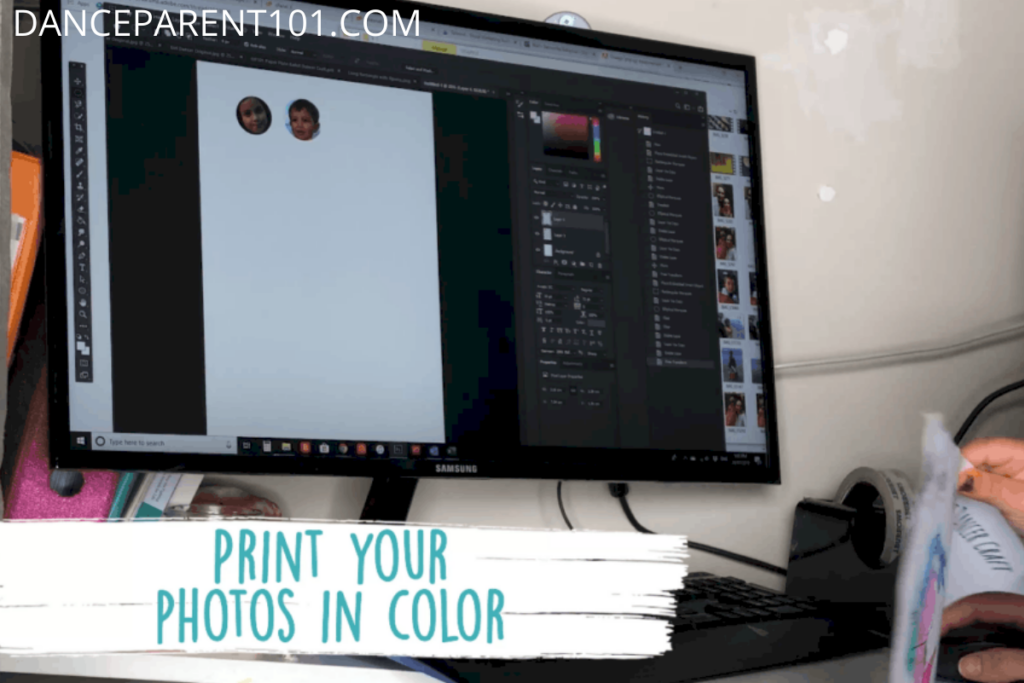
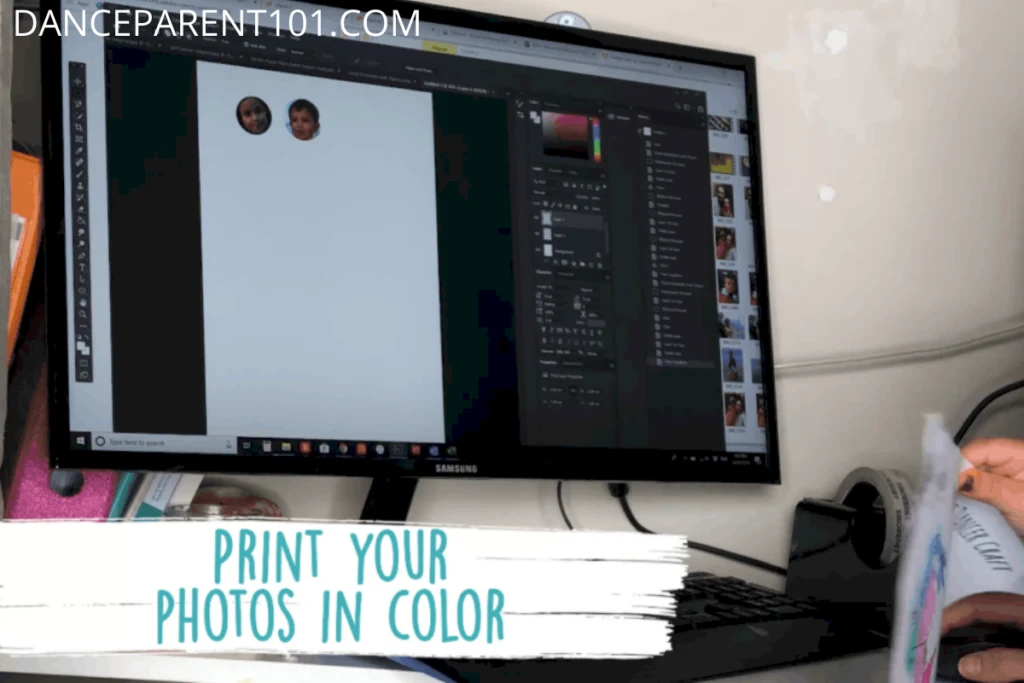
Step 5: Print your photos in color
Next it is time to print out your edited photographs in color if possible.
Step 6: Roughly cut around the colored in dancer
Depending on the age of your child (my daughter was three here) you may want to cut the dancer out yourself or let them attempt to do this task. At this stage you do not need to cut the dancer out exactly as we will be sticking the printout onto strong card for the next step before cutting it more accurately.


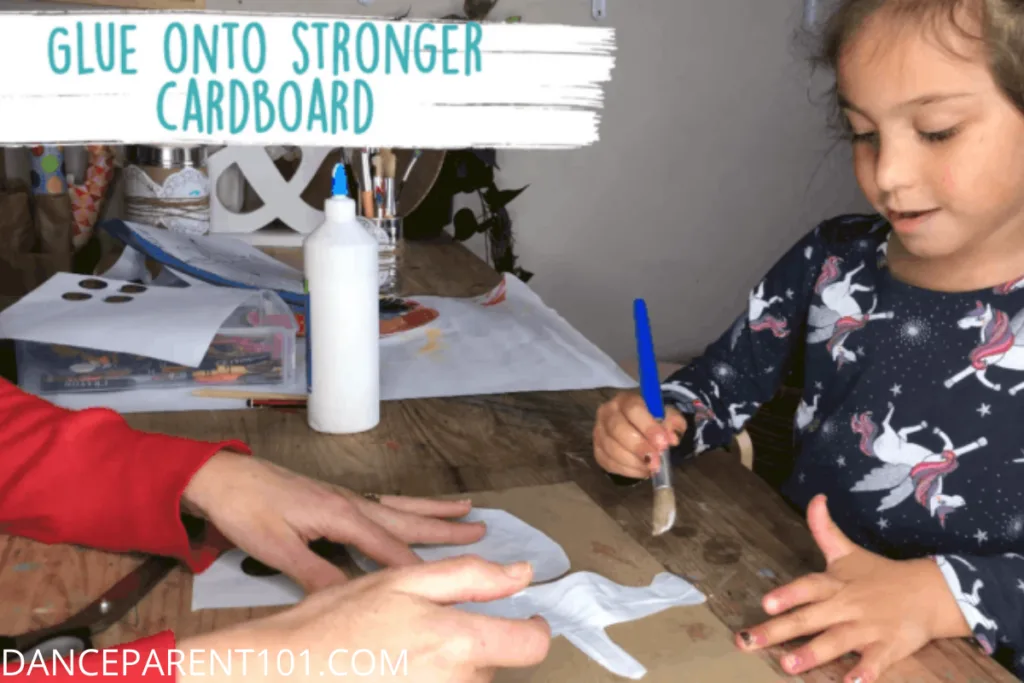
Step 7: Glue onto a stronger cardboard
You could print your dancer onto cardstock in the first place, but I find that printing the image onto regular printer paper and then sticking it onto strong cardboard that cannot fit into a printer gives the dancer more stability in the end result and use in play of this craft.

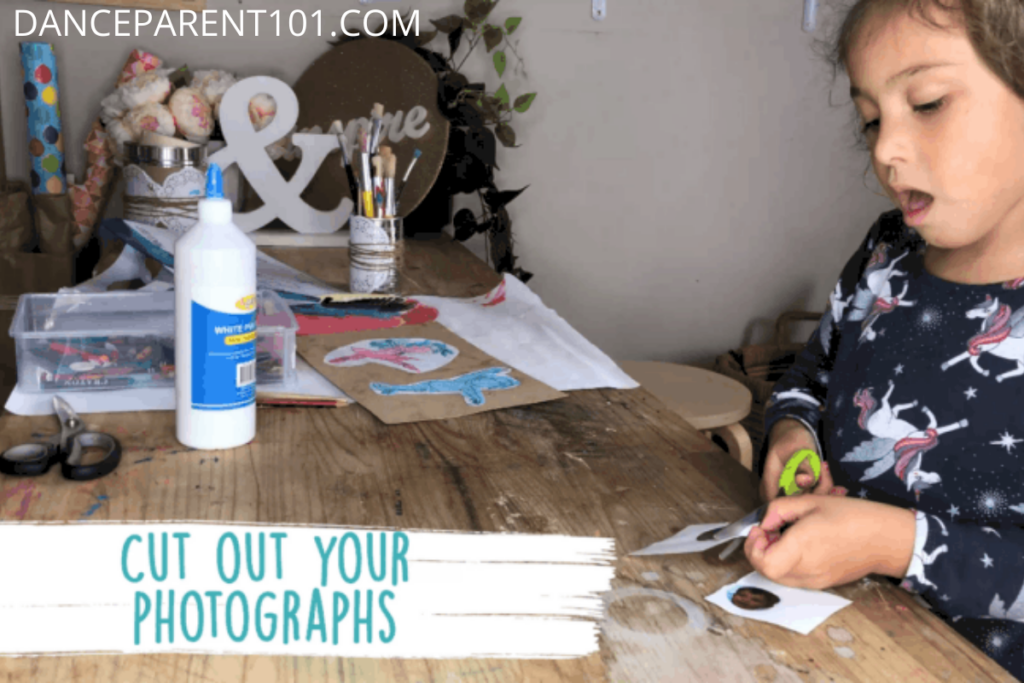
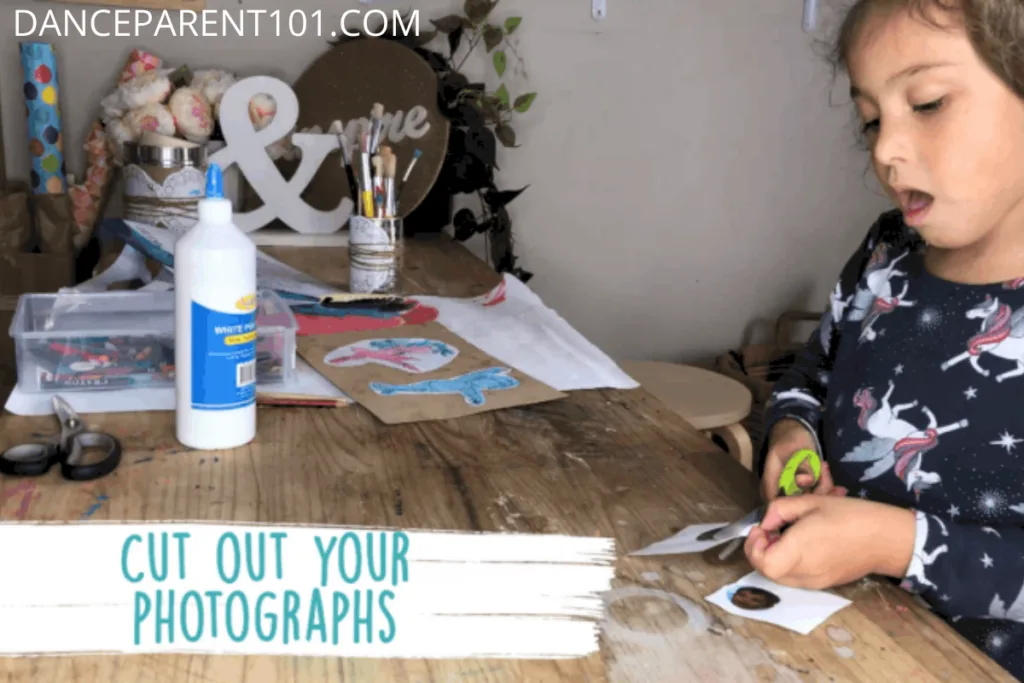
Step 8: Cut out your photographs
If using photographs you will want to at some stage cut these out.
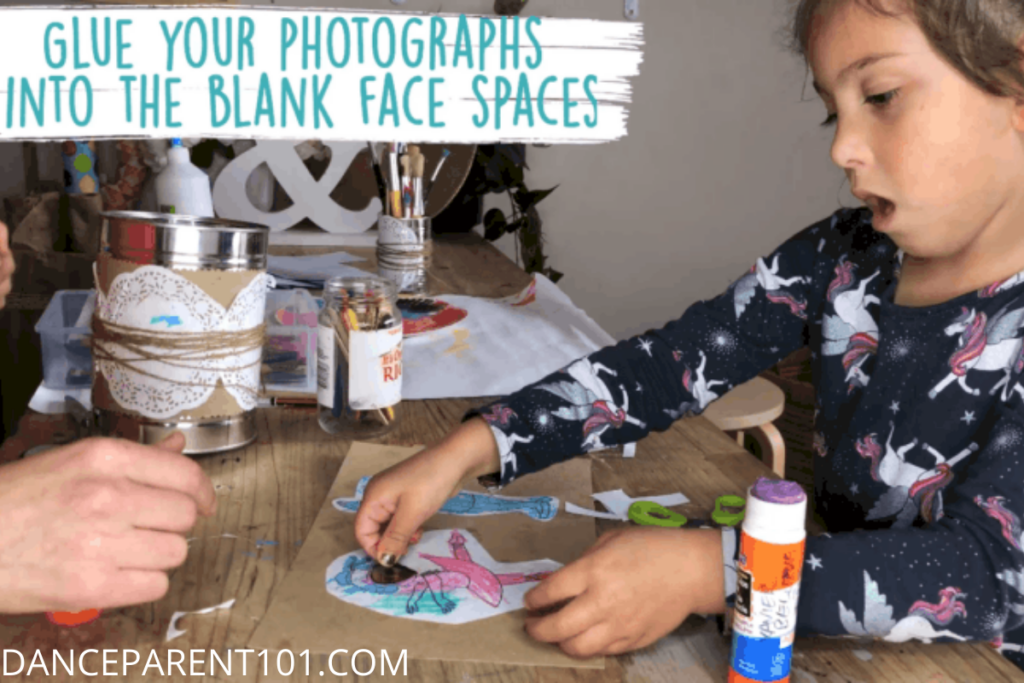
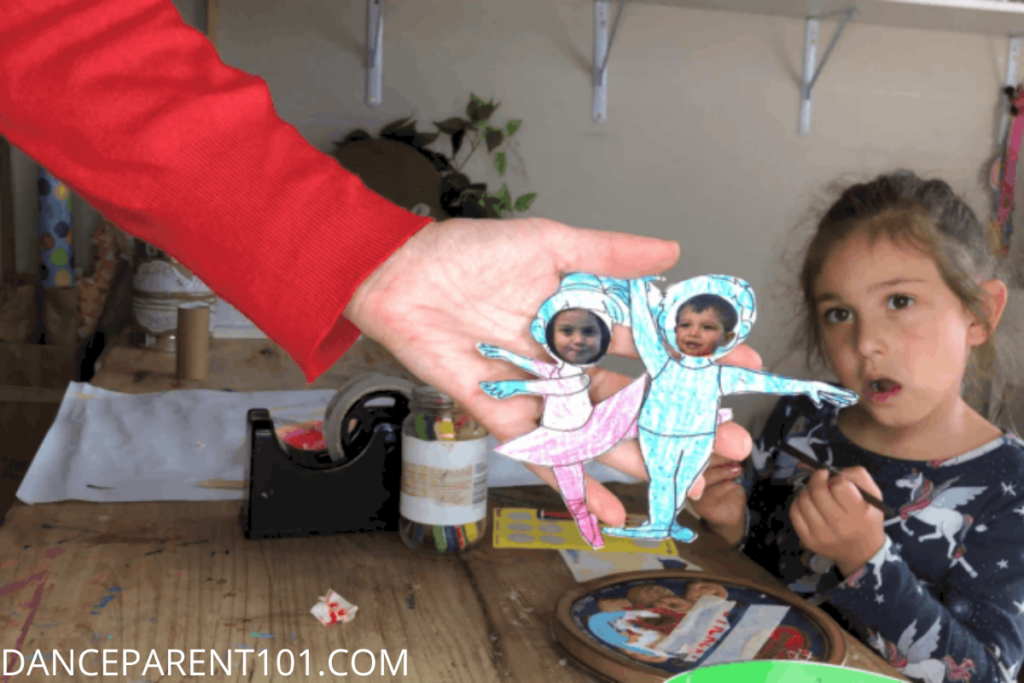
Step 9: Glue your photographs into the black face spaces
Get your child to glue the printed faces into blank spaces.
Alternatively, ask them to draw in faces if you do not have photos available.

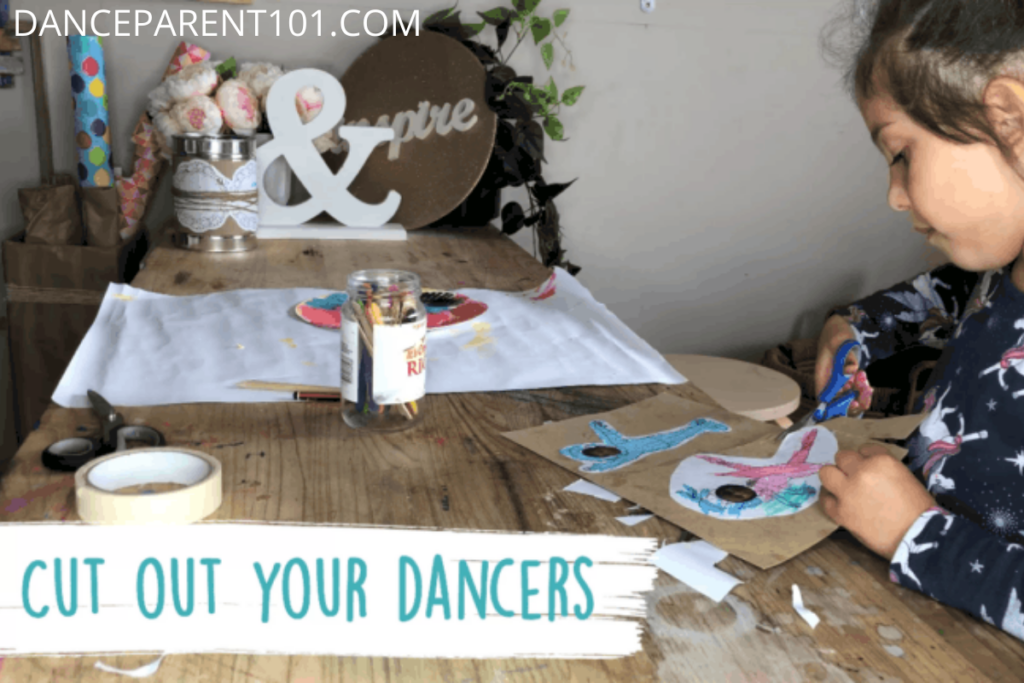
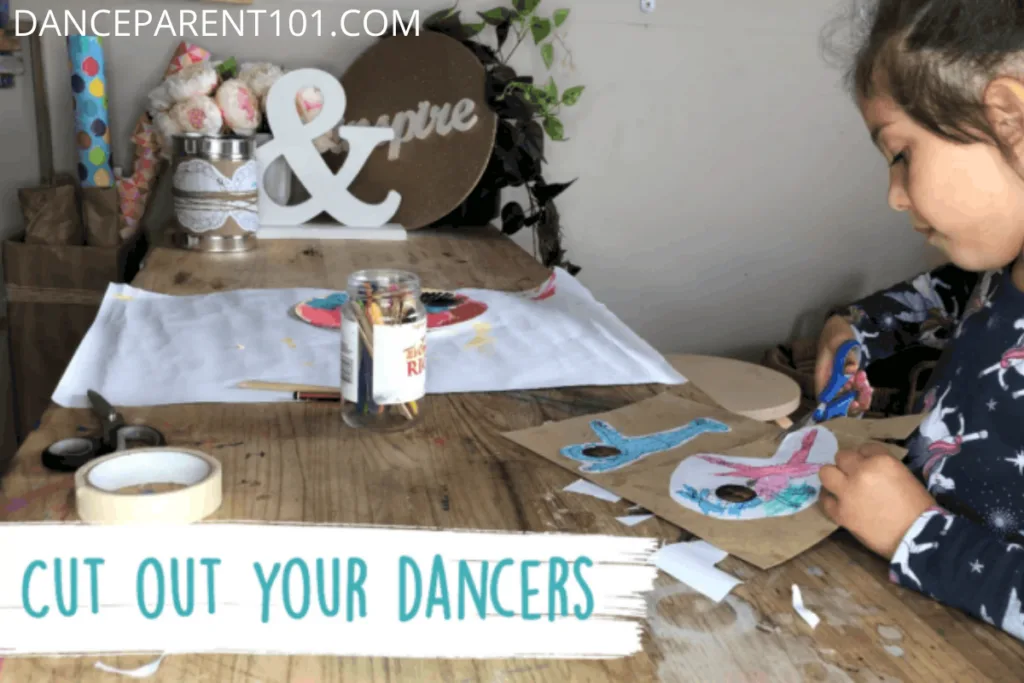
Step 10: Cut out your dancers
Time to cut out the dancers. My daughter attempted to cut them out and then I finished the job for her getting all the finer details.

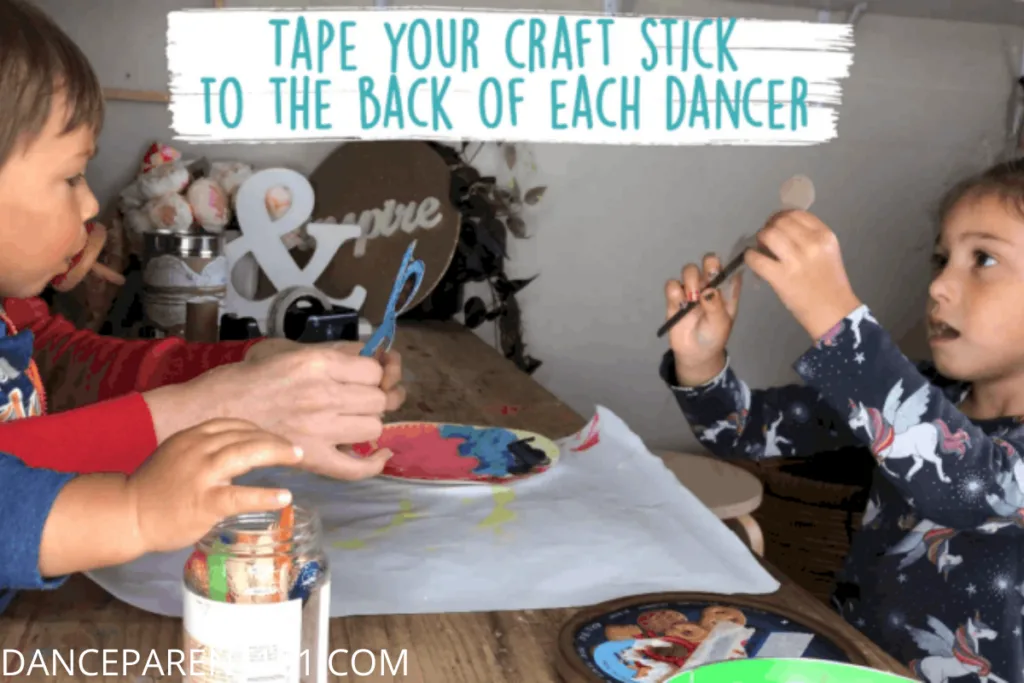
Step 11: Tape your craft stick to the back of each dancer
Grab your craft or ice lolly stick and tape it onto the back of the dancers. Half the stick should be attached to the dancer’s legs and body and the other half should stick out from the bottom so you can hold the puppet.

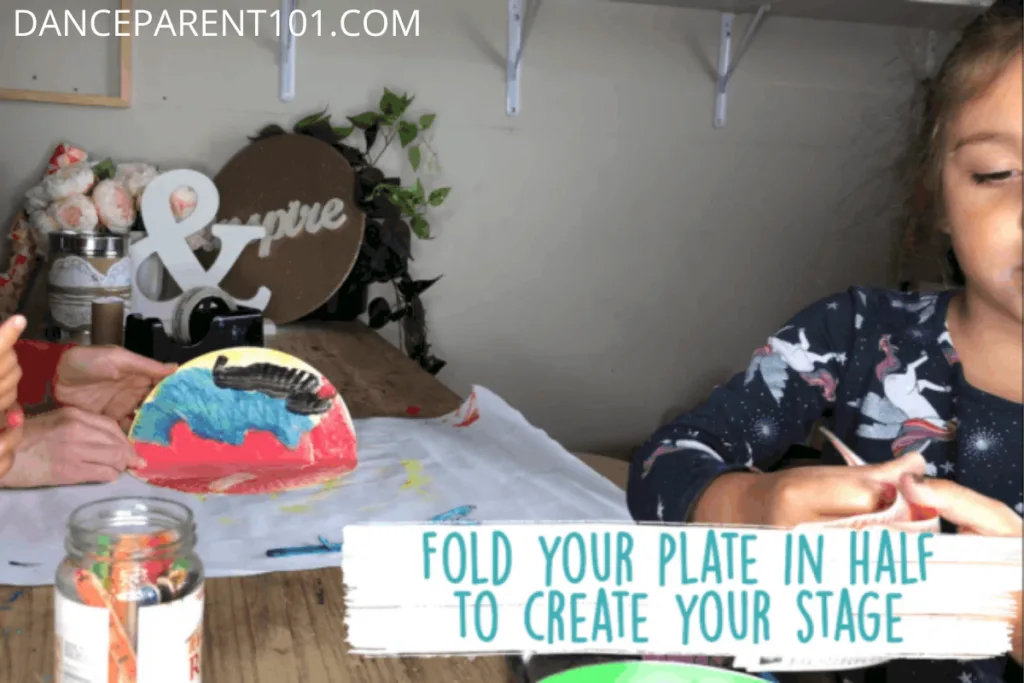
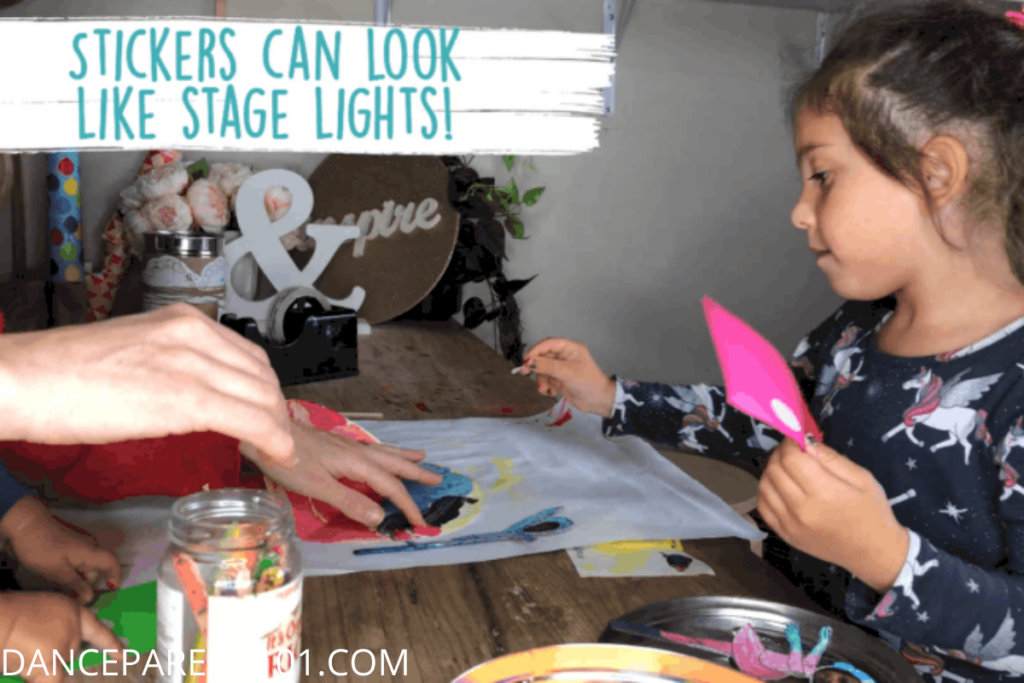
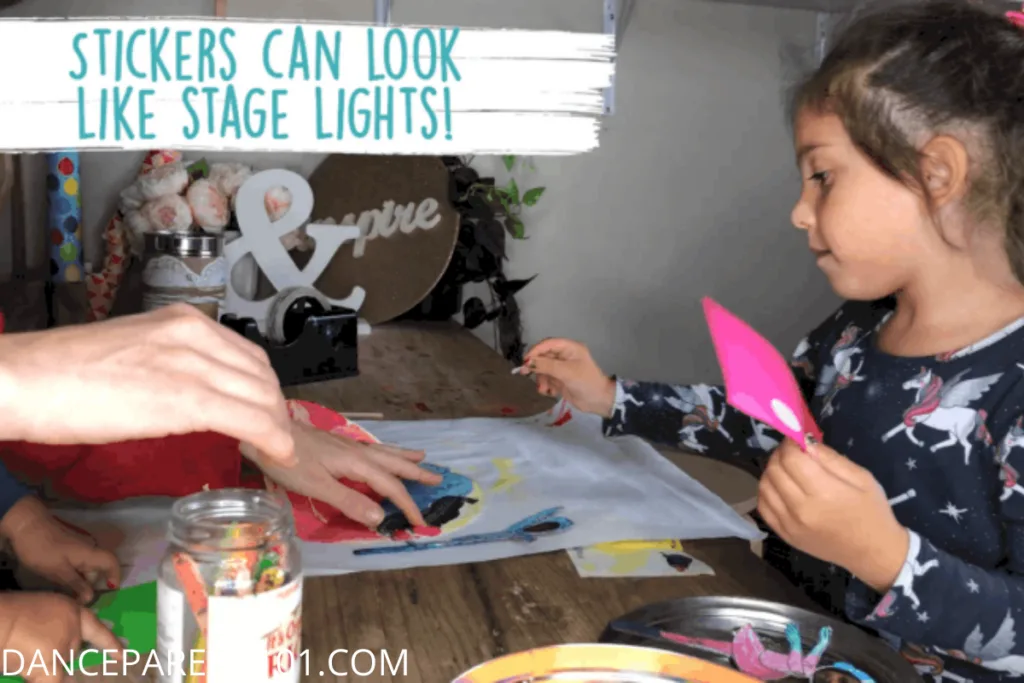
Step 12: Fold your plate in half to create your stage; stickers can look like stage lights
By now hopefully the paint has dried on your plate.
Fold the plate in half so you form an L shape with the plate. The paint should be on the inside of the fold.

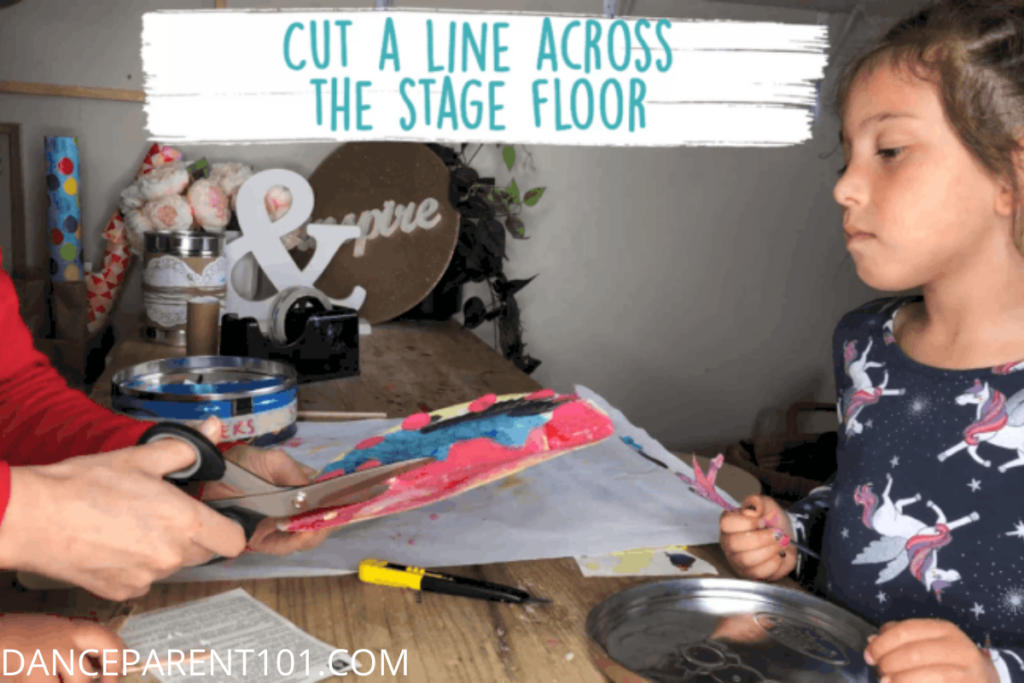
Step 13: Cut a line across the stage floor
On one half of the plate or the stage floor cut a line across the middle. (You can see the cut in some of the next images for more details.
The cut should not cut off the end of the plate, rather it stars an inch in from each edge of the plate and is parallel to and about an inch away from the the fold.

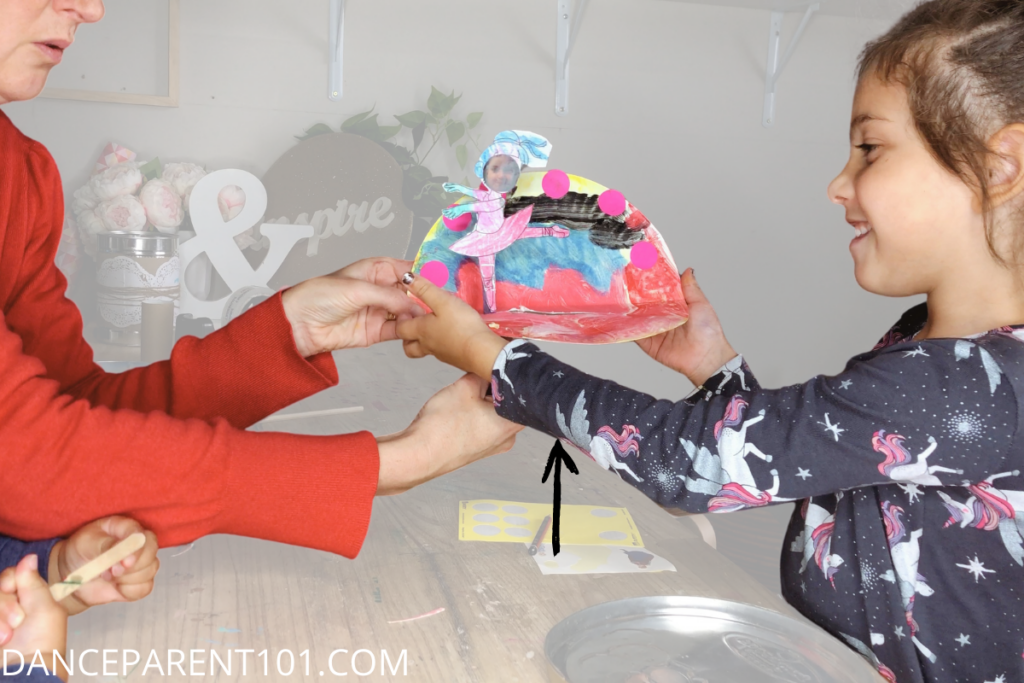
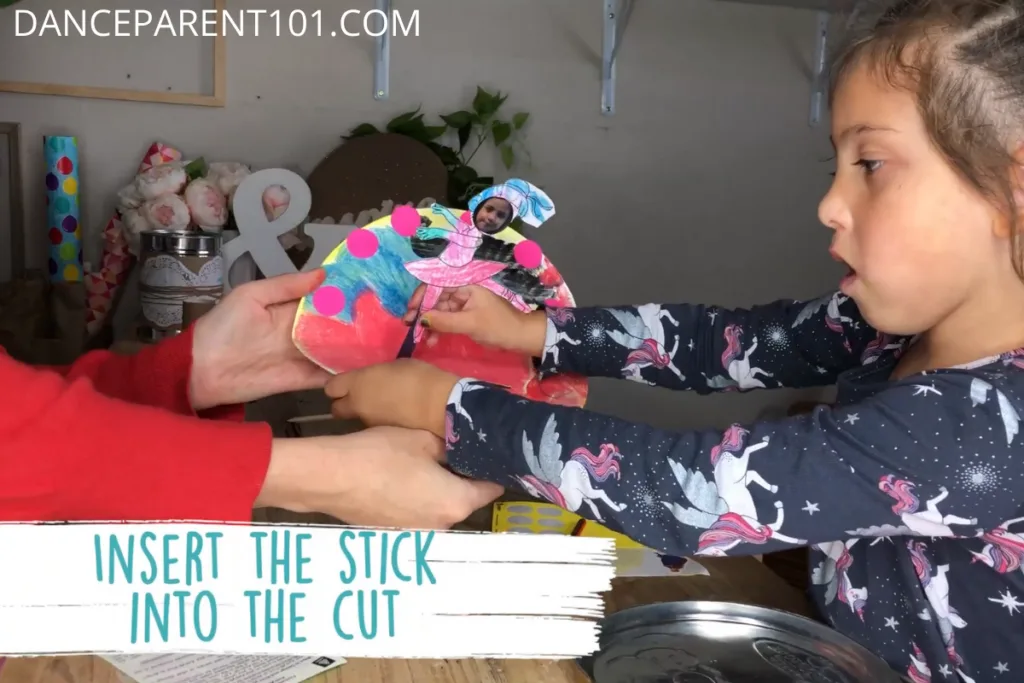
Step 14: Insert the stick into the cut
From the top of the plate, or the painted side, insert your stick so that it hangs below the plate and the dancer sits ontop.

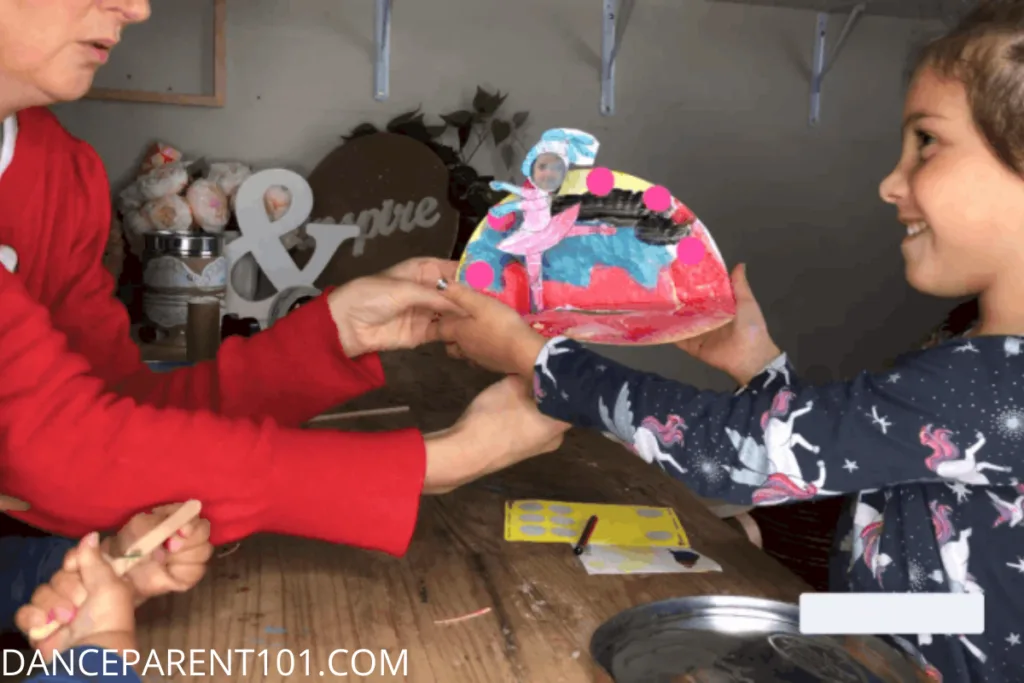
Step 15: Have fun and play with your paper plate dancer
Now you can slide your dancer across the stage as though they are dancing!