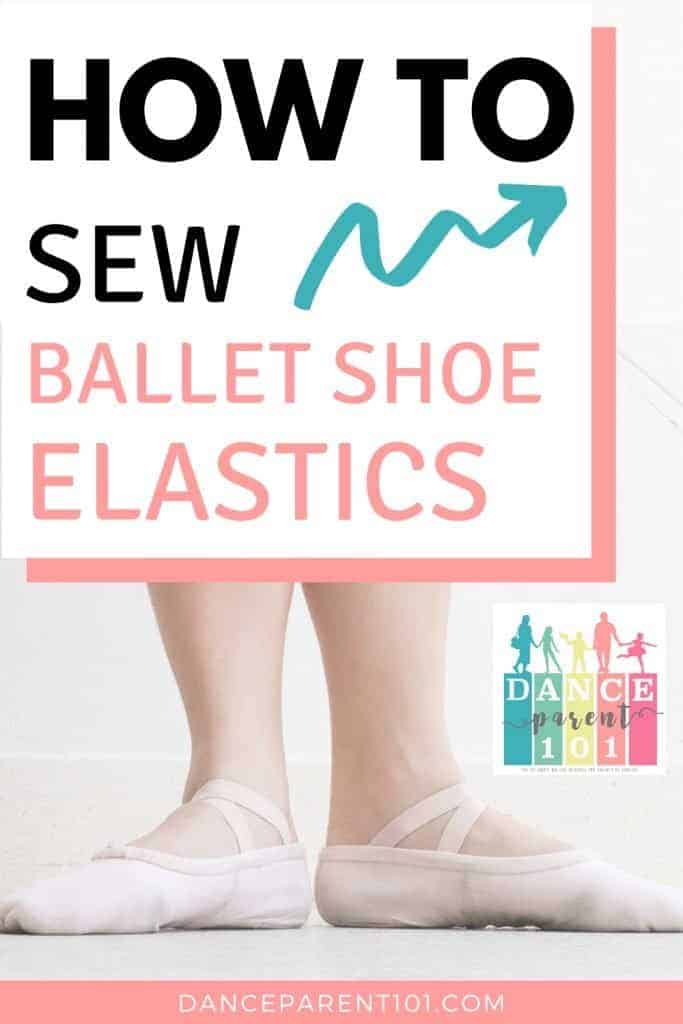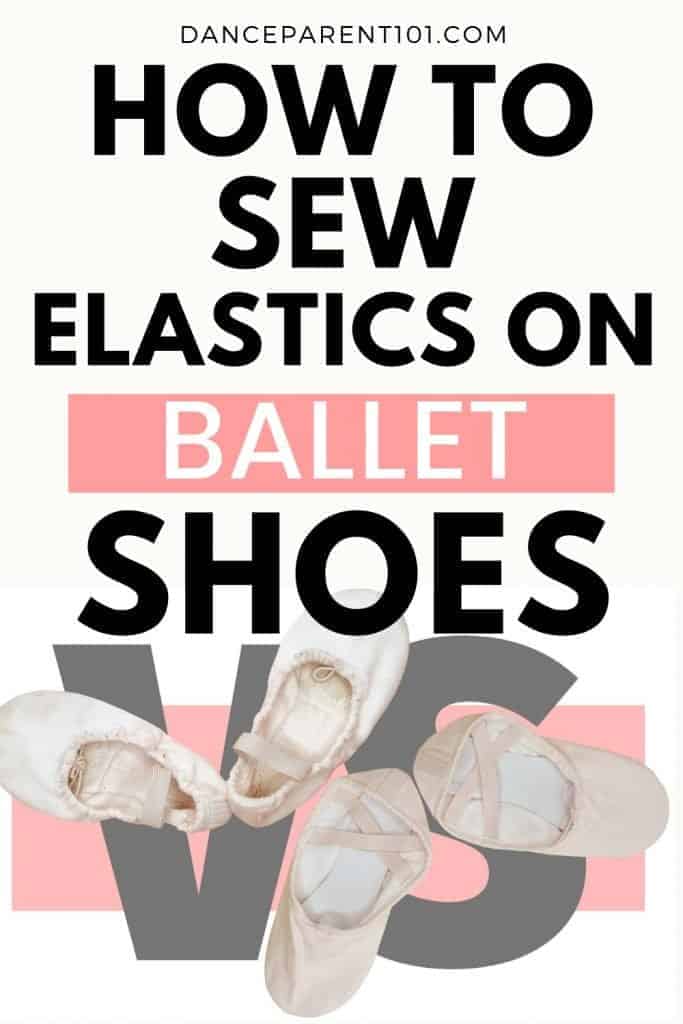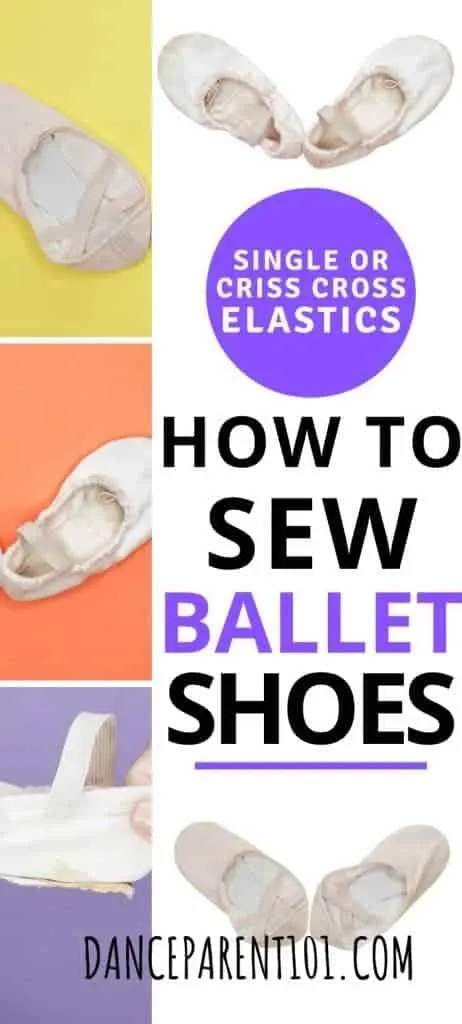

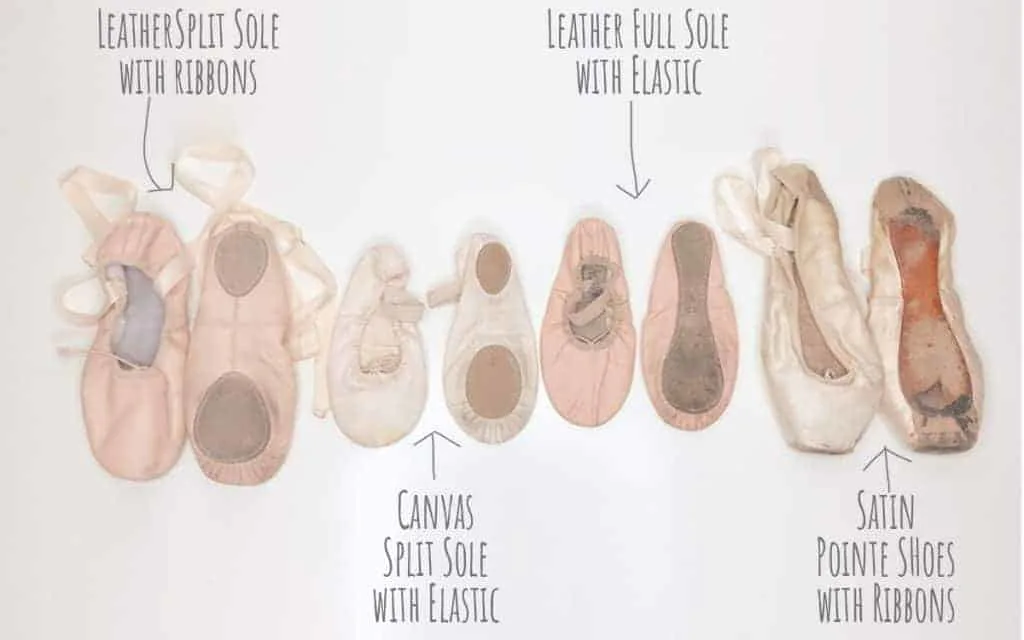
When I danced years ago, you had to buy ribbons and sew them on to your ballet shoes. Later on, I was able to pre-buy canvas shoes with single elastics. Today I have the choice of pre-sewn single or criss-cross elastics when buying ballet slippers for my daughters and so not having both when I danced, I needed to do some investigating into which is better?
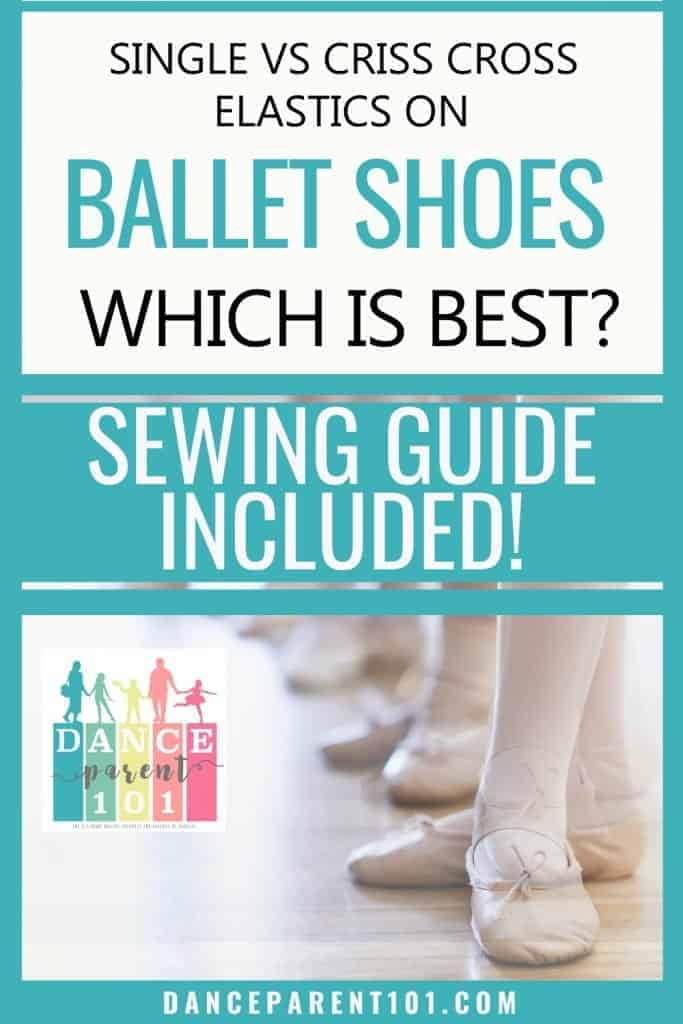
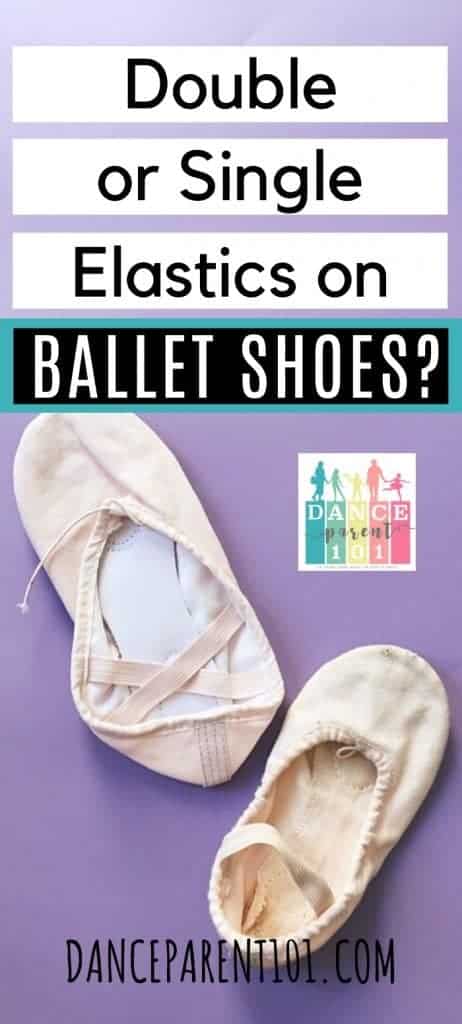
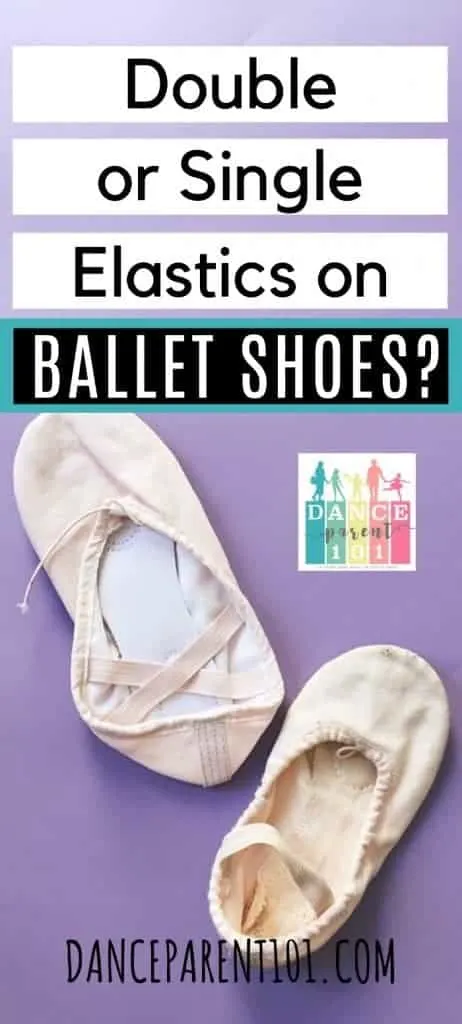
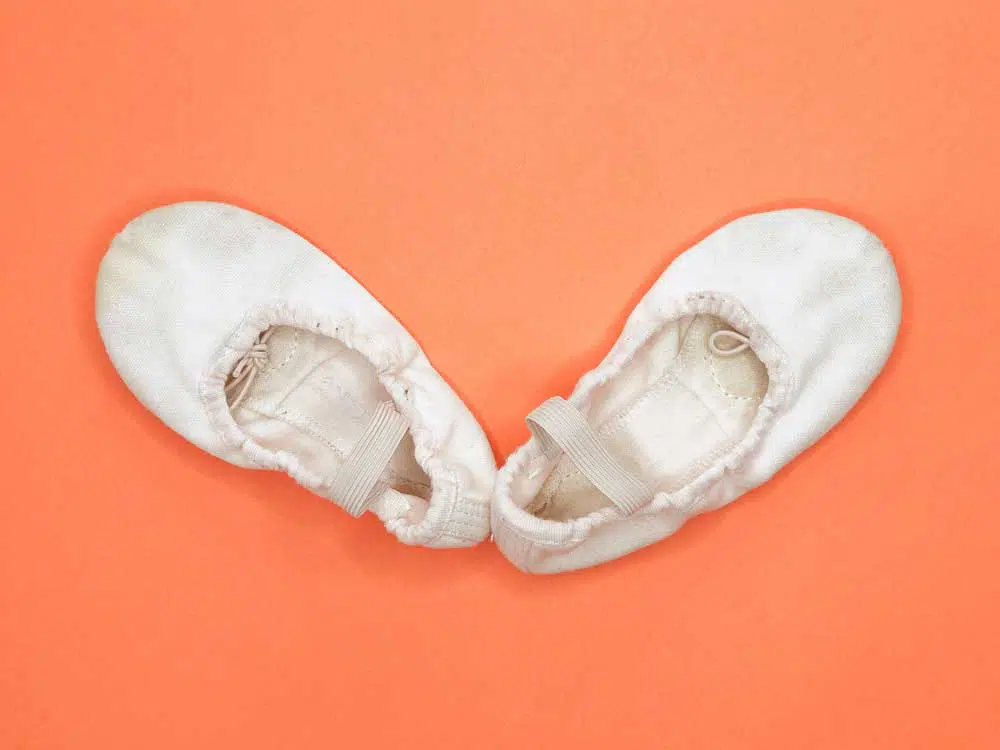
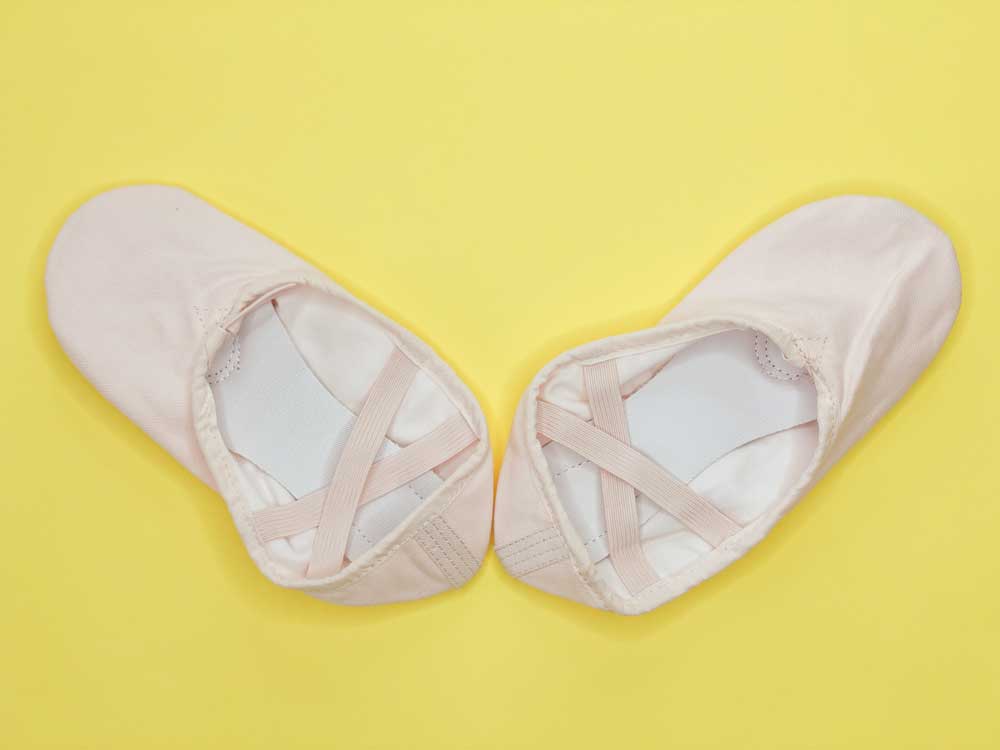
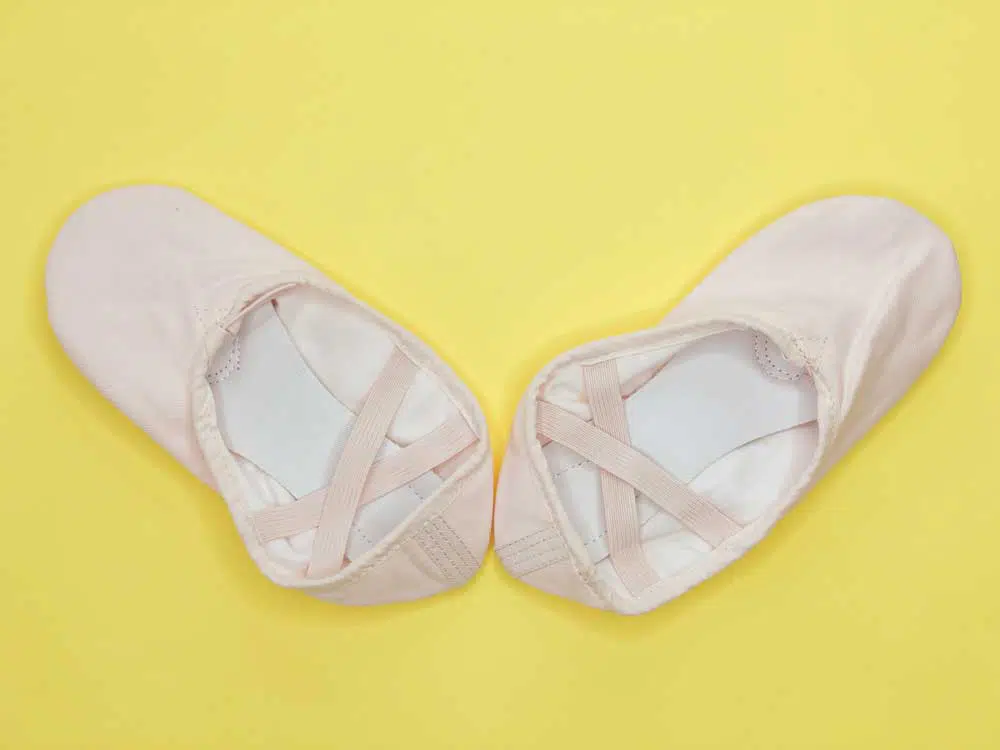
Single elastics are quicker and easier to sew on a ballet shoe. They are also easier and quicker to put on and off which is why many ballet teachers recommend them for small children. Criss-Cross elastics when positioned correctly, provide more support, hug the foot and define the arch and are better bought for older children.
Which is best will depend on a variety of things such as the shape of a person’s foot and their personal preference as to the feel of the elastics or even the look of one vs two elastics, the first which some people find looks much neater on the foot.
Included in this post…
- Which is better? Single or Criss Cross Elastics?
- The Pros and Cons of Single Elastics
- The Pros and Cons of Criss-Cross Elastics
- Why elastics instead of ribbons on ballet shoes?
- When should my child wear elastics and when should they wear ribbons on their shoes?
- Can you wear single or criss-cross elastics with ribbons?
- How and where to sew a single elastic?
- How and where to sew a criss-cross elastic?
- Sewing Tips
- Can I Sew Them On With A Sewing Machine?
I also answer some questions such as can you put elastics on pointe shoes, should you wear socks or tights with ballet shoes and how to fit ballet shoes on kids at the end of the article!
Which is better? Single or Criss Cross Elastics?
A single elastic on ballet shoes is best for young children as they allow the child to easily pull their slipper on and off. Many teachers will state that they are also good for older children and even teens or adults who are beginners in ballet (unless their foot shape needs criss-cross elastics to help the shoe stay on) as they require you to use all the muscles in the feet without the extra hugging of the shoe to the foot, artificially pulling up the arches.
Criss-cross elastics can give the feeling of using muscles and the look of a nicer arch without as much work because of the way they cling to the foot. Without comparison, a beginner dancer may not realize how much they are letting the shoe do the work for them instead of their foot. However that pulling up feeling can help some dancers use the muscles in their feet to their full potential, especially when using mirrors. Seeing the lovely arch they help create when the foot is pointed, can motivate some dancers to increase their arch and strength in their feet even more.
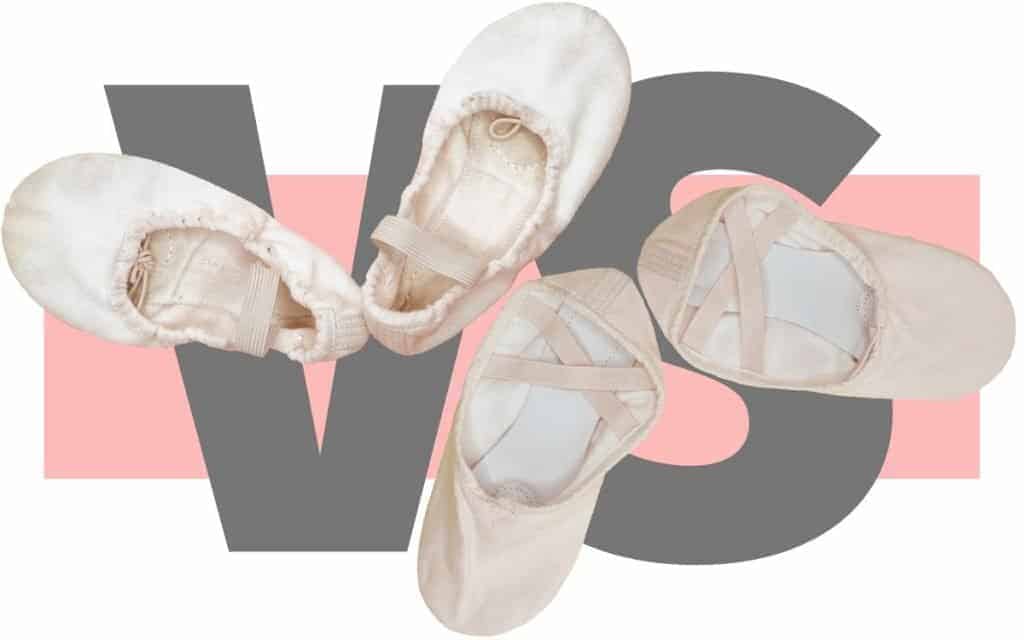
The following table gives you a quick snapshot as to the many pros and cons that I found people describe why they do or don’t use single or criss-cross elastics on their ballet shoes.
| Single Elastic | Criss Cross Elastic |
|---|---|
| Less Sewing | More attachments – more to sew |
| Less elastic needed | More elastic needed |
| Easier for a novice to sew on | Can be complicated to get the positioning of elastics correct/equal. |
| Less support | More Support |
| Less snug under the arch | Elastics pull and hug the arch giving more defintion to the arch when the foot is pointed.. |
| Not as tight | Too tight for some dancers |
| Too loose | More secure |
| Slip on and off easily. | Elastics need to be pulled more to allow foot to enter shoe, which can be difficult for young children. |
| Can slip off some feet too easily. | Best for hard to fit feet – such as wide feet or narrow heels, or high arches. |
The Pros and Cons of Single Elastics

PROS
Less Sewing, less elastic needed and easier for a novice to sew on
A single piece of 1.5cm wide elastic is all that is needed for both shoes. These are connected at only two points on each shoe, compared to four when sewing on a criss-cross elastics. Finding the position to sew the elastics is much easier as well, which I cover later on in the article.
Slip-on and off easily
A single elastic is not as strong as two pieces of elastic and therefore much easier for a young child to pull at and slip their foot into the shoe. Not only is a criss-cross elastic stronger and requires more strength to pull, but their pattern can also be confusing especially for a young child who might get confused as to which hole their foot is supposed to go through.
CONS
Too loose or can slip off some feet too easily.
Some dancers find that a single elastic just feels too loose on their foot, especially if they have tried a criss-cross elastic and like the tighter feeling around the top of the arch that they provide. A dancer might have also experienced their shoe coming off when dancing and therefore prefer the security of criss-cross elastics, which are much harder to slip off.
BOTH A PRO AND CON….
Less Support and less snug under the arch
This can be a pro as providing less support and not clinging to the arch means the students have to use the muscles of their feet more efficiently. It can be a con for those dancers who need extra support because they have high or low arches that cause their foot to pop out of their shoe when pointing.
Not as tight
For some dancers, a single elastic can feel less restrictive and free. For others, they like their ballet shoes to feel tight. All dancers want their shoes to feel like a second skin but will have a different definition and feeling of what does this for them.
The Pros and Cons of Criss-Cross Elastics
PROS
Feels secure
The criss-cross nature of the elastics will feel secure to any dancer and means that it is much harder for the shoe to slip off for example if the elastic in the binding came loose, or the shoe was pulled or slipped off the heel.
Best for hard to fit feet
For dancers with wide feet, narrow heels, or high arches, criss-cross elastics can help keep ballet shoes on their feet securely compared to a single elastic which as previously noted can slip, pull or even twist off when dancing because of the shape of the foot and the cut of the shoe.
CONS
More to sew, more elastic needed, more complicated to sew correctly.
Criss-cross elastics mean two elastic pieces are needed for each shoe attached at four separate points. If your shoes come without elastics sewing criss-cross elastics can be more time consuming and complicated as explained a little further on when I describe how to sew them onto ballet shoes.
Elastics need to be strongly pulled to allow the foot to enter the shoe.
Because there are two elastics, they create more pull or force which needs more pull or force in the opposite direction to make the opening wide enough for the foot to slip into. This can be difficult for young children. Secondly, the criss-cross pattern of the elastics can be hard to work out and co-ordinate for little kids who might end up putting their foot through only one elastic or the side hole between the cross of the elastics.
BOTH A PRO AND CON….
More Support
Because the shoes hug the foot and because of the strength of the double elastic, the foot is provided with more support when dancing. But this can be a double-edged sword if the dancer learns to rely on this support rather than their own muscles when dancing.
Elastics pull and hug the arch giving more definition to the arch when the foot is pointed.
A criss-cross elastic is the choice of many dancers who claim it makes their foot look nicer when being pointed because the shoes hug their arches better. But this can detrimental to the dancer who stops working on improving their arches and strength in their feet because they think they look nice enough.
Too tight for some dancers
A criss-cross elastic can just feel too tight and restrictive for some dancers, whereas to others it might help them get that second-skin feeling from their shoe.
Why elastics instead of ribbons on ballet shoes?
The main reason people wear elastics instead of ribbons is for their ease of use. With elastics, you can slip ballet shoes on in seconds, whereas ballet ribbons can take a few minutes or even more if you are doing them on a wriggly little one! Ribbons can be fiddley and although you double knot them, although generally unlikely, they can come undone.
When should my child wear elastics and when should they wear ribbons on their shoes?
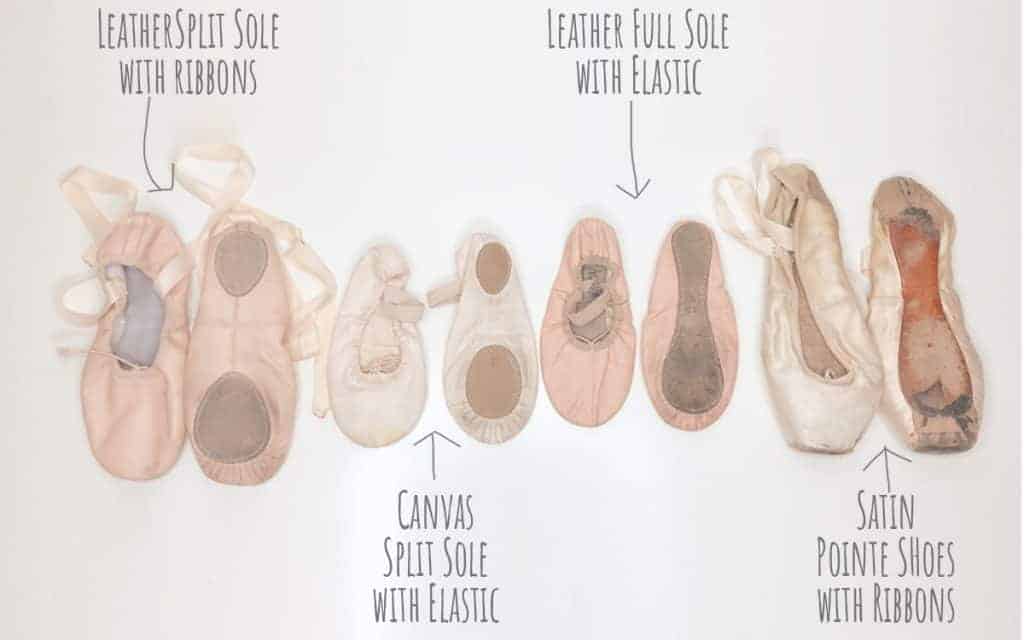
Ribbons are traditional on women’s ballet shoes and are generally used for exam and stage work and more regularly on pointe shoes although some dancers prefer to just use elastics on those as well.
Elastics are seen widely in the classroom and for rehearsals because of their convenience. Some people like wearing them in competitions, especially criss-cross style as they help create an aesthetically pleasing look to the foot and accents the arch.
Many schools require their students to use ribbons in the classroom and if your school doesn’t require them it is always wise to do some practice with ribbons before an exam or performance if they are required for that to both get used to the feel of them on the feet and ankle as well as to practice how to tie them and make sure they are secure.
Can you wear single or criss-cross elastics with ribbons?
Yes, you can wear single or criss-cross elastics with ribbons. With a single elastic the ribbons are sewn in the same place as the elastics so space is needed vertically for both. Recently I attached ribbons onto a pair of ballet shoes for my 4-year-old as she was desperate for some as her older sister has to wear them. I had very little space to sew the ribbons as I was too lazy to lower the elastics, but it worked. Ribbons would be attached between the criss-cross elastics. Some people feel that ribbons ontop of criss-cross elastics look cluttered and are not needed as the ribbons if placed correctly securely hold the shoe to the foot.
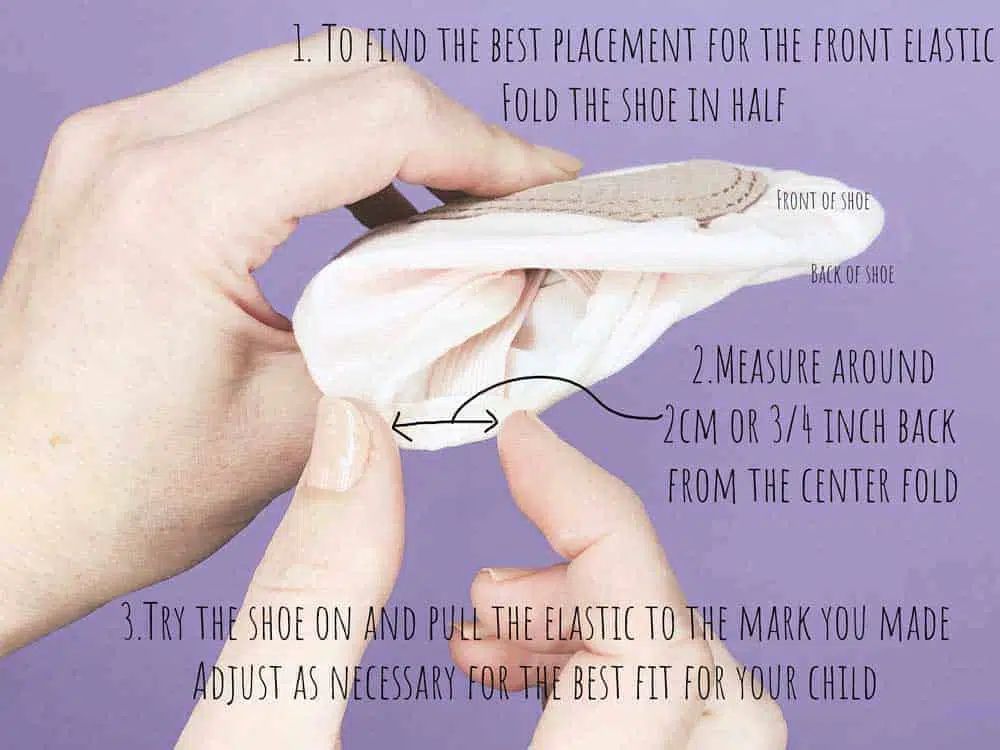
How and where to sew a single elastic?
It is really simple to find the best spot for a single elastic to be sewn onto a ballet shoe.
You will need:
- thread to match the color of the shoes and elastic
- 30cm or 12 inches of ballet shoe elastic which is around 1.3-1.5cm or 1/2 inch wide. Each piece will end up being 10-15cm long so buy more if you are cautious.
- a needle
- scissors
- a pencil or pin
- ballet shoes
- your child

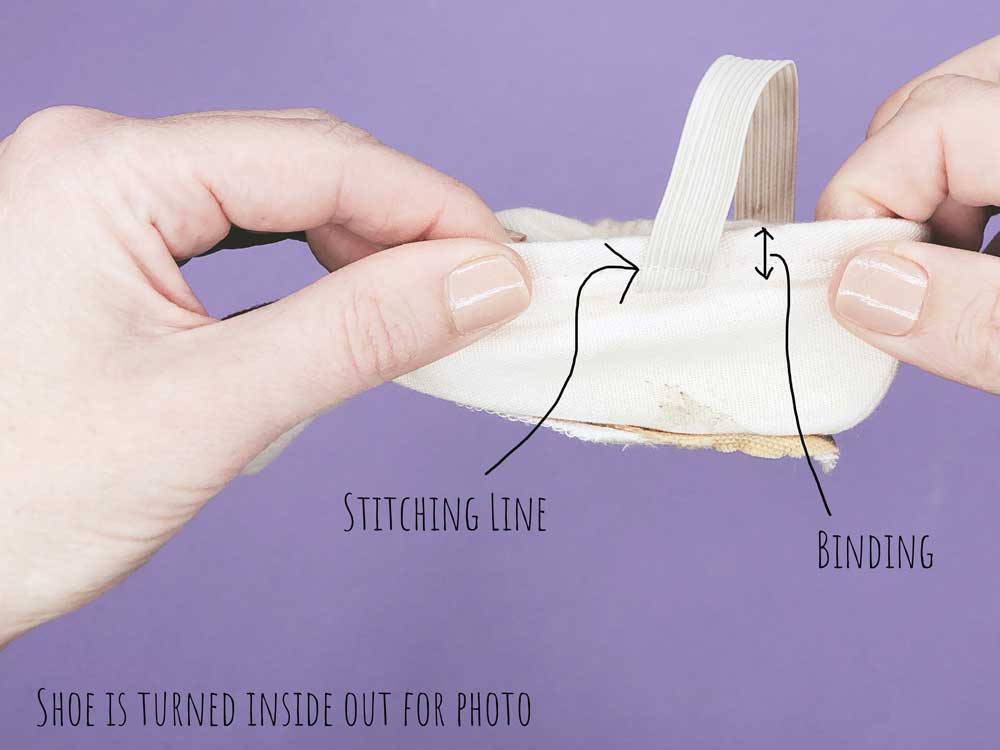
1.Fold over the heel of the shoe towards the inner sole nice and flat, Then mark each side where the rim of the shoe meets the stitching line of the shoes binding with a pencil, this is where the elastic needs to go. Alternatively, you can pin the elastic, or like me, I usually have the needle threaded and ready and so fold over the heel place the elastic and just start sewing. The line marks where the center of the elastic should go. It doesn’t need to go in front of the line or behind it. Sew along the horizontal seam of the binding several times, knot and cut your thread. (If you plan to also have ribbons, you will need to accommodate this and sew the elastics in lower to ensure there is room above for the ribbons as they are sewn in at the same location!)

2. Once one side is sewn in, get your child to put the shoe on and stretch the elastic to the other side. Don’t stretch it too tightly, it just needs to be firm over their foot. You don’t need to try and fiddle and pull it inside the shoe, simply pull it down the outside just below the horizontal stitching on the binding where you are going to sew and attach the elastic and cut it.
3.Take the shoe off your child, and use the pencil mark you first made on the other side to position the second end of the elastic or simply refold the heel over and pin or start stitching the elastic along the stitching line of the binding. Knot and cut the thread and you have finished one shoe, time to start the second one!
4.Get your child to try them on just to make sure they are secure and correctly placed.
5.YOU’RE DONE!
How and where to sew a criss-cross elastic?
There are several ways to sew criss-cross elastics and sometimes the placement of the elastics can come down to preference. A more experienced dancer might like the back attachments of the elastics to be further back then described in these instructions and you might find that your child prefers them placed in a certain position or that you can see that if next time you placed them further back or forwards, your child would get an even nicer line depending on their foot shape.
It is also good to note that most shoes will come with either all elastics already attached or just the back elastics attached. The reason some come with only the back ones attached are to give you the versatility to stretch the elastics to fit your child’s foot perfectly. The following instructions are to attach elastics to a shoe without any, so if your shoes already have the first back elastics sewn in, just skip to step ….
You will need:
- thread to match the color of the shoes and elastic
- 70 cm or 30 inches of ballet shoe elastic which is around 1.3-1.5cm or 1/2 inch wide. Each piece will end up being 10-15cm long so buy more if you are cautious.
- a needle
- scissors
- a pencil or pin
- ballet shoes
- your child
1. Fold your elastic in half and cut into two pieces.
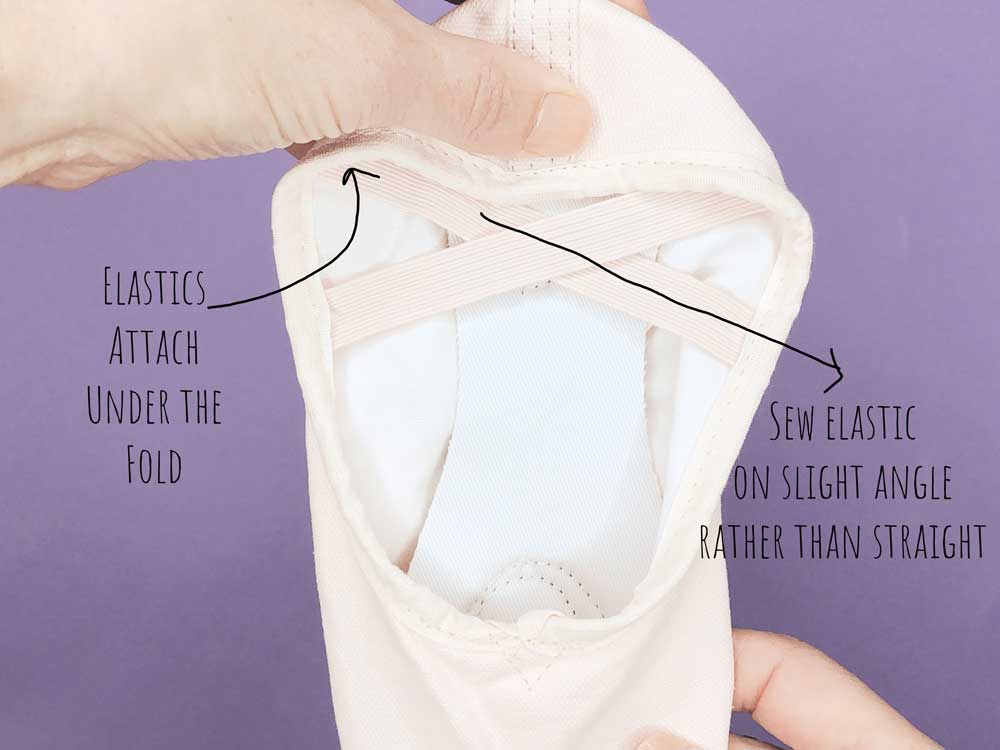

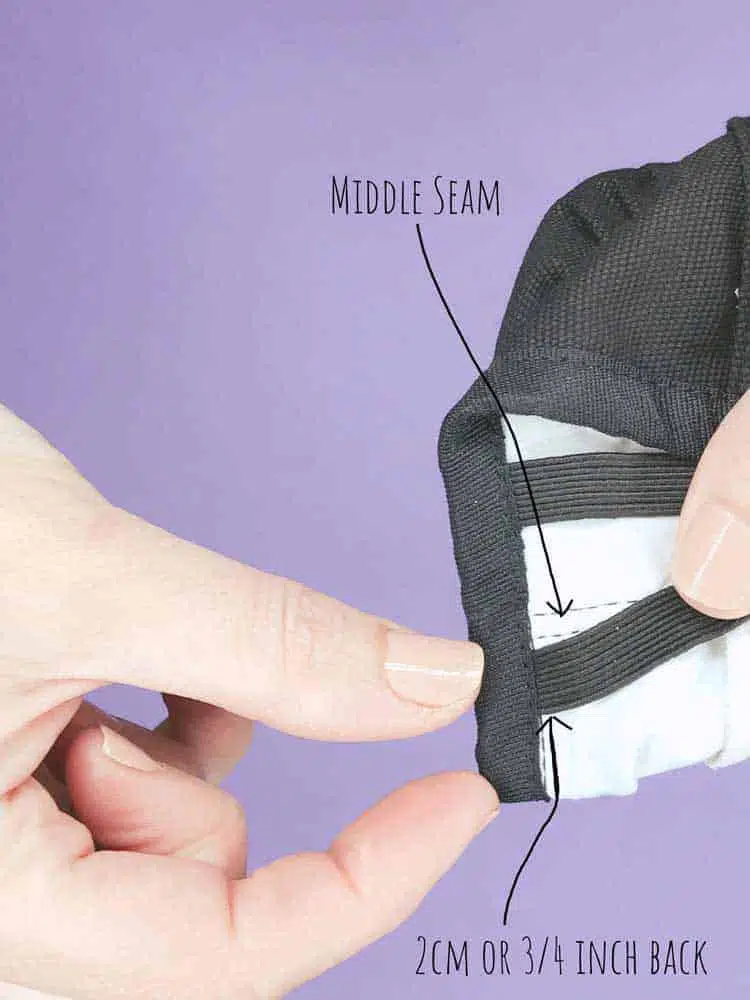
2. Fold the back of the shoe forward. Unlike the single elastic which is sewn in the center of the fold, for criss-cross elastics, you sew them right behind the fold. Sew one elastic on each side, angling them slightly in the direction they will be headed for the second front attachment. Sew them in along the stitching line of the binding. Do this with a separate piece of elastic on both sides.

3.Mark where the second attachment will go. If your shoe has a center seam, some people just like to use this, but it may not be the best position to attach to as you can see in the next photo, so you might still like to use The following method. Fold the shoe in half and measure approximately 2cm or 3/4 of an inch back from the centerfold. This is where the second attachment will go.

4. Get your child to put on their shoe.
5. Take one elastic and cross it over their foot to where you have marked or the center seam. Stretch it just enough so it is firm, but not too tight. Cut the elastic just below the binding. Do the same with the other elastic.
6. Take the shoe off and sew each elastic as placed on your child’s foot along the binding stitching line. (Ribbons will generally be sewn in front of the back elastic and therefore you do not need to make any adjustments if you plan to sew these on as well.)
SEWING TIPS
- Only sew through the inner lining of the binding or shoe if necessary never right through the binding or the outer leather or canvas of the shoe.
- Make sure the elastic is not twisted. you don’t want to finish only to realize you have to unpick your stitches and redo it!
- Don’t pull the elastic too tightly when fitting, it needs to be firm, but should not leave your child with a mark from the elastics pull or pressure on their skin.
- Sew in a horizontal line following the binding stitches, forwards and back at least four times – forward, back, forward, back. You might like to make a knot each time you get to an end, that way if a thread snaps, there are plenty of rows that won’t come undone.
- Hide knots under the elastic so they don’t rub against your child’s foot.
- If you need to unpick or take them off make sure you cut only the elastic threads and not the binding.
Can I Sew Them On With A Sewing Machine?
If you look at pre-sewn elastics on ballet shoes it is obvious they are machine sewn. Sometimes sewn right through to the other side of the binding, other times they are sewn into the binding itself. This is done with special equipment through a manufacturing process, and unless you have specialized strong needles and the expertise to ensure you stay in line when sewing, I would stick to hand sewing them otherwise you could make holes in the side of the shoes making the unusable!
Related Information
Can you put elastics on pointe shoes?
Yes, you can absolutely put elastics on pointe shoes, in fact, some dancers, for rehearsals and many modern dance companies perform en pointe without ribbons and only elastics. The same principals generally apply to wear elastics on pointe shoes, but there are several other ways elastics can be sewn and worn, and some dancers even wear their shoes with three sets of elastics – A criss-cross and then another sewn either side of the back seam that goes around the ankle.
Do you wear Socks with Ballet Shoes?
You can wear socks with ballet shoes and many schools require their junior students to do so. Most dancers though will wear tights with their ballet shoes, or even nothing at all – just bare feet inside their shoes.
How should Toddler or Children’s Ballet Shoes Fit?
A ballet shoe should fit snuggly on the foot, like a second skin. However, children’s feet tend to grow so quickly that the perfect fit is not always going to be possible. Allowing a thumbs width at the top of the shoe when pulled forwards as far as possible is fine when buying them to allow some growth. You can read more about how to fit, measure and buy ballet shoes for toddlers and kids in our article of the same name which you can read here.
How To Wear Ballet Shoes
You can wear ballet shoes with bare feet, thin socks or tights. It is most common for ballet shoes to be worn with tights. You wear them by slipping your foot into the opening of the shoe. Some ballet shoes are worn with just elastics, some are worn with ribbons and others are worn with both. You will need to tighten the drawstring elastic around the mouth of the shoe just enough to feel secure on the foot. Once tied, the drawstring should be tucked under on top of the toes and out of sight.