
Making a single ballet barre from Galvanised Steel was pretty easy – once I realized that it had to be put together in a certain way. This is because of the direction everything needed to be screwed in.
What wasn’t 100% easy was actually obtaining all the parts as many of the lengths I wanted and some fittings were sold out and I ended up having to order some online. I was told at the store that this was because orders are taking a little longer to come in at the moment, or that they were not able to get certain lines of products but that was during April 2020 and hopefully the supply chain is working a little better for you now!
What I really like about this barre is that other than the pipes and fittings you don’t need any tools to put it together and it is nice and heavy and fairly sturdy to use. What I don’t like, is that to keep some of the parts facing the direction you want you can’t screw all the pieces in fully, so when you pick the barre up to move it, the feet for example twist in the air.
Keep a lookout though for the tutorial on how to put together a double barre from galvanized steel, as I made one of those and will be editing the video to put out soon! It was a little trickier to put together than I thought it would be!
I also look at what the most stable feet options are for a metal galvanized ballet barre which you can view in the next video here.

STEP BY STEP INSTRUCTIONS – HOW TO MAKE A SINGLE BALLET BARRE FROM GALVANISED STEEL PIPE
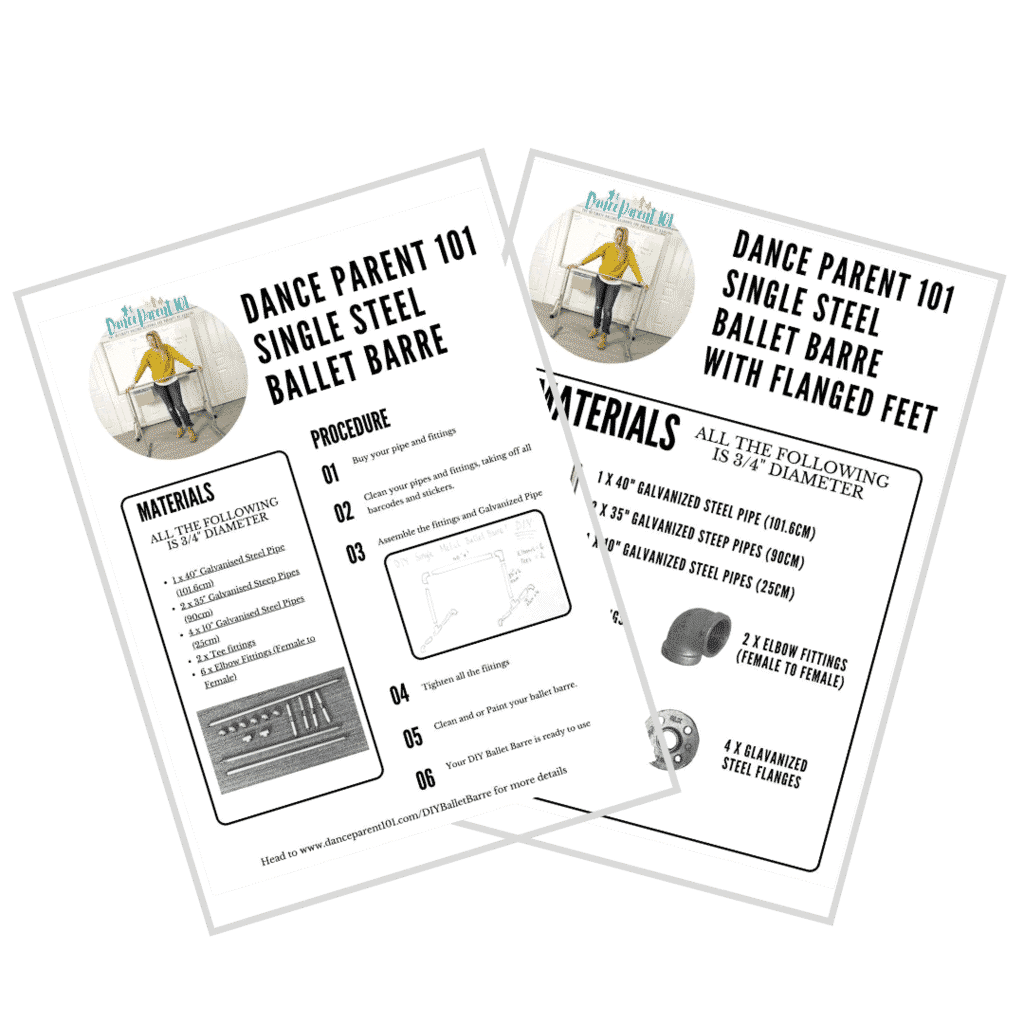
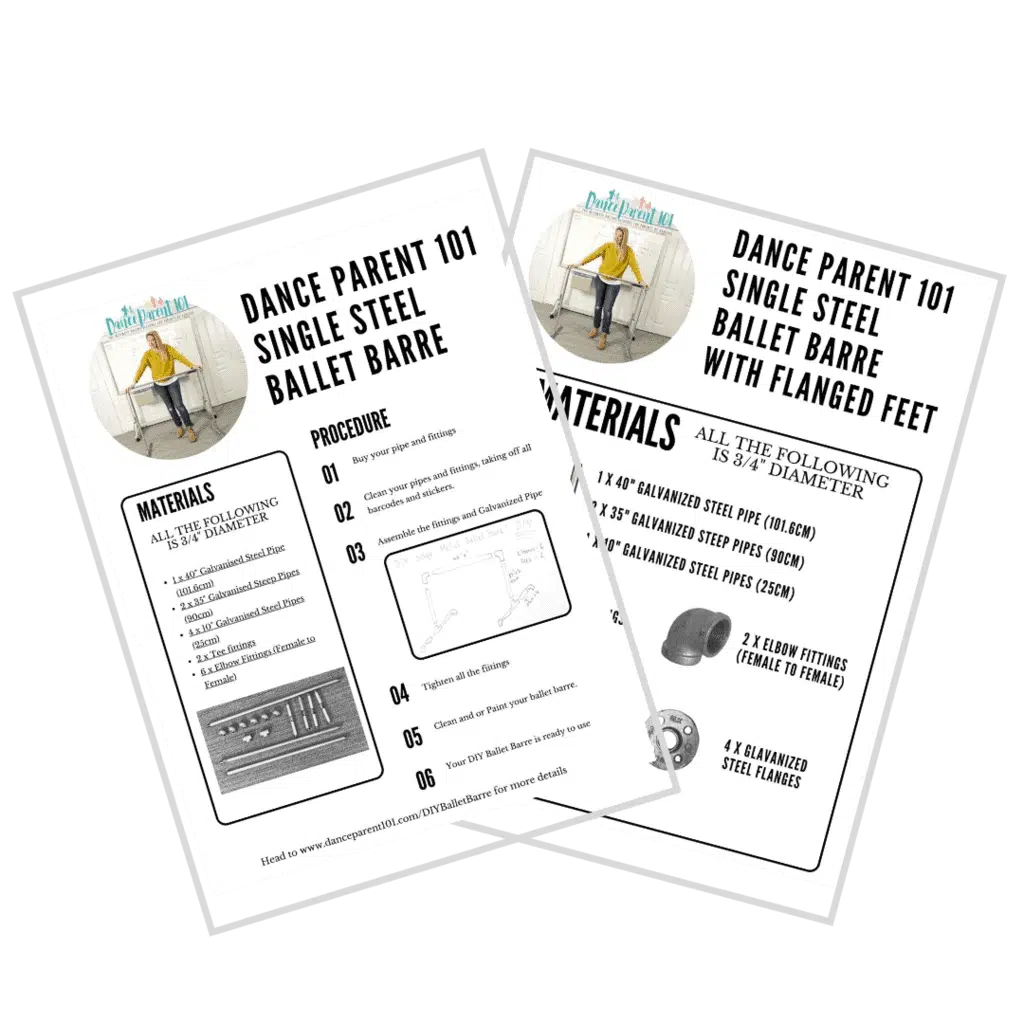
For a pdf printout with a list of the materials and their measurements that I used to make this barre, as well as a small diagram and simple instructions, click here to join our newsletter so you can access the newsletter member area with free printables and more!
- Step 1: Buy your Galvanized Pipe and Fittings.
- Step 2: Clean your pipes and fittings and take off all barcodes and stickers.
- Step 3: Assemble the fittings and galvanized pipe as per the video instructions!
- Step 4: Tighten the fittings
- Step 5: Paint your Galvanized Steel Ballet Barre
- Step 6: Your Galvanised Steel Single Ballet Barre is ready to use!
- DIY Ballet Barre E-Book
- ALTERNATIVE DESIGNS
Step 1: Buy your Galvanized Pipe and Fittings.
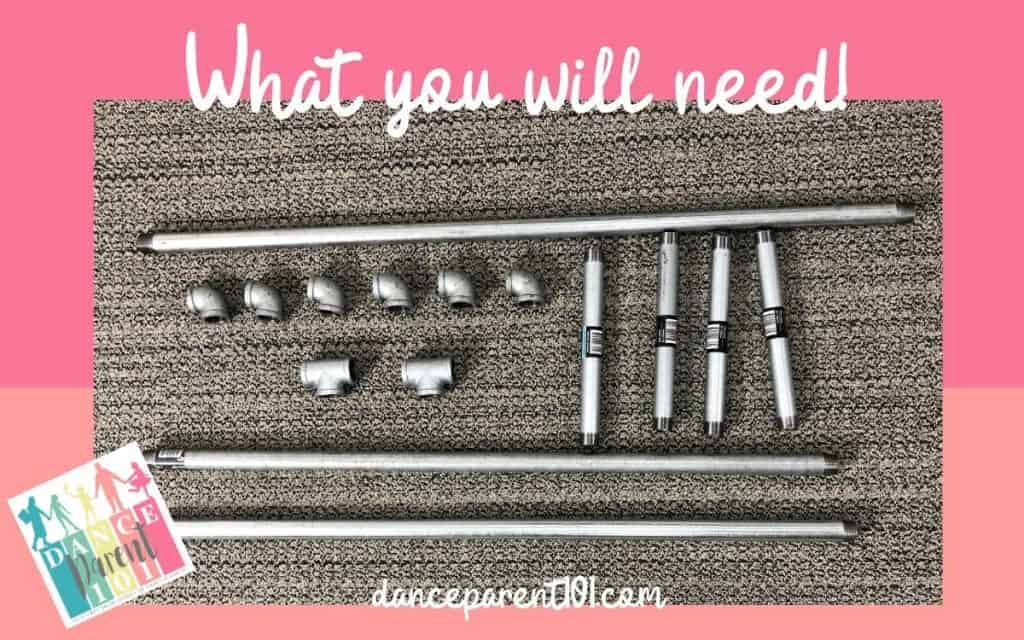
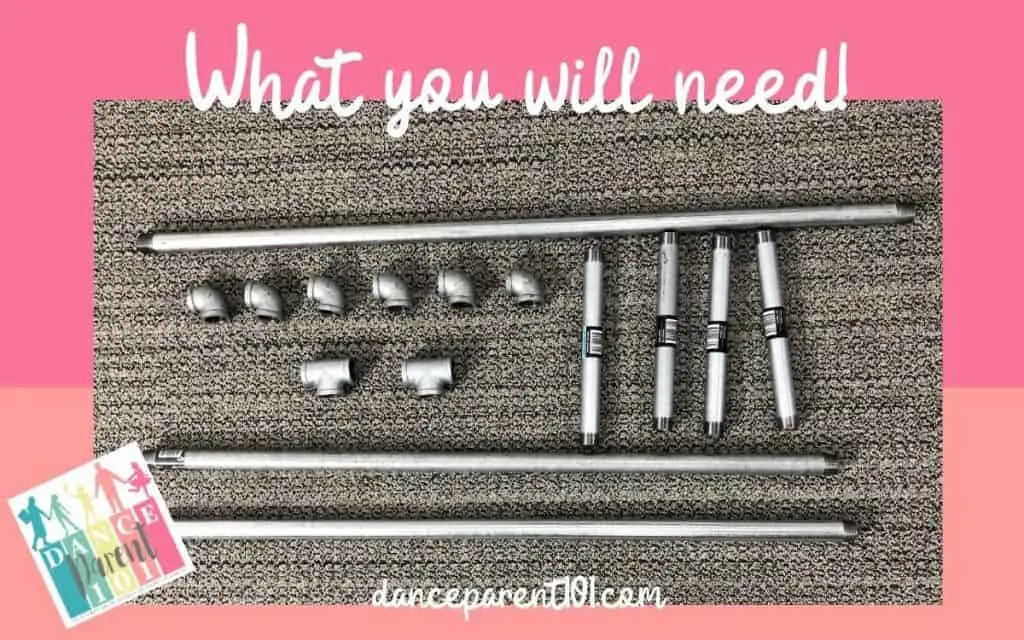
YOU WILL NEED:
All the following is 3/4″ Diameter
- 1 x 40″ Galvanised Steel Pipe (101.6cm)
- 2 x 35″ Galvanised Steep Pipes (90cm)
- 4 x 10″ Galvanised Steel Pipes (25cm)
- 2 x Tee fittings
- 6 x Elbow Fittings (Female to Female)
For flanged or plated feet you will only need 2 x Elbow Fittings (Female to Female) plus:
- 4 x Flanges
- 4 x Elbow Fittings (Female to Male)
What diameter pipe is best?
I made my barres using 3/4″ or 20mm pipe. You could also use 1″ or 25mm pipe. I had two reasons for using the 3/4″ galvanized pipe. The first reason was that it was lighter then the 1″ pipe.
When I picked up what I thought I might use for one of the legs in store the 1″ was heavy and although the barre needs to be sturdy, I felt that if my girls tried to pick it up to move it and it fell on them they could be seriously injured, where as the 3/4″ still had some weight to it, but just felt more managable over all.
I did also like the thickness of the 1″ as it more closely resembled the width and feeling of a dance studio barre, but it came with a hefty price tag and I was intending on making two barres – a single which I explain how to make in this tutorial, but also a double which I will have a tutorial up for soon. The difference in price just didn’t seem to be justified for my purposes and also for the fact that I had my reservations about using it already.
I am really happy with the 3/4″ diameter pipe, my daughter currently uses the double galvanized steel barre we made in her bedroom so we have had plenty of experience with it, and am glad I went with it!
What is Galvanized Steel Pipe?
Galvanized Steel Pipe is generally used for supplying water to homes and buildings. It is called Galvanised because it is covered in a zinc material which makes it less likely to corrode from constant contact with water and other materials. Many people use galvanized pipes to create industrial-looking shelves, bookcases or other furniture for their homes.
SAFETY NOTE: Galvanised pipes when coated in zinc last from 80-100 years. Do not use old galvanized pipes, or pipes with signs of any corrosion as these may contain a build up of lead. Although this is mainly a problem when water flows through them and you consume the lead through the water, constant contact with corroded pipes and your skin does not sound like a good idea!
Step 2: Clean your pipes and fittings and take off all barcodes and stickers.
This is a step I failed to follow and to this day, my galvanized barres are being used with the barcode stickers still on them. That is because it is harder to get to them once it has been put together. The barres are in my girl’s rooms being used and honestly, it just hasn’t been a priority since putting them together to take them off yet, as I intend to paint them and will do it when I clean them to get them ready for the paint – Not looking forward to that – so make sure you do it before hand!


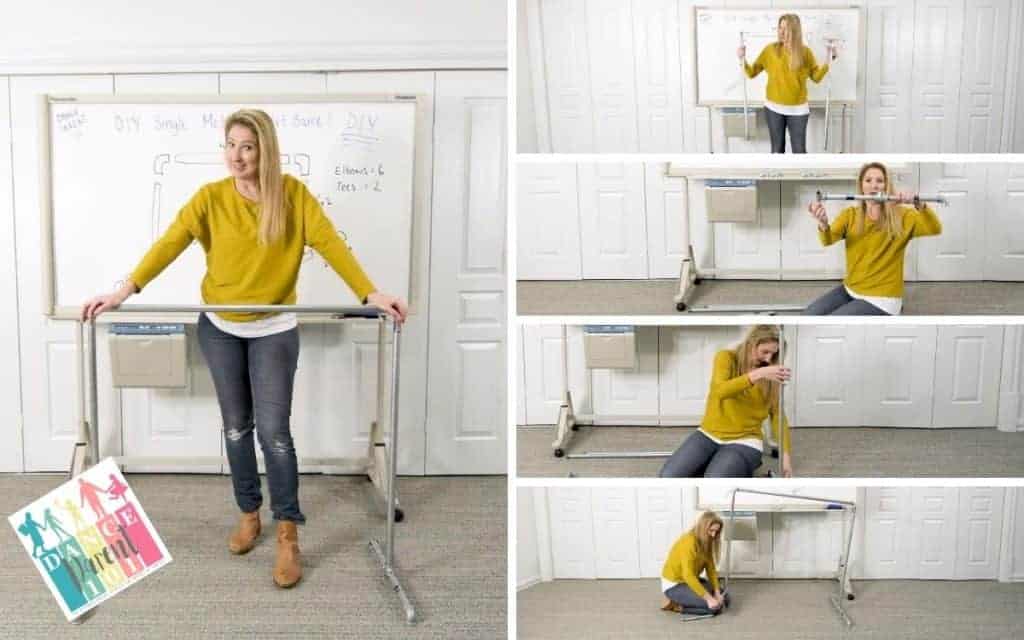
Step 3: Assemble the fittings and galvanized pipe as per the video instructions!

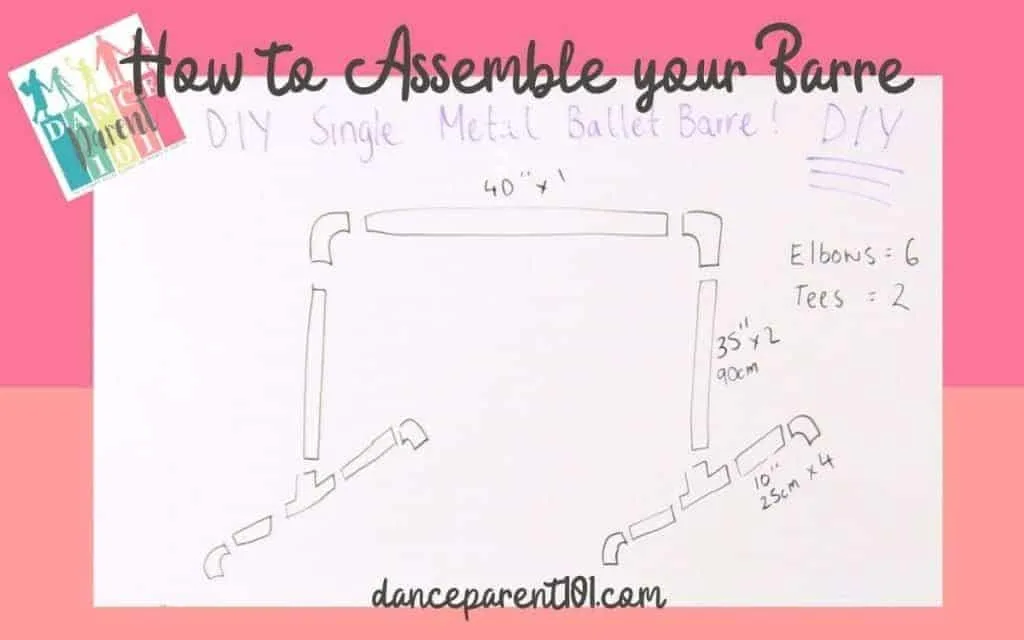
The image above should hopefully give you a good visual on how to put all the pieces together, but what my beautifully drawn piece of artwork (I am joking, LOL) doesn’t show is the order that you should screw each piece in.
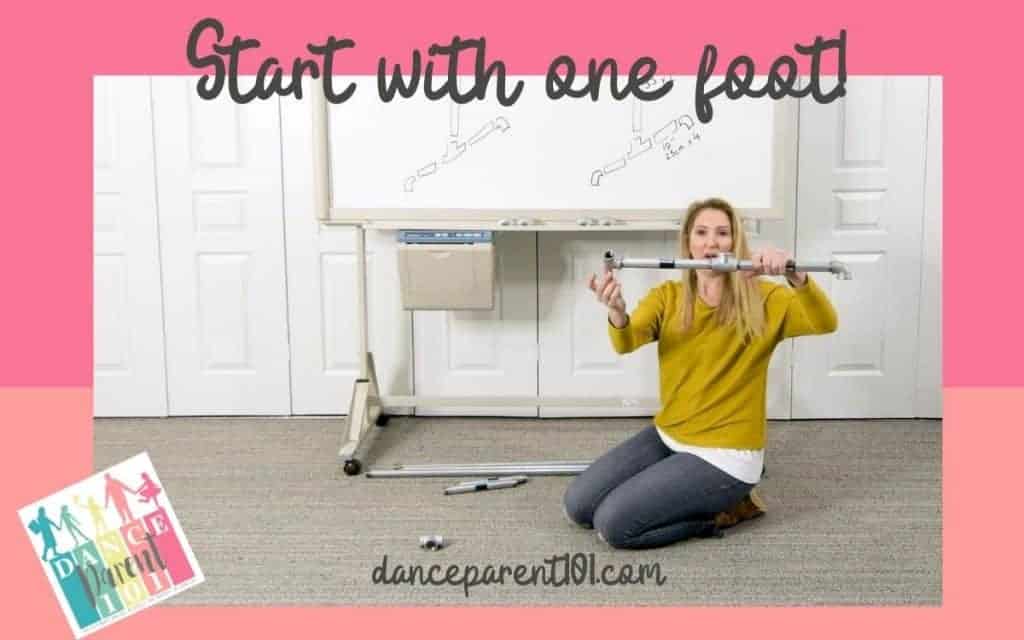
Sitting here late at night typing this a few hours before I have scheduled the video to release, the only way I can describe it is to start building one foot from one leg and then work upwards and over and the barre foot on the other side should be the last things you put together. I took some stills from the video above to explain in pictures what I mean.

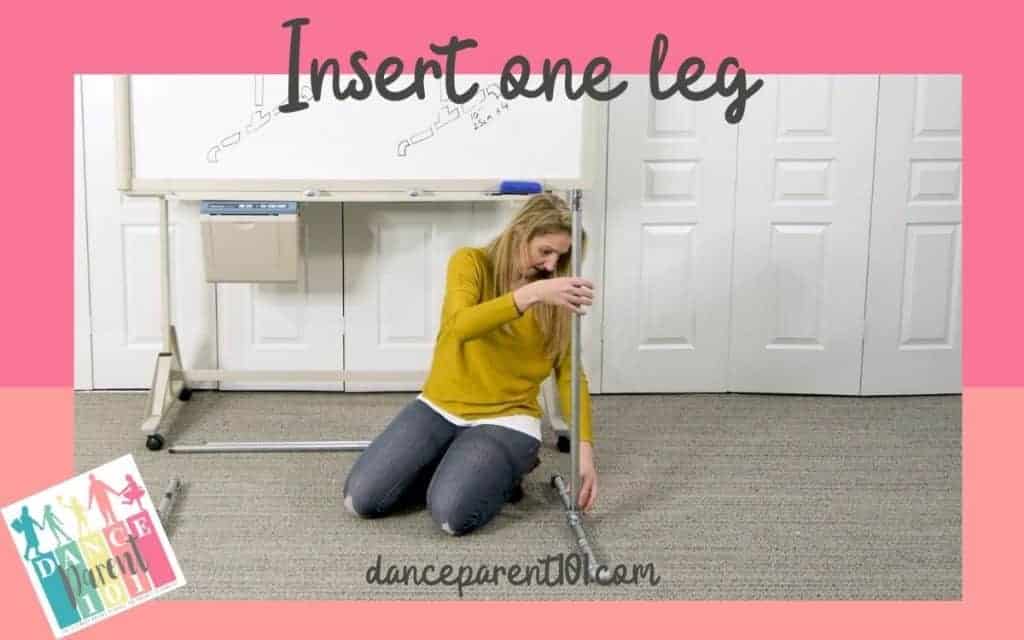

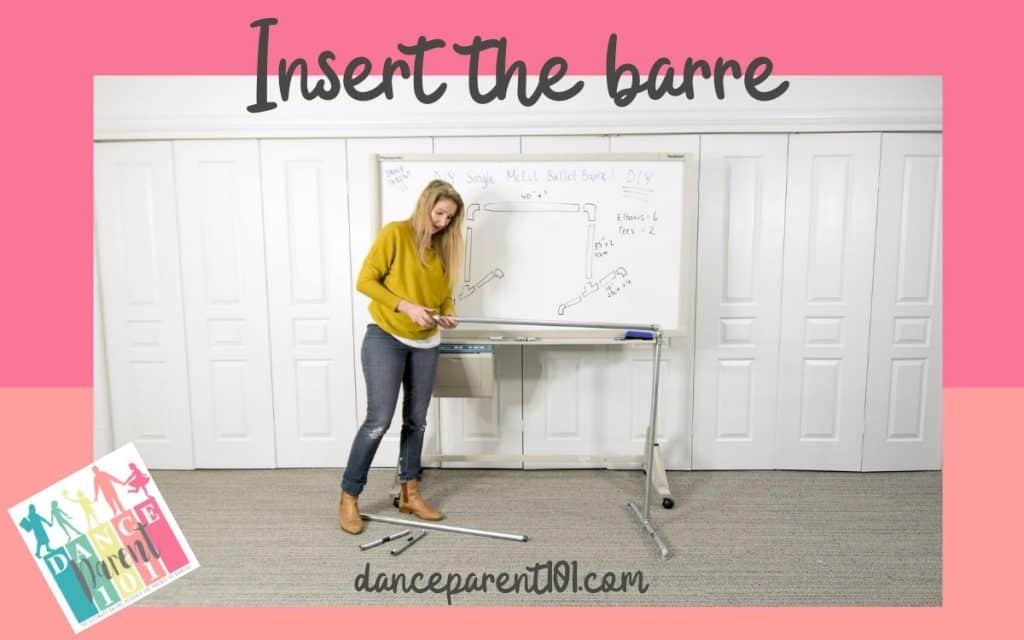


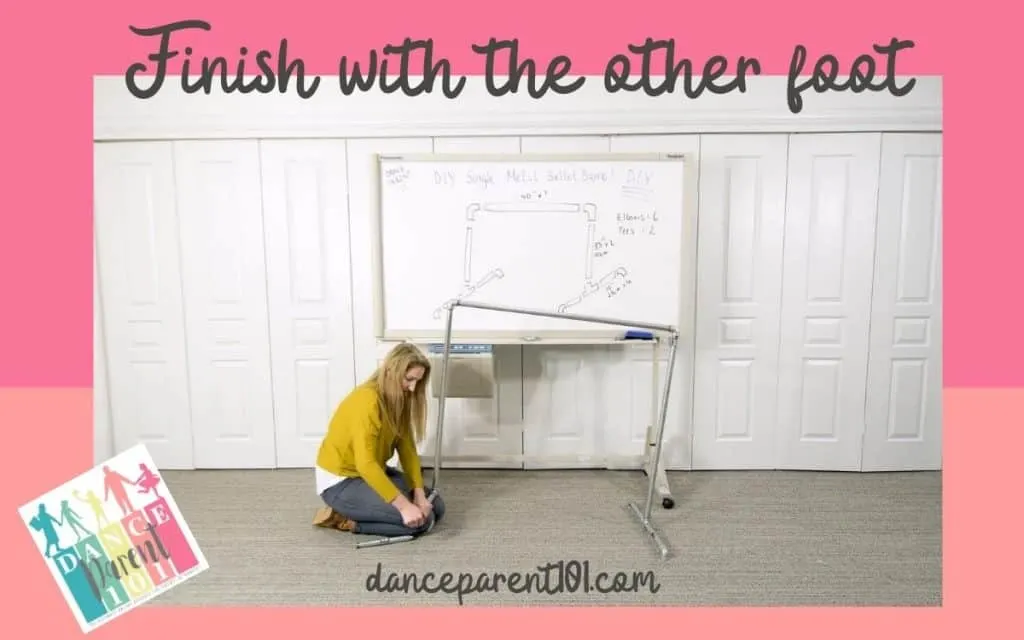
This is because the pipes and fittings screw in a fixed way and if you try for example to do the legs first and then attach the barre in the middle last you might end up scratching your head as to how you can easily swing that leg over and over as well as catch the threading right to attach it AHEM if you saw the video you will realize that this describes me!
Also remember you can choose which feet you prefer to go on this barre the elbows which are in these photos or instead the plates also known as flanges which I show you in the video about stable feet for metal ballet barres above. I also use the flanges in my double galvanized steel barre tutorial which you can see here.
Step 4: Tighten the fittings
If you are able to, go through each connection and make sure it is as tight as you can make it. You will find that in order for some pieces to face the right way you will need to keep them loose. I have found that once placed on the ground that this has not affected the barre’s use as long as the pieces were screwed in as far as they could go. The problem occurs when you go to pick it up and the feet for example start swinging towards your shin!
Now you do want for example the feet of the barre to not be permanently or too tightly screwed into the legs, because this way if you swing them to the side, the barre becomes completely flat for easy storage!
On another note, when I go to paint the barre, I am also going to be investigating ways to make each connection tighter so make sure you subscribe to the Youtube Channel or the Newsletter to find out what I am up to and when that information will be coming out!
Step 5: Paint your Galvanized Steel Ballet Barre
If you want to you can skip this step – I have for the moment and we are using our barre perfectly fine. But for some their steel might be quite dirty or leave marks on your hand and so a good clean a couple of sprays of paint made for steel will complete your barres look.
I will be painting the barres in the future so I can give you the exact details on how to best do this – my biggest questions at the moment are:
- How do I best clean and prepare the steel?
- Do I paint it with the pieces all together or apart?
- Does the paint chip or wear away in between the joints when connections and fittings come loose or from moving the feet to the flat storage position.
- Will the paint start coming off onto my hands?
So hopefully I will have all these answers and more for you soon!
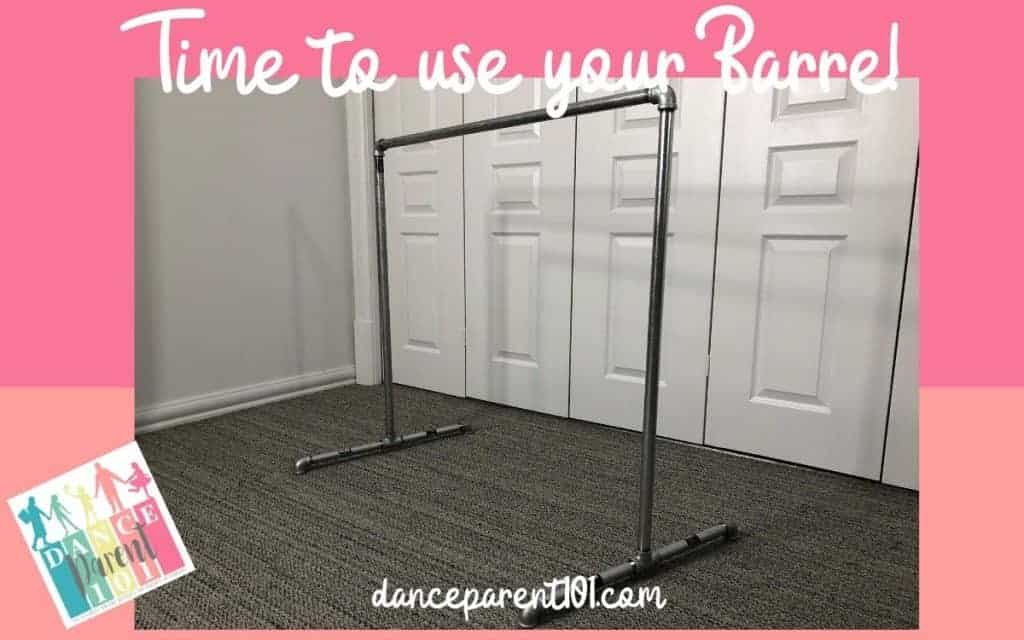
Step 6: Your Galvanised Steel Single Ballet Barre is ready to use!
Once screwed together, cleaned or painted your ballet barre is ready to use. Just remember Ballet Barres are used for balance and for stretching not for hanging off.

DIY Ballet Barre E-Book
Why try and work it all out on your own, when I have gone and compiled everything you need to know about making a DIY Ballet Barre into a book! Check it out the e-book where we have newly designed instructional manuals, tips and advice as well as links to the video tutorials, all in one location.

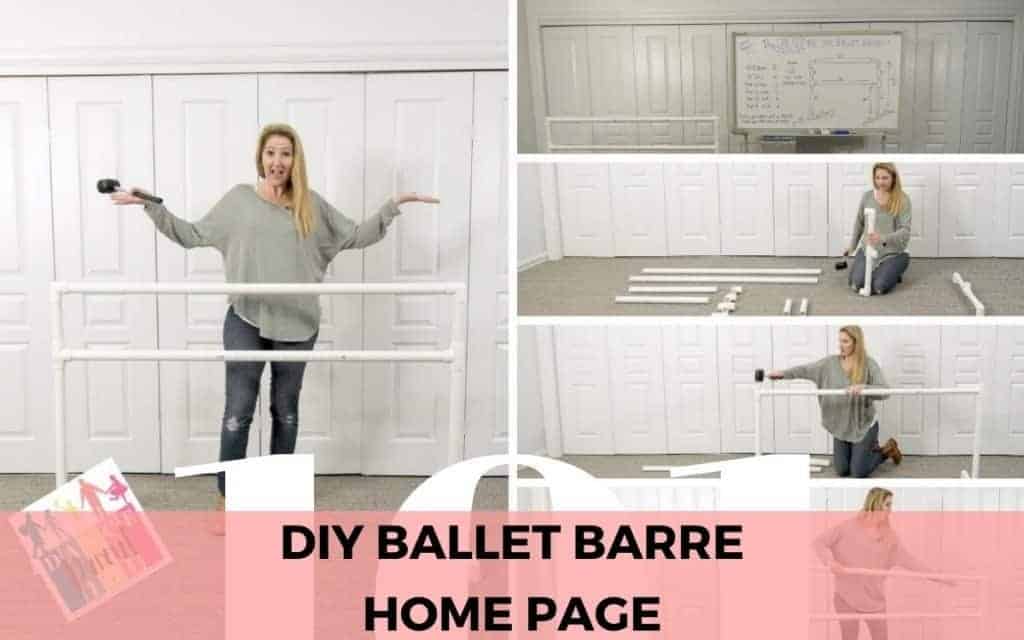
ALTERNATIVE DESIGNS
If this particular ballet barre isn’t what you were after check here for the DIY Ballet Barre home page where I have instructions on how to make ballet barres from PVC, double barres from galvanized steel, and using wood.
Check Out Our Google Web Story!