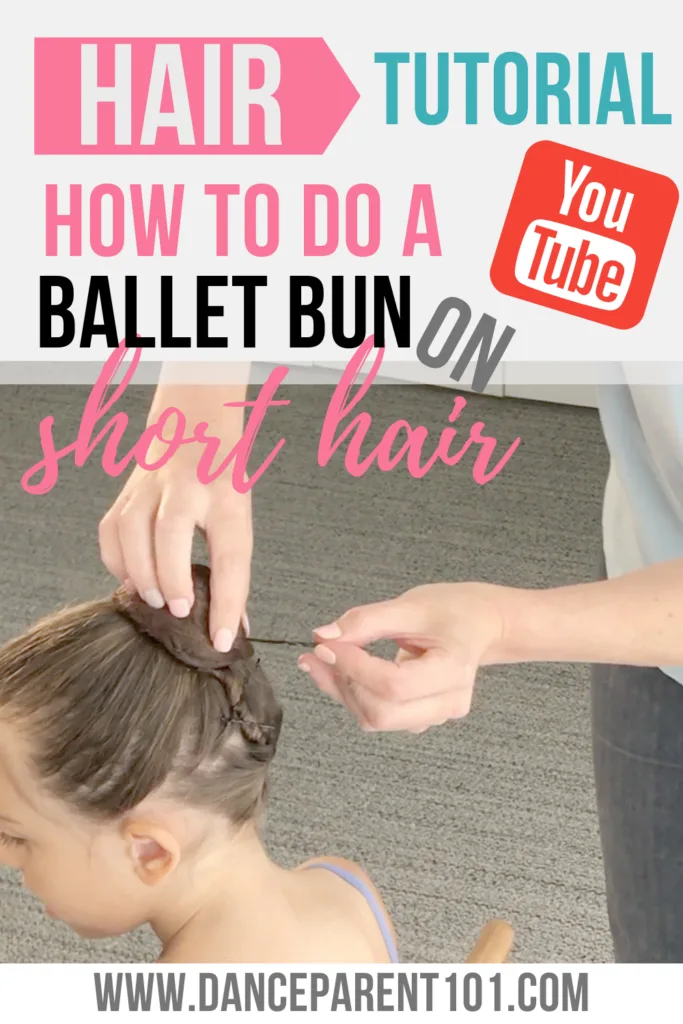


Putting short hair into a ballet bun is not an easy hair styling feat!
Sure you can easily get all that hair up if you use a tonne of gel, hairspray or mouse.
But if your child has chin-length hair like my daughter did when she was four-years-old you probably do not want to be using lots of hair products that need to be washed out for their weekly dance class.
Therefore these how to instructions show you how to get short or bobbed style hair into a bun for ballet and dance class.
I rarely use hairspray but you can use a small spritz at the end which can easily be brushed out at night (my girls hate washing their hair, we usually do that after swimming lessons, so this is just one less hassle!!)
Step By Step Instructional Video
You Will Need:
So to begin with there are a few pieces of inexpensive equipment you will need to invest in to do this quickly, much of which you can get at your local dollar store.
However if you just want to get the items online, head over to my dance hair ballet bun resource page as it has links to all the items to purchase as well as an explanation of what each item is and how it is used in dance and ballet.


- A hairbrush
- A spray bottle filled with water
- A hair tie
- A hairnet (the color of your child hair)
- Bobby Pins the same color as the hair or hair clips
- U shaped hairpins the same color as the hair
- Hair Spray (optional)
Step By Step Instructions To Make a Ballet Bun on Short Hair
When I did these instructions, it was over 6months since my daughter asked her hair to be cut to chin length, so her hair is a little longer in the images and video.
But this is the method we perfected over time to ensure it was quick – because four year olds don’t always like sitting around for a long time. It is also so I didn’t have to use products such as hairspray or hair gel as you need to wash that out and we usually do the hair wash on a different day after swimming lessons.
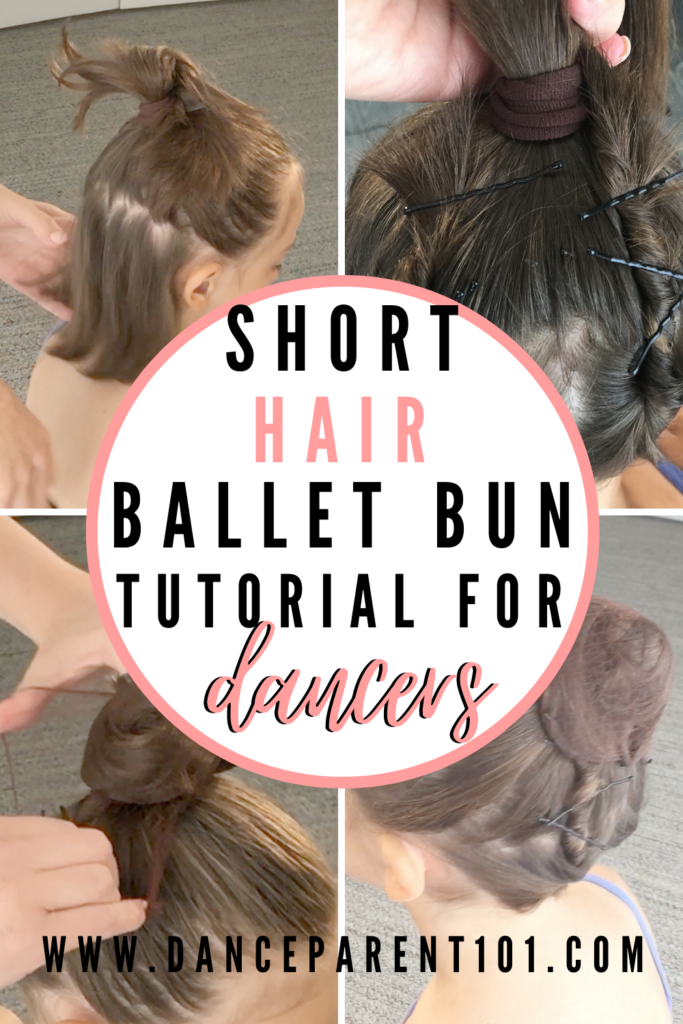
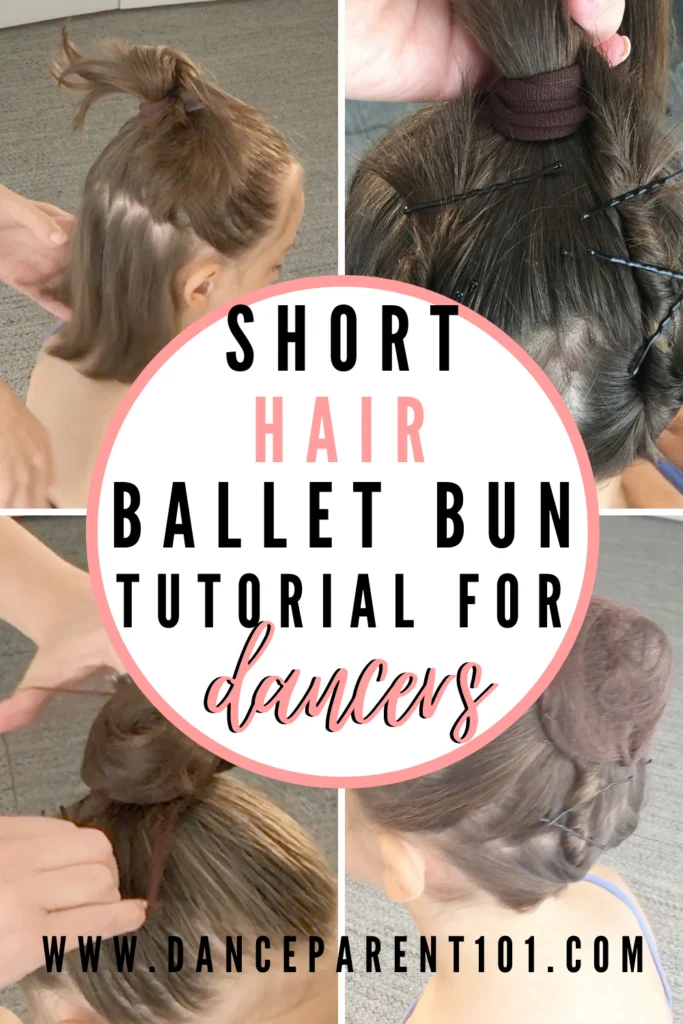
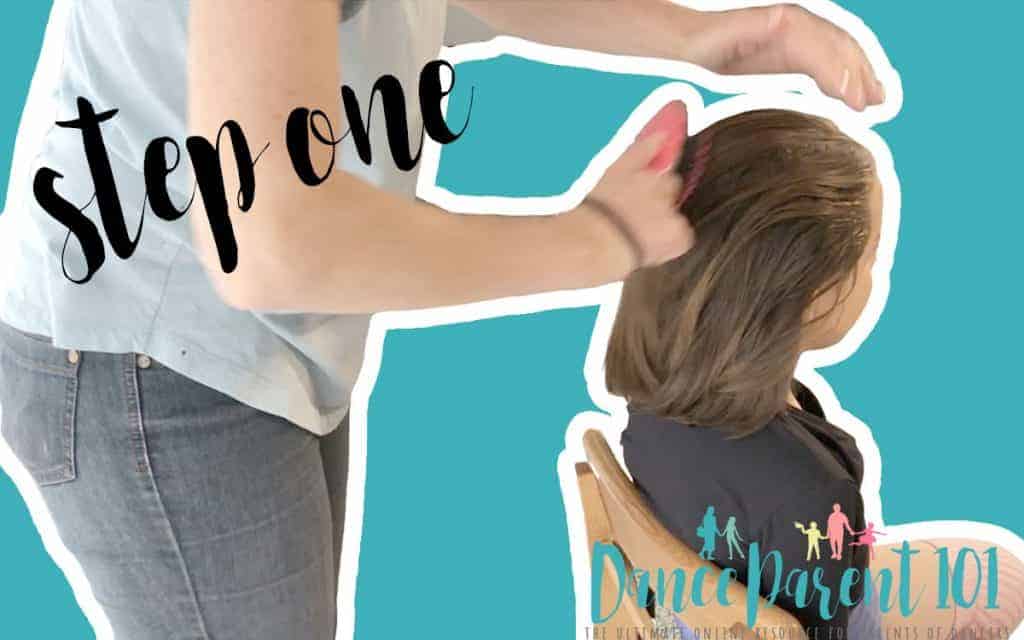
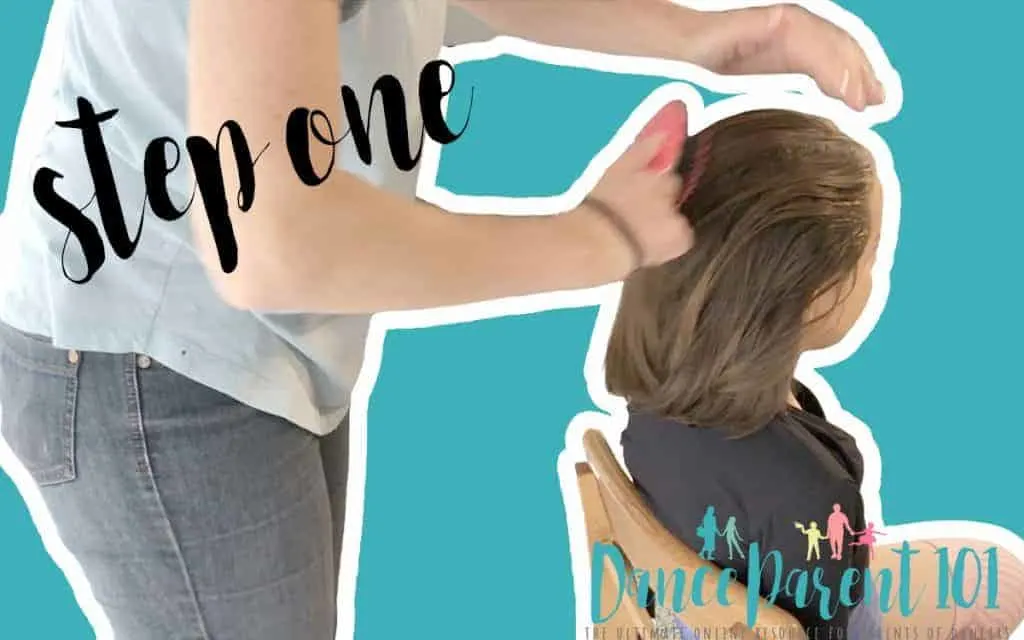
Step 1 – Brush hair to remove tangles and knots.
Brush hair from the front to back to try and remove any natural parting.
I love using a detangling brush to do this you can check out the one we have at home now which is similar to the one I use in the photos and video on our resource page.
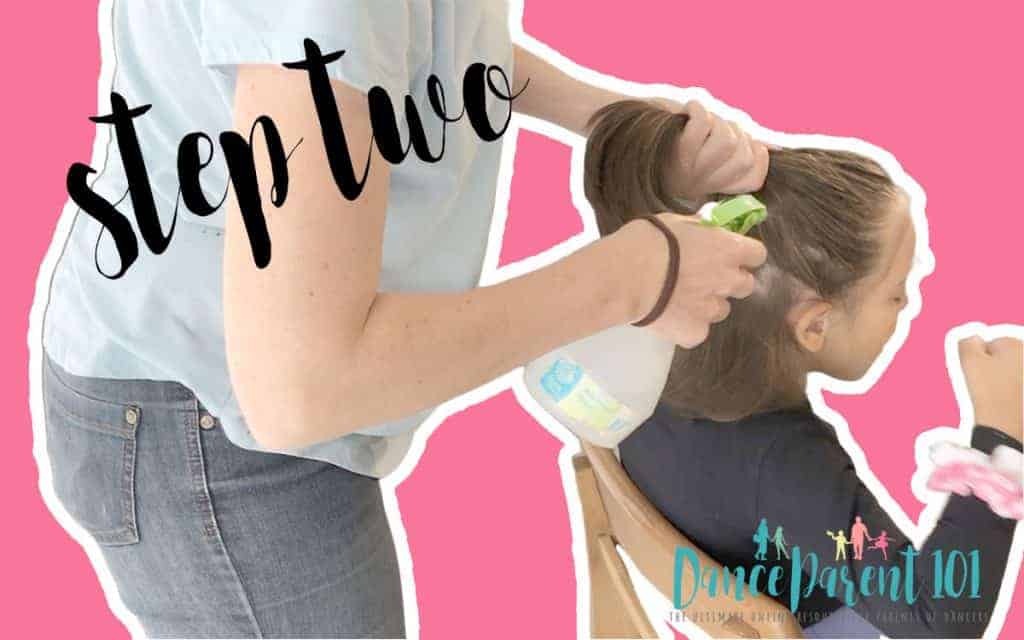
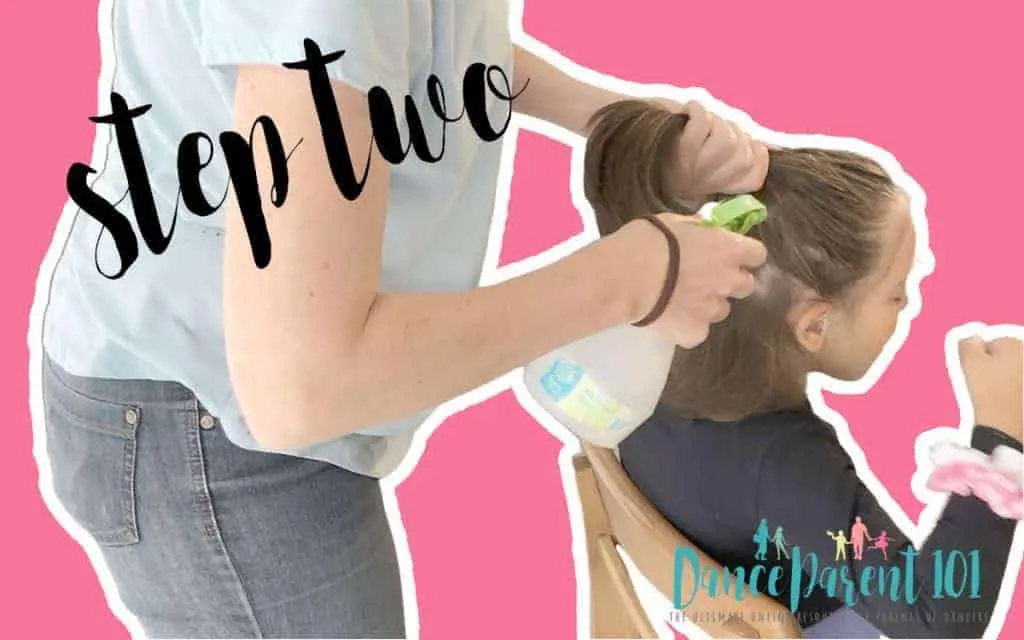
Step 2 – Spritz the hair with water spray.
Use the brush to brush the hair from the front and sides and pull the front half of the hair only up into a ponytail in your hand.
Spritz the hair with the water spray.
Continue to brush the water into the hair as this will help any flyaways and loose ends stay down.
Make sure you have the hair tie nearby, I like to have it on my wrist
Helpful Tips
- You can try brushing the hair at the back up into the pony tail a few times. But what you will find is that because we are dealing with short hair here, it will just continue to fall away and out of your grasp.
- Don’t focus on the strands from the bottom that you can’t get into the pony tail. Focus on the hair you can and continue to brush the hair into your hand grasping the hair until there are no bumps and the hair is smooth.
- Use the water spray in between brushing to help the hair slick back into the ponytail.
- Just don’t spritz the lower back half of the hair that is too short to be bound into the ponytail. This is important because it might actually stick to the rest of the hair and seem as though it is secured in the ponytail only to fall down and out once it has dried.
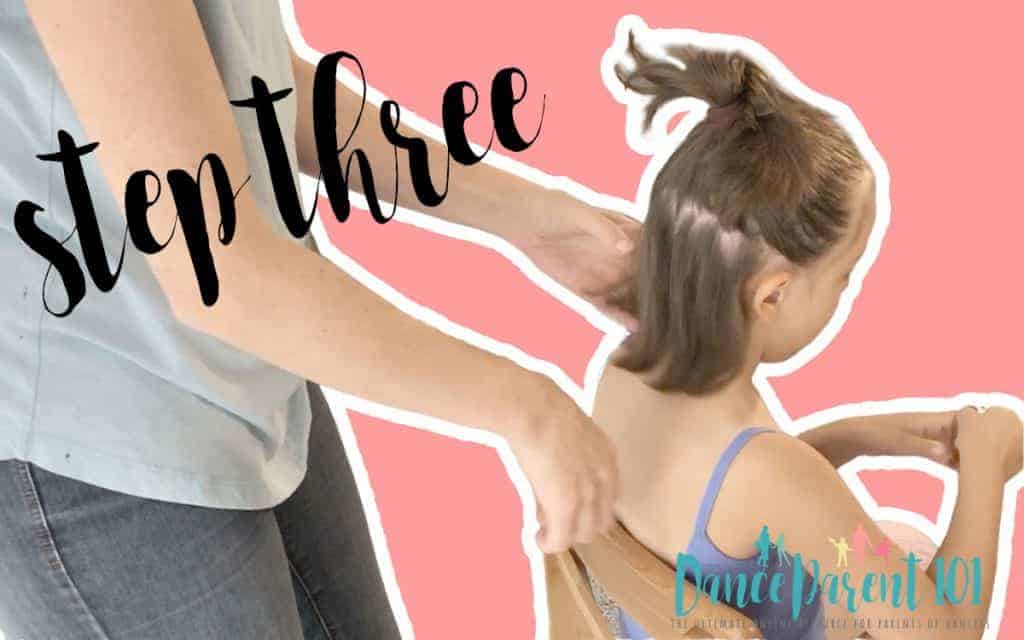
Step 3 – Secure the front half of the hair with a hair tie
Once the hair is smooth and bump free tie the hair elastic around the ponytail as tightly as you can.
Use a hair pin to pin the hair in the pony tail forwards and out of the way for now like in the image below.
We will put that into a bun in a later step!

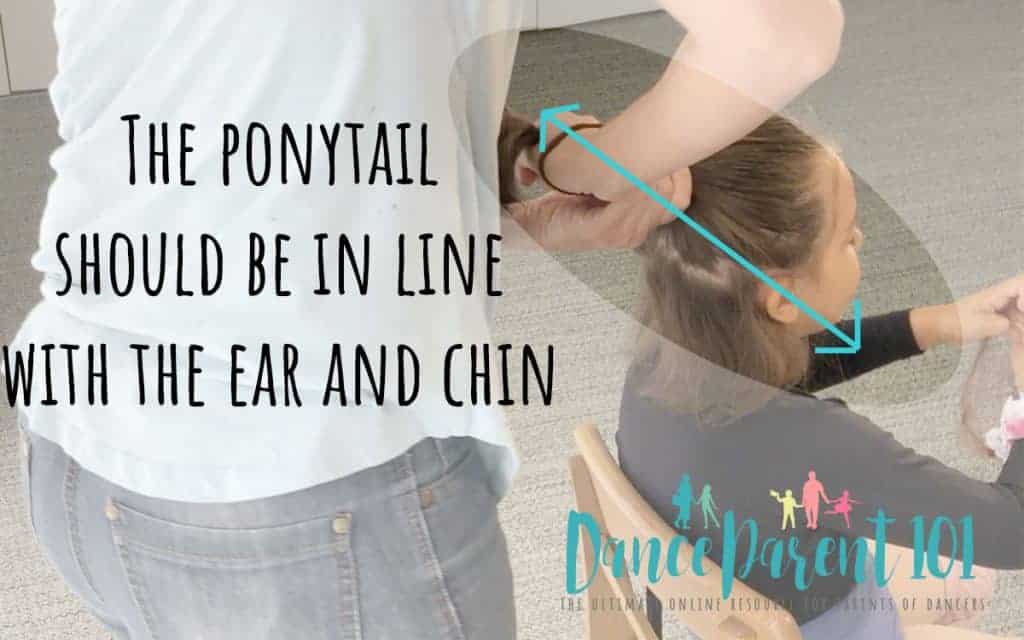
#DANCE PARENT 101 TIP
The optimal place for the ponytail is if you can visualize a straight line along your child’s chin, that passes up through their ear and up along their head. The point where that line would go up on their head is the perfect spot for a ponytail for a ballet bun. Don’t worry if it is a bit below or above this spot, just get as close to it as possible.

Step 4 – Separate the leftover hair into two sections
Now it’s time to wet the lower half of hair.
Start by spritzing the leftover hair with water and brushing the water through the hair.
Then separate the hair into two even sections.
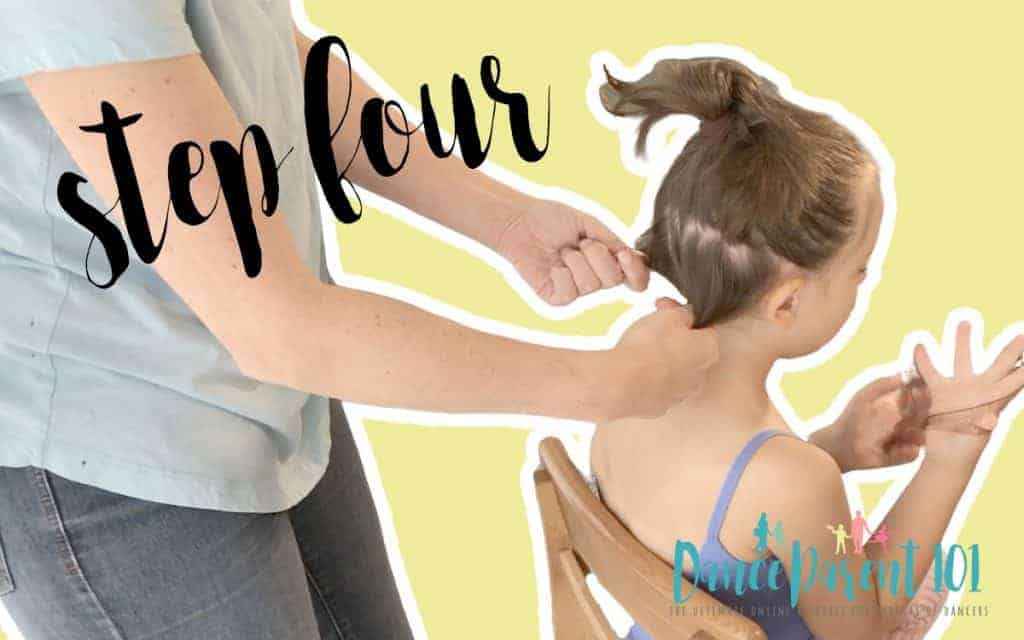

This is where a bit of experimentation may be needed if your child has extra short hair. You may need to separate the back into more sections, but for my daughter’s chin-length bob, I just separate it into two even sections with a part down the middle.
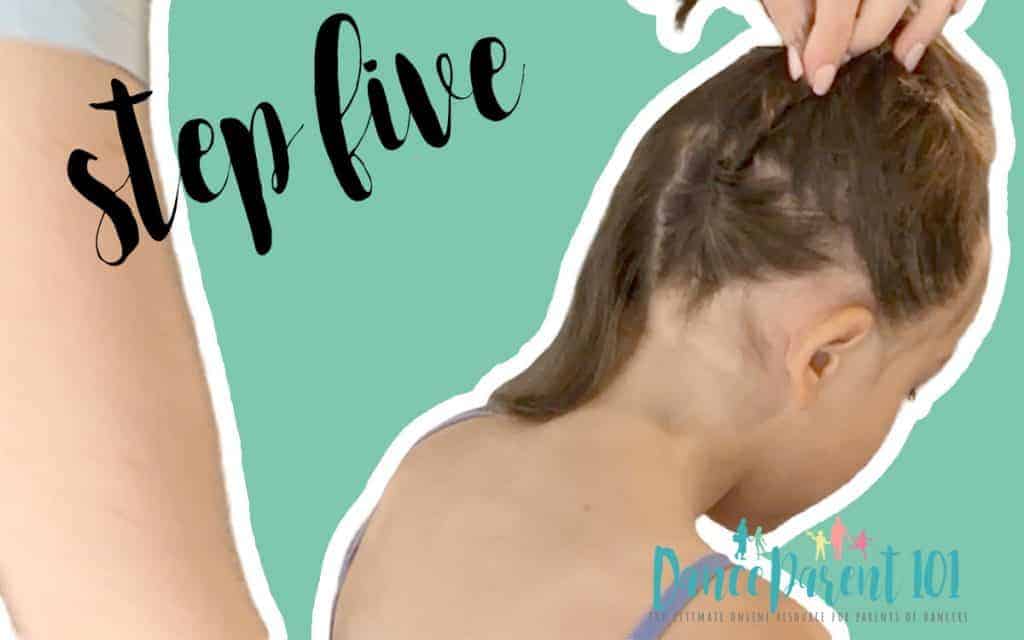
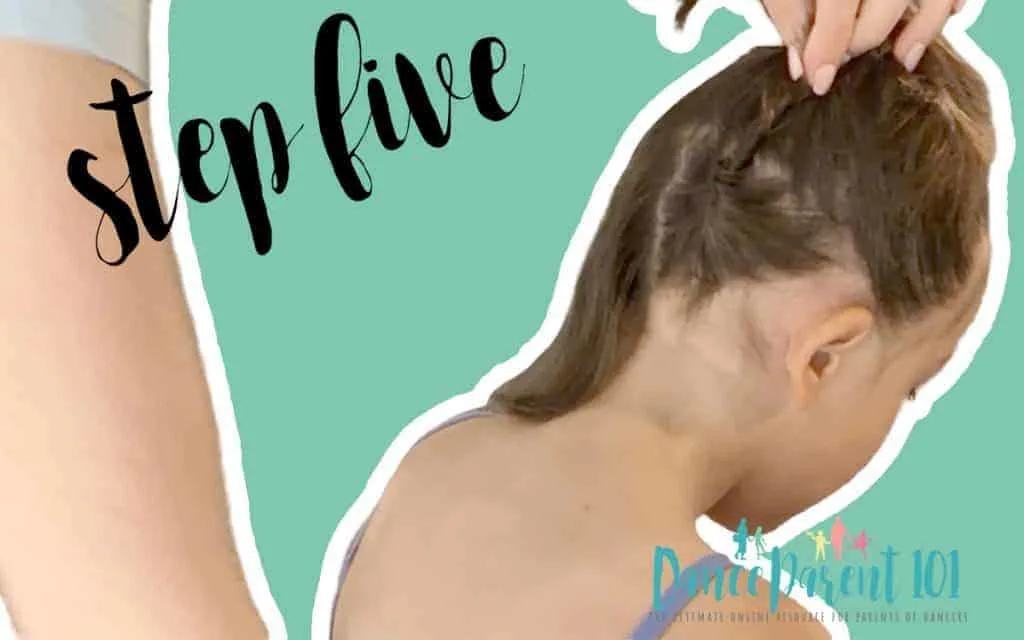
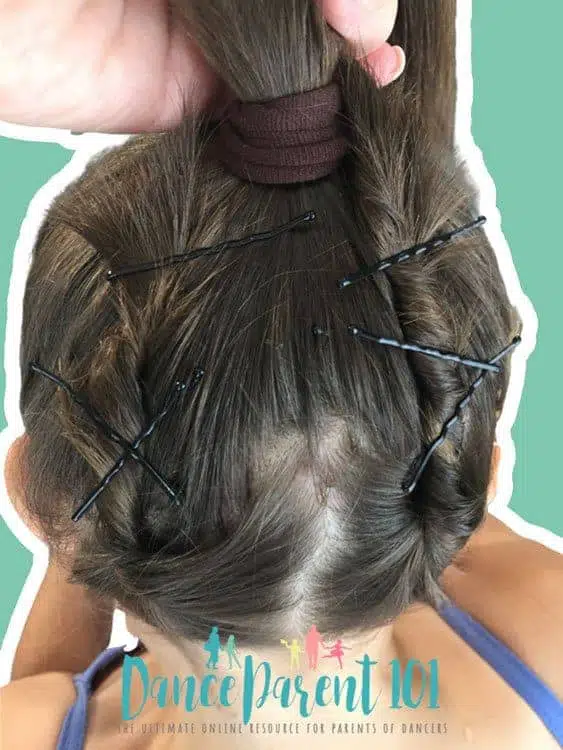
Step 5 – Twist each lower section upwards and secure with hairpins
Make sure your bobby pins are in reach before beginning this step.
Take the hair on the lower right side and twist the hair into a spiral, pulling it up towards the ponytail.
Twisting and pulling upwards occur in the same movement so the spiraled hair lays flat against the head.
Secure the spiral with bobby pins or hairpins.
Below I have used three hairpins in total per twist.
So the twist does not unspiral I slide two hairpins in opposing directions ontop of each other so they form a cross. I used a third to hold the wispy end down.
Then do the same with the right side.
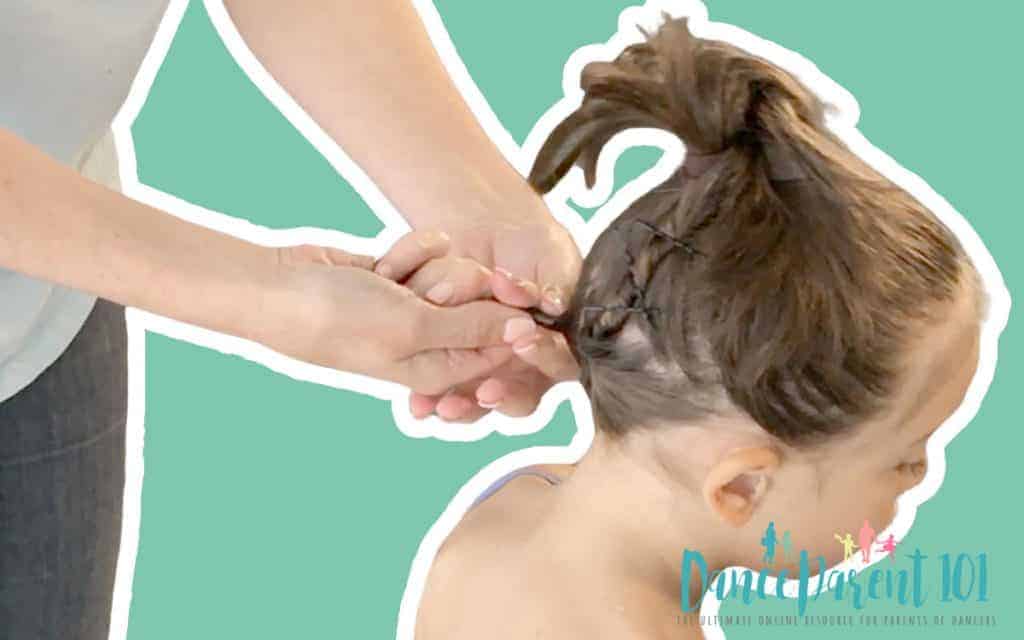
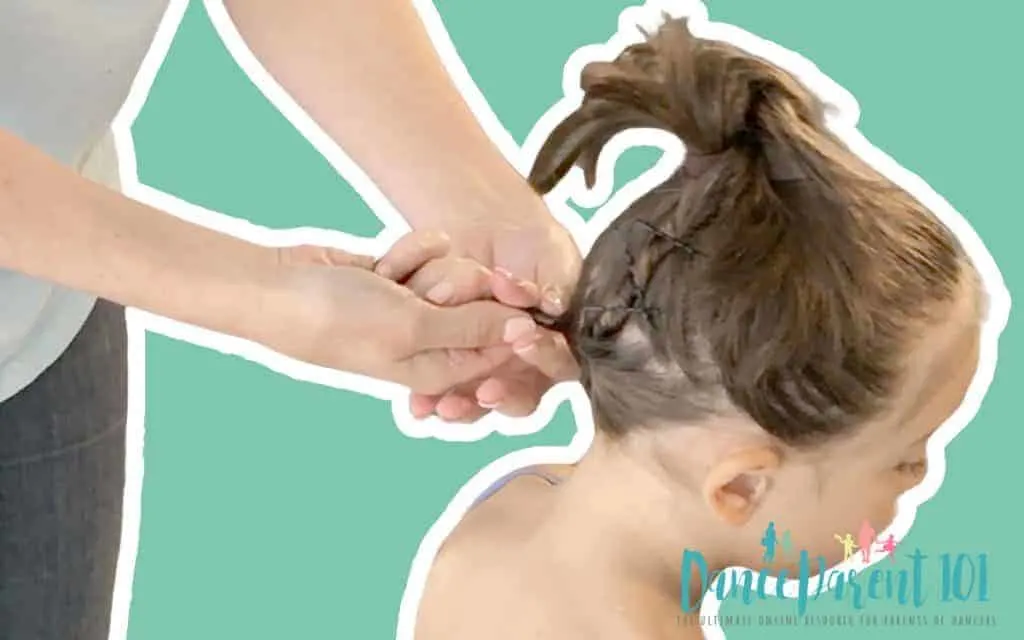
Don’t worry about any rogue strands sticking up near the ponytail as we are now going to make the bun and these should be hidden under the bun, which is why we do the actual bun last!

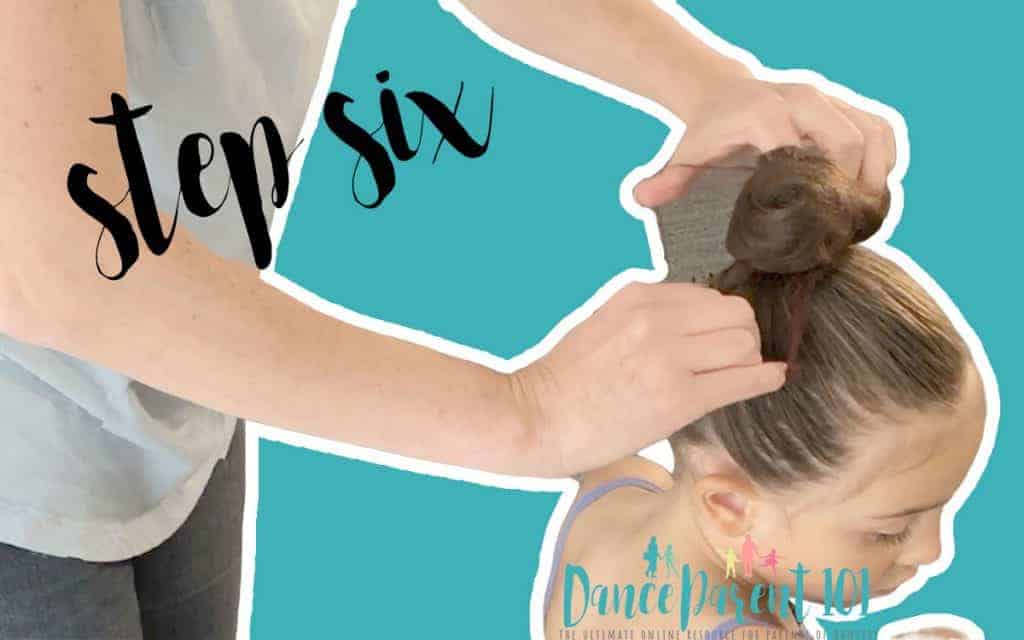
Step 6 – Use a hairnet to secure hair into a ballet bun.
Make sure you now have your hair net and U pins handy.
When making your bun, you will need to make sure that it sits on top of and hides the strands poking upwards from the spirals of hair you pinned to the back of the head.
This ensures that the hair looks neat and tidy and from afar you can barely see all the pins that you placed to keep the short back hairs up as there are no strands sticking out to lead your eye to them.
There are two different ways you might approach gathering the hair from the pony tail into the hairnet and this will depend on how short your dancers hair is.

Short Hair
Loosely twist the hair, then wrap it around into a ball or bun shape around the ponytail.
Fix it here with a hairpin.
Open the hair net between your two hands and wrap it around the bun.
Hairnets are usually made to go over the whole head, so you will need to pull the extra net to one end, twist it and wrap it over the top of the bun again.
I usually do this three times. Once the hair is secure in the hair net pull out the hair pin, as we will use it to secure the hair properly in the next step.
Extremely Short Hair
Open the hair net between your two hands and gather all the hair into the net.
Then twist and wrap the hairnet over the ball of hair forming again (3 or more times if needed).
Helpful Tips
Because of the length of my daughter’s hair, I kind of end up doing a combination of the two – I try to twirl the ponytail around the hair tie, but most of it is too short and just sticks up or out. So I just capture this into the hairnet and pat it all down with my hands and mold it into a nice flat ballet bun shape.
Step 7 – Shape the hair into a bun and secure with U hairpins
As the hair is in the hairnet, you can mould the hair into the bun shape you are after.
You are aiming for a flatter more pancake looking bun rather than a ball sticking out of the head.
Use the U hairpins to secure the bun in place.
I generally start with four – equally spaced around the bun – you could visualise north, east, south and west points on a compass.
Use a few more if needed, between these.


Helpful Tips
- To attach the U hairpins you push them in at a 45-degree angle a half-centimeter or quarter inch or so above the gap between the bun and head. I explain this in the video tutorial you can watch above!
- When you feel the pin touch the head, slide it in trying to push it in a horizontal line with the head – not into the head!!!
- You will find the pin might go through the elastic of the ponytail and this is a good thing as the elastic helps to secure the pin.
- Just try to not dig the hairpin into your child’s head! It is not necessary at all and it makes doing your kid’s hair harder as they will squirm more or get upset and won’t let you touch their head.
- Also, make sure your pins have those plastic baubley protector things on the end so that they don’t scratch your child’s scalp. Throw away pins without them
- When you are placing the U hairpins, you can usually mold the bun at the same time to be flatter, more round or even adjust the placement if it needs to be a little higher, lower or further to the side or to center it more.
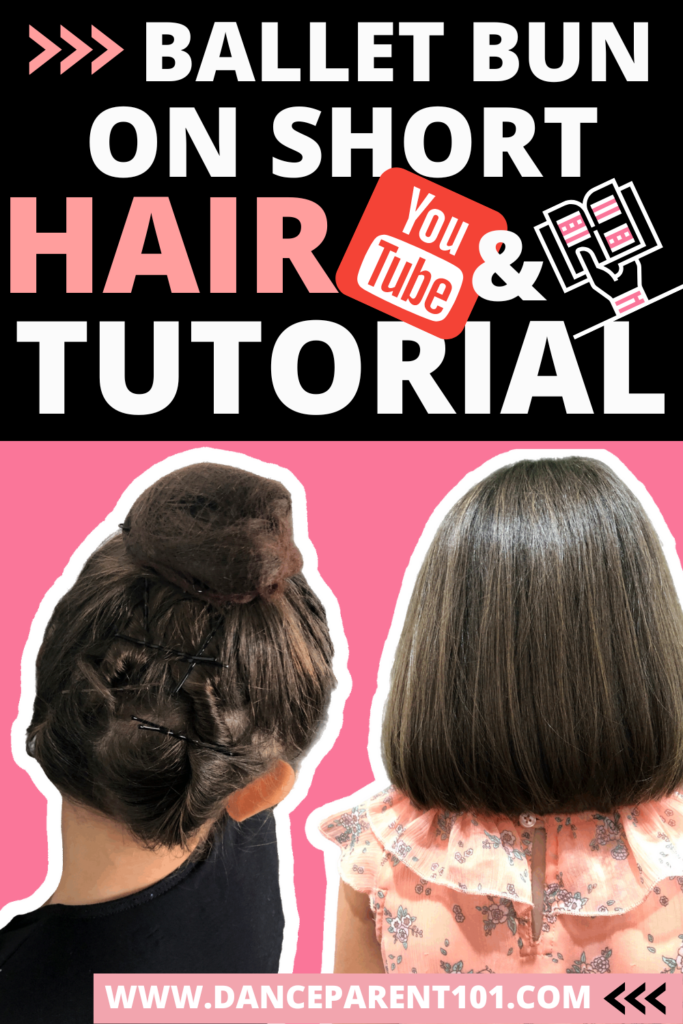
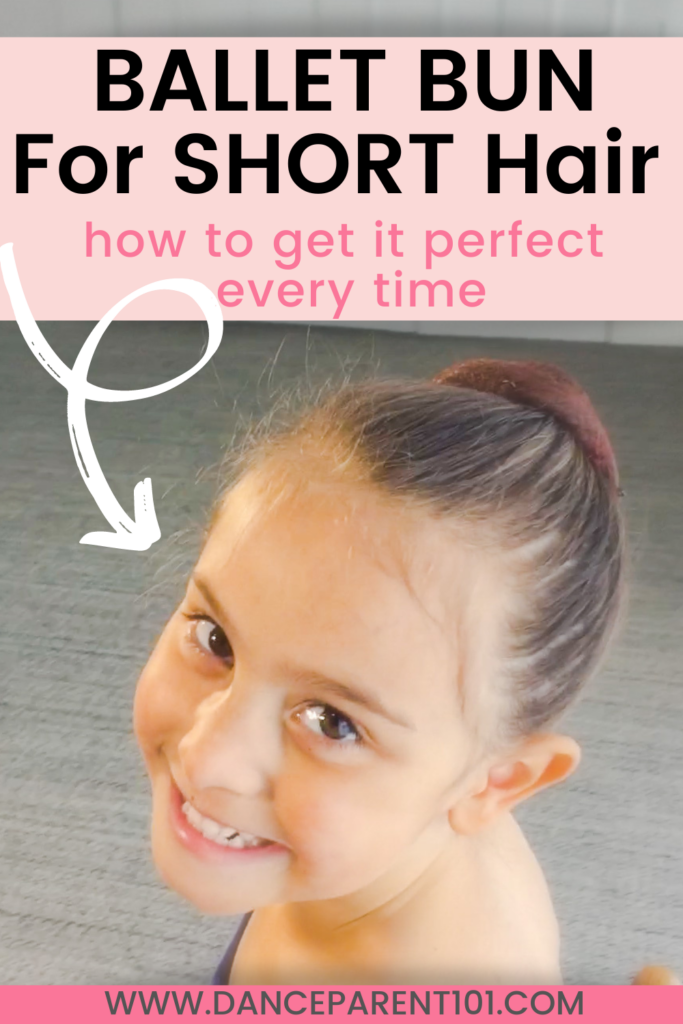
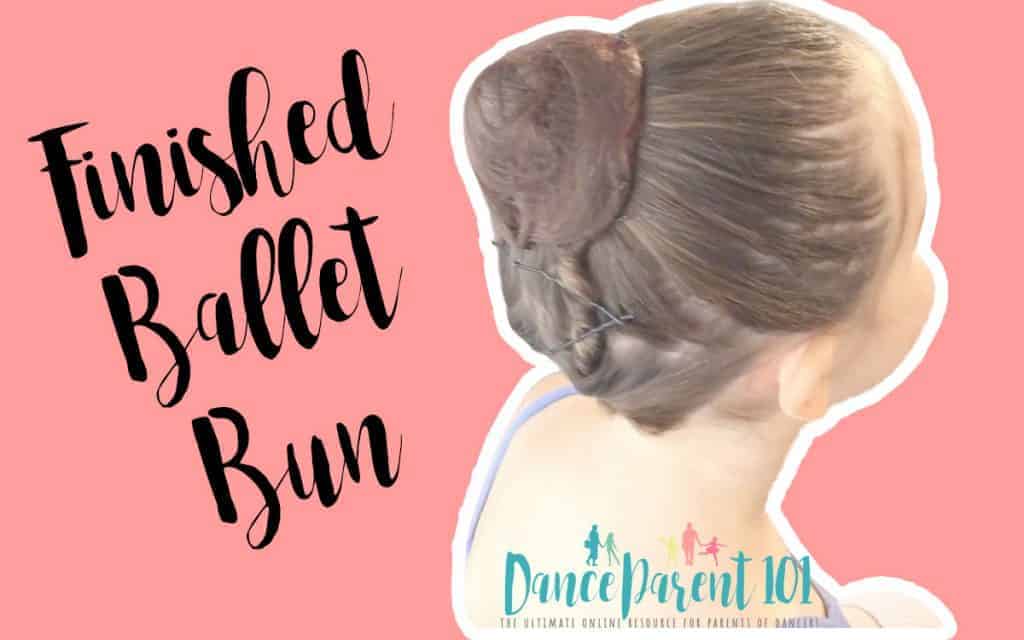
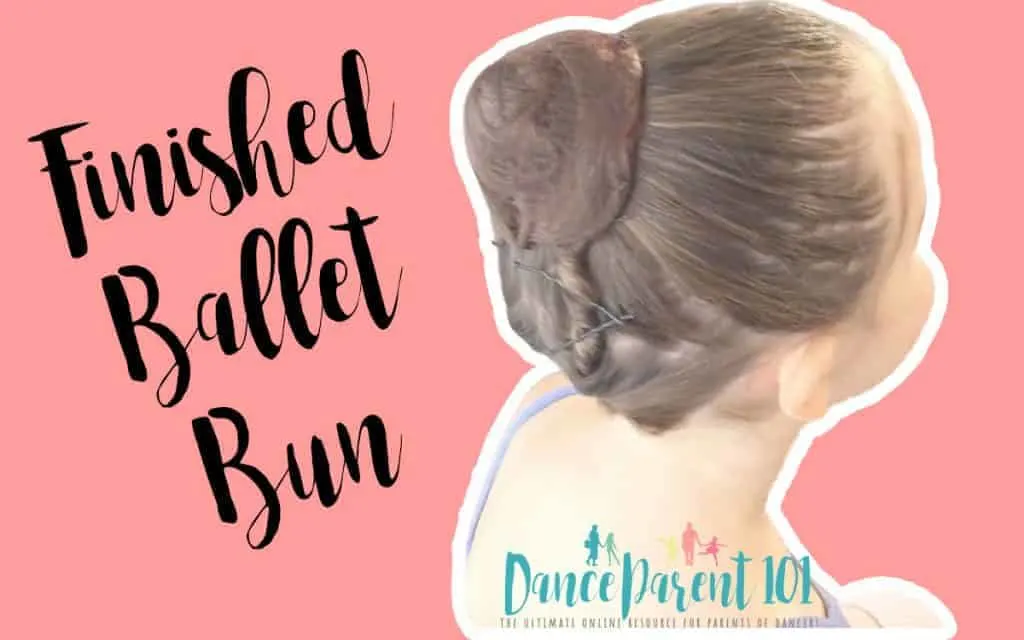
Step 8 – Your Bun on short hair is ready for ballet class!
And you are now done!
You can spritz the back of their hair with a little hairspray for staying power, but unless you intend to wash your kid’s hair that night after class, don’t spray too much.
You can generally just brush out a little hair spray whereas using a lot will mean the product will build up and you will need to wash their hair to get it out.
What if my child’s hair is shorter than chin length?
The point of a ballet bun is to keep the hair our of the face, and for the hair to not distract from the movement.
If your dancer has a very short hair cut they won’t need a bun. Boys with short hair are not expected to try to create a fake bun for example.
For performances so your child looks the same as others in their class you may be asked to slick their hair back or create a fake bun which is a whole set of instructions by itself which I will hopefully have available on the website soon!
WILL THIS WORK? No Gel and Little or no Hairspray?????
Well, last year my then eight-year-old ballet dancer daughter cut her hair to just below her chin and this year my four-year-old aspiring dancer wanted to cut her hair short too, so I have plenty of experience in getting short hair up into a neat ballet bun quickly as kids just generally don’t like standing in one place for very long as you will see in the video. Not once over the last two years have their buns come undone or the shorter hair fallen out during their dance classes and my four year old doesn’t just have ballet, but also then does tap and jazz afterwards as well!
Should I use a hair donut and make a fake bun?
Unless your dancers hair is extremely short or thin and you have been asked to make a fake bun, it is often best to not use a hair donut.
Buns using hair donuts will be bigger and stick out from the head. They are great for creating voluminous bun which looks pretty for a party, but in ballet especially you are aiming for a flatter pancake bun.
Some dance studios might require a hair donut in your child’s hair for a recital or competition performance. This would be so all dancers in the group have a unified appearance.
On occasion the costume or head piece being used might also call for a hair donut to help create an extra-large bun (my daughter’s teacher once choreographed a bird dance and wanted their hair to have the appearance of a nest, and requested we use hair donuts to create this look.)
If you do choose to use one, use the smallest donut you can possibly find that matches your child’s hair color as much as possible because if their hair is that short that they need a hair donut, it won’t be covered by much hair.
Follow the instructions in the above tutorial as much as possible using a hair net and the U pins to secure the hair donut and hair in place in the bun. You might want to use a few extra U pins to ensure the hair donut does not move or come out of place. Good Luck!!